How to Make a Sourdough Starter
Would you like to save this recipe?
Send this recipe to my email.
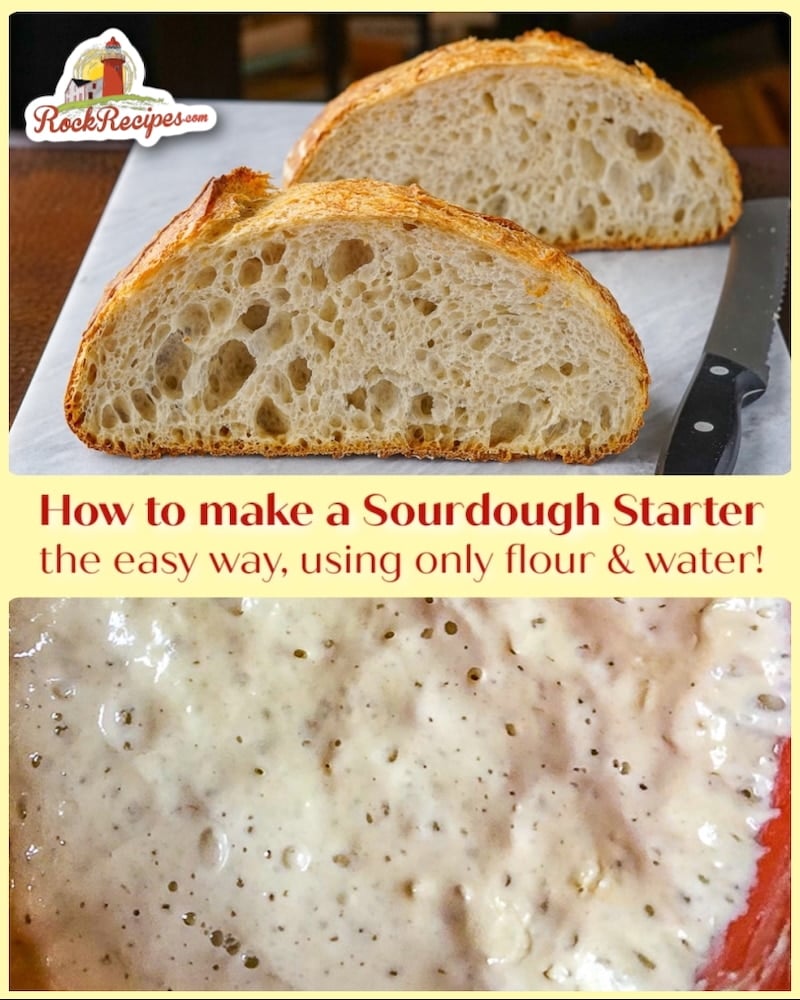
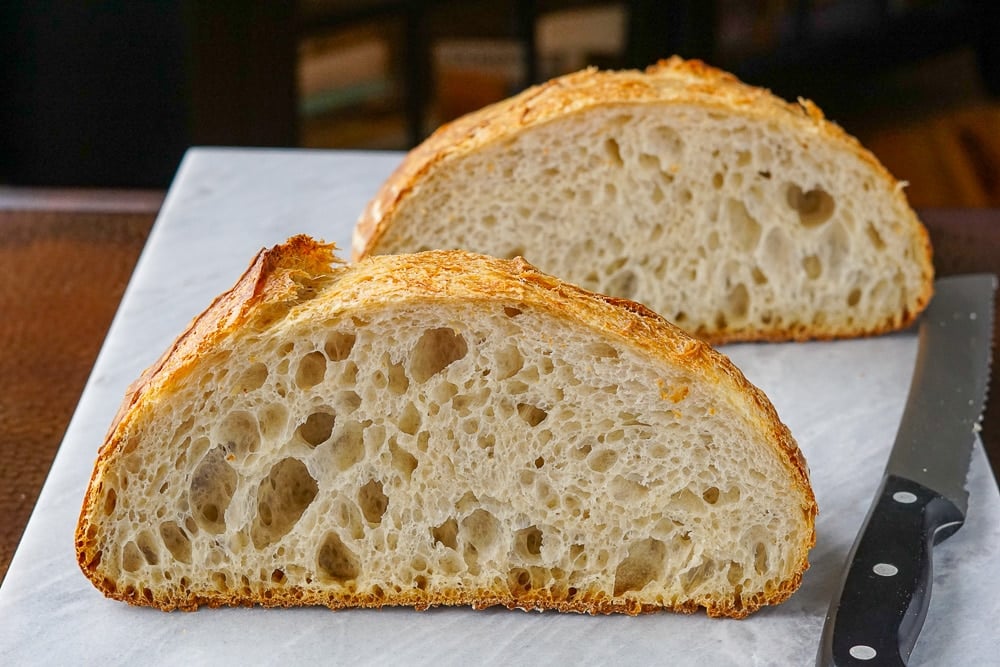
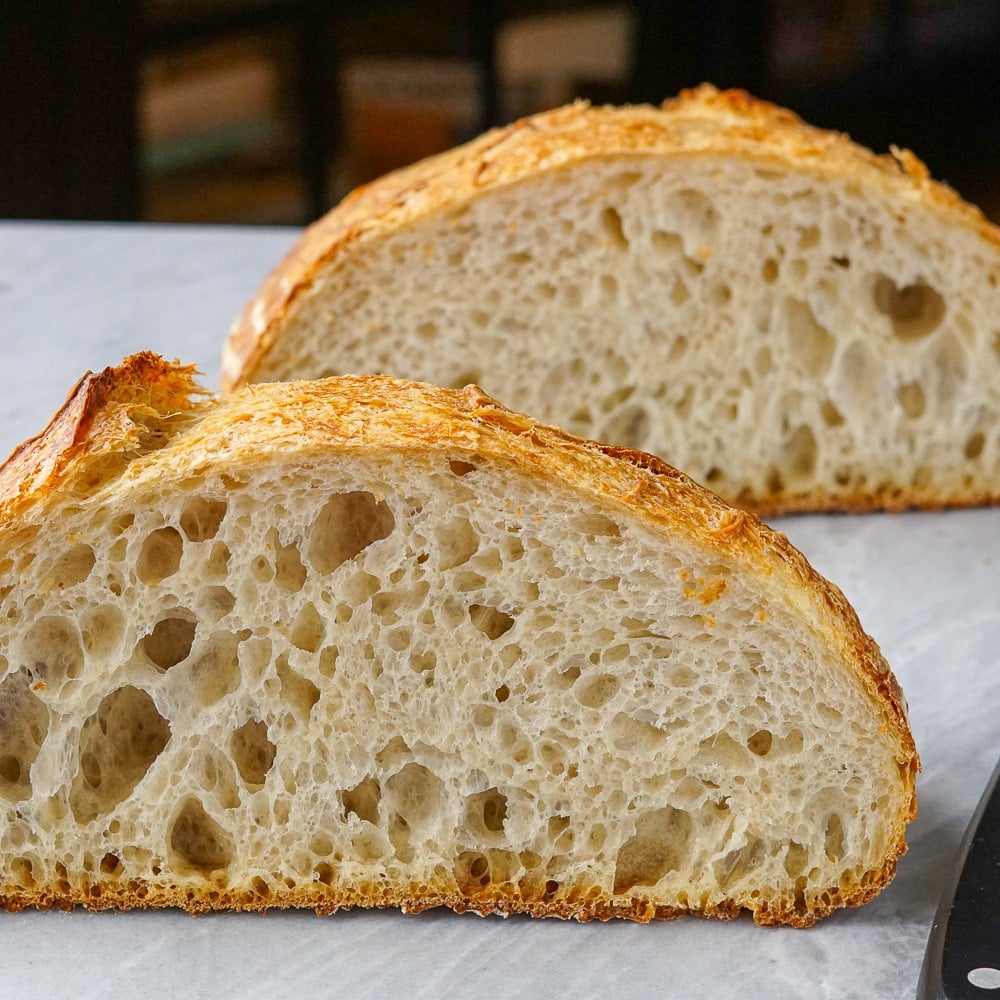
How to Make a Sourdough Starter. Complete instructions from a professional artisan baker, using only flour and water. Find out just how easy it is!
Intro by Barry C. Parsons.
Dedicated to the memory of Jamie O'Flaherty, who sadly passed away in September of 2023.

During the recent pandemic, the popularity of sourdough bread baking took off like a rocket. Although I have been baking sourdough bread for several years, I resisted posting about it, as I still considered myself a novice.
So today we welcome professional artisan bread baker Jamie O'Flaherty. You can find and sample Jamie's amazing breads at Powell's Supermarket in Bay Robert's and Carbonear, NL.
Jamie is going to take you take you through the process of creating a healthy starter. This one starter will keep you happily baking sourdough for years to come once you get it up and going.
Here's Jamie:
How To Make A Sourdough Starter
Before we start, let’s look at a few questions you may have about sourdough.
What is sourdough?
Sourdough is the name generally accepted for “Naturally Leavened Bread”.
It’s believed and generally accepted that this is the oldest method of leavening bread. Historians believe that it’s a process discovered (probably by accident) by the Egyptians about 5000 years ago.
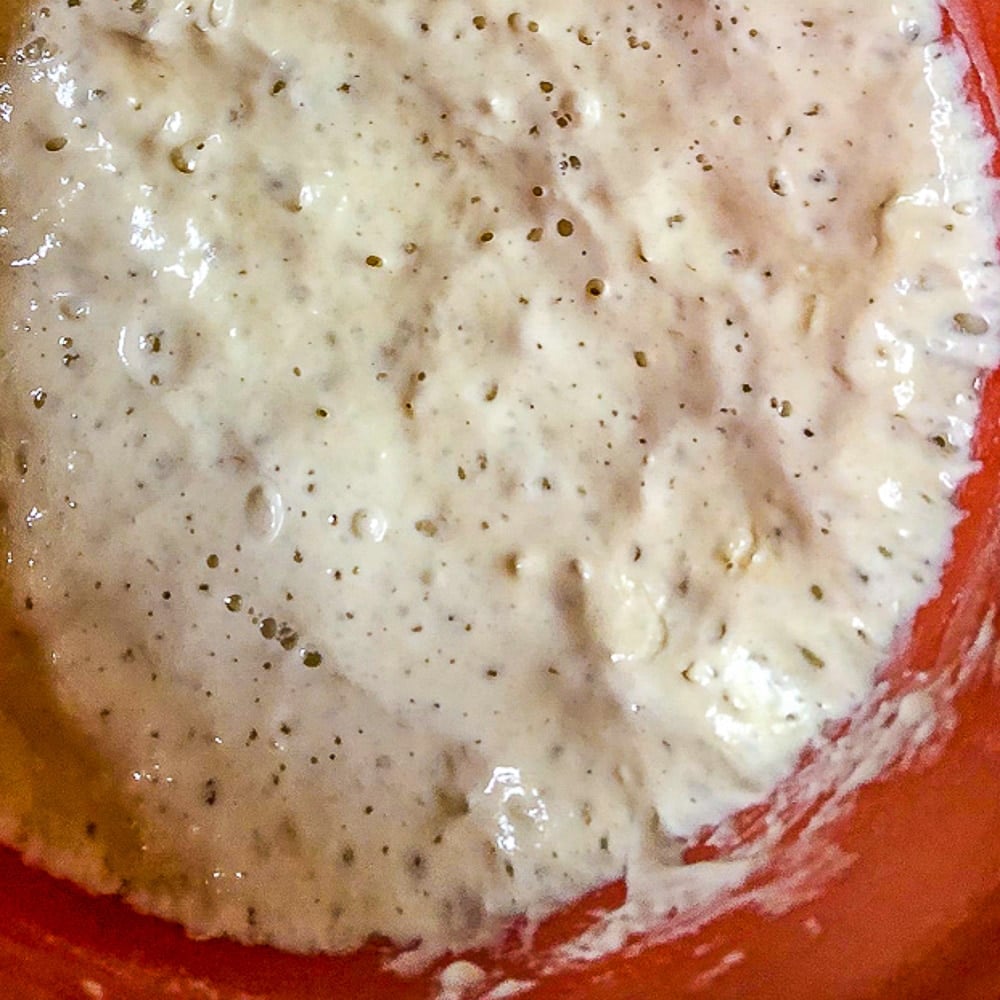
A sourdough starter is a mixture of flour and water in which a culture of wild yeast(s) and beneficial bacteria coexist.
Why make and eat sourdough?
The reasons are numerous. It’s economical, it’s the knowledge that YOU did this, it’s the only food source that’s believed to have the ability to sustain life.
It’s the proven health benefits too (I.e.: gut health micro biome, digestible by those with gluten intolerance, no sugar for those with diabetes, etc), it definitely turns into a hobby, etc.
What are the ingredients in sourdough bread?
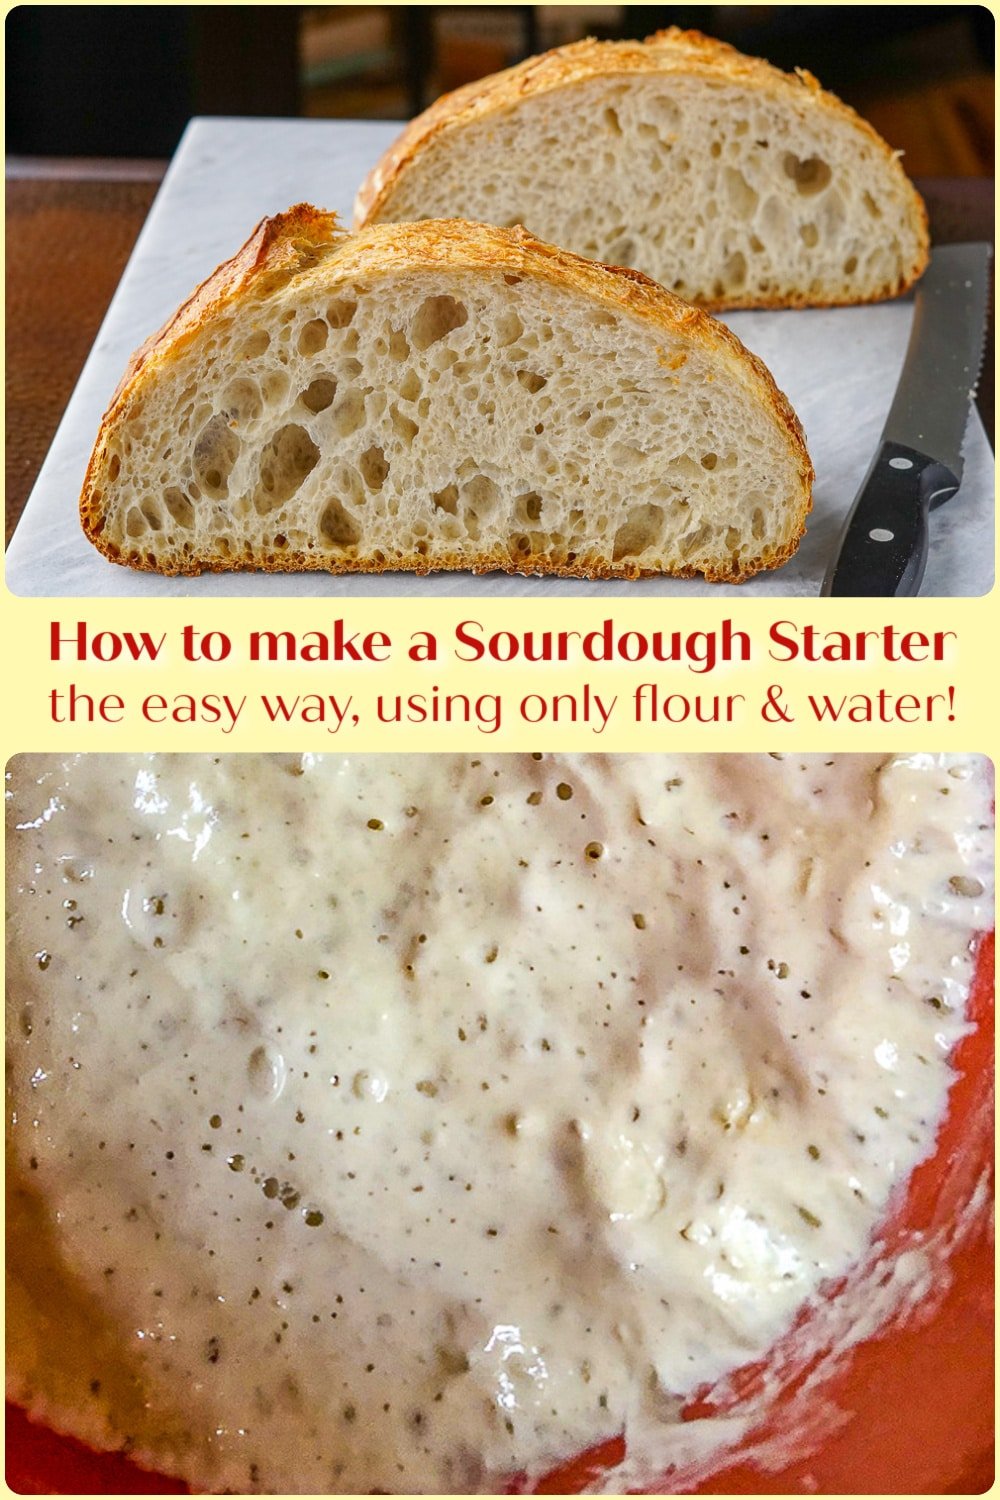

How to Make a Sourdough Starter
How to Make a Sourdough Starter. Complete instructions from a professional artisan baker, using only flour and water. Find out just how easy it is!
Materials
- Unbleached flour
- Water (see instructions)
Tools
- Bowl
- Spoon
- Container for the starter.
Instructions
What will I need to make my starter?
- You’ll need unbleached flour and a source of clean (not distilled) water. If you’re on city treated water, boil it and leave it for 24 hours at least for the chemicals to dissipate.
- You should have a scale that weighs in grams and has a tare function.
- An instant read thermometer is helpful.
- You should have a plastic tub to “house” your starter. Weigh it empty and write the weight in grams on the bottom or side. This number will come in handy later. (Glass, such as a mason jar is OK, but I have chipped the rim of a jar as have others, and glass can make a hell of a mess if you drop it on a ceramic or other hard floor surface.)
- You’ll need some fort of stirring tool, I recommend a dinner fork.
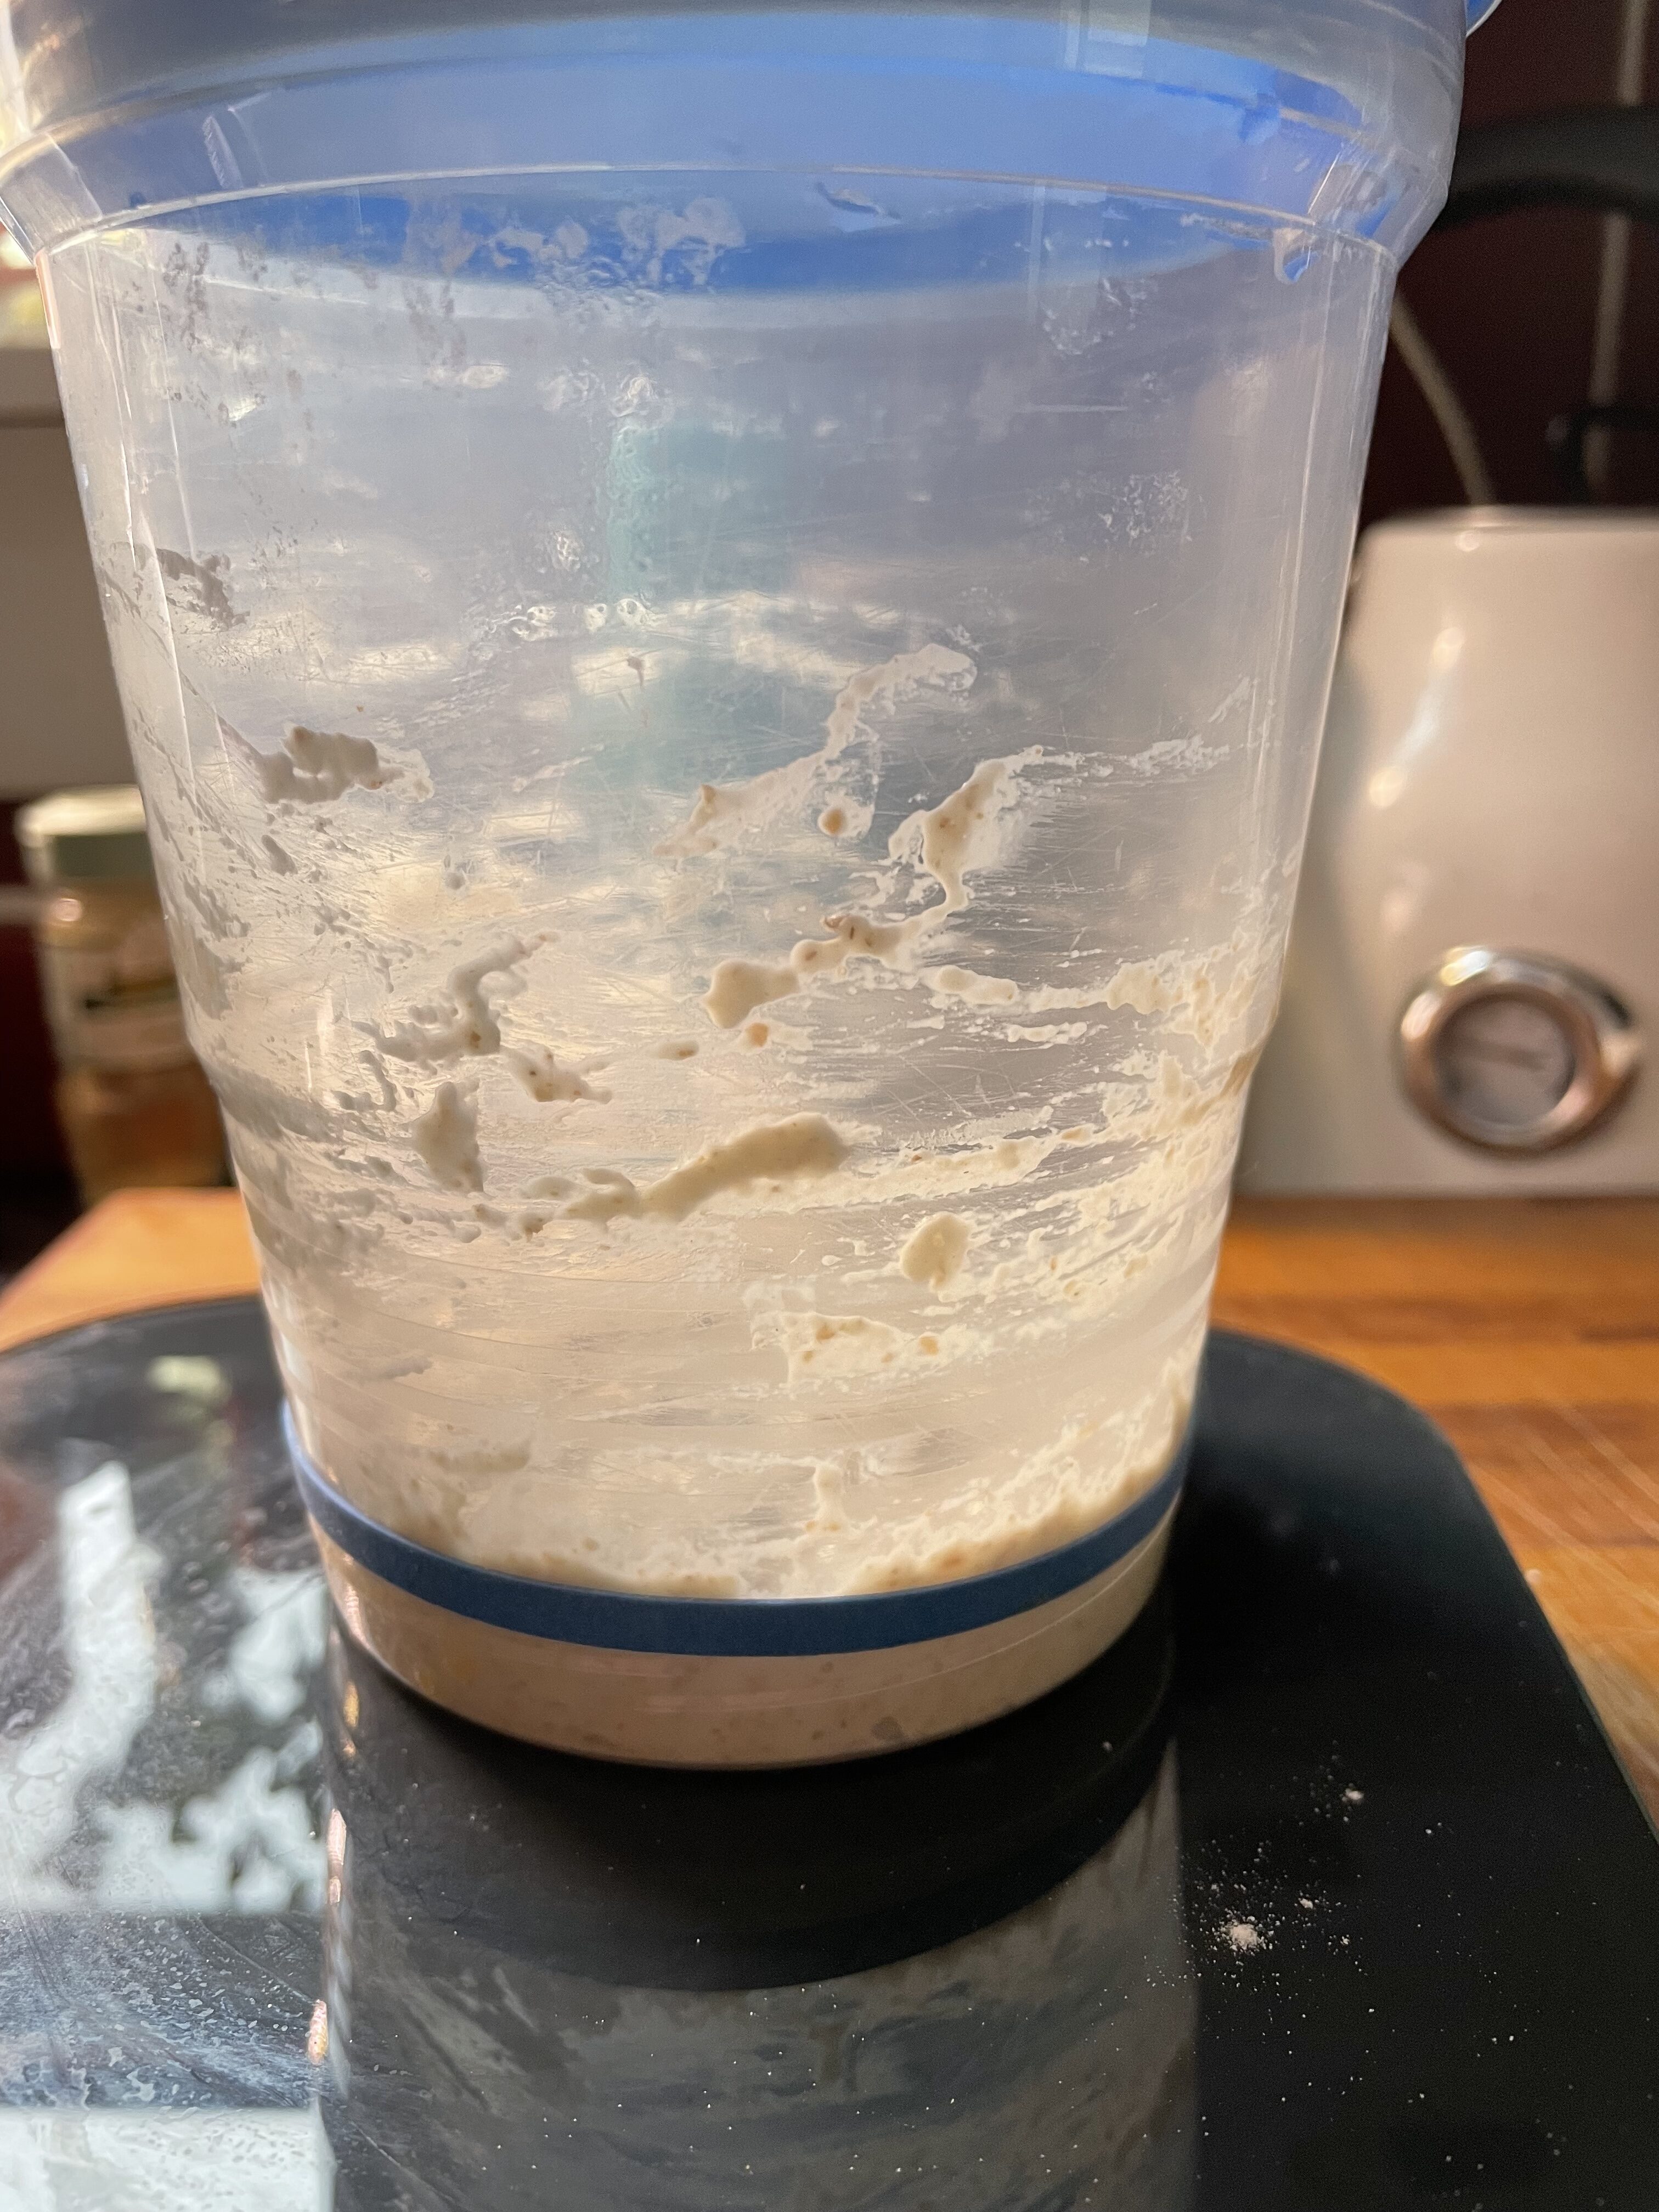
Day 1.
- Pour 60 grams of room temperature water into your jar.
- Mix in 30 grams each of white unbleached and whole wheat flours.
- Scrape down the sides of your jar so the top of the paste is somewhat even.
- Put an elastic band on the jar, located so the top of the band indicates the level of the starter.
- Cover your jar loosely and put it somewhere where it’s warm, 70-75° F is good.
- Inform your family members what it is and that they shouldn’t toss it out thinking it’s something forgotten about and gone bad.
- That’s it. You did well today.
Day 2.
- Today you’re just going to stir your starter and put it back in it’s home. And give it a smell.
- Smell it every day. Smell and taste are good indications of its health.
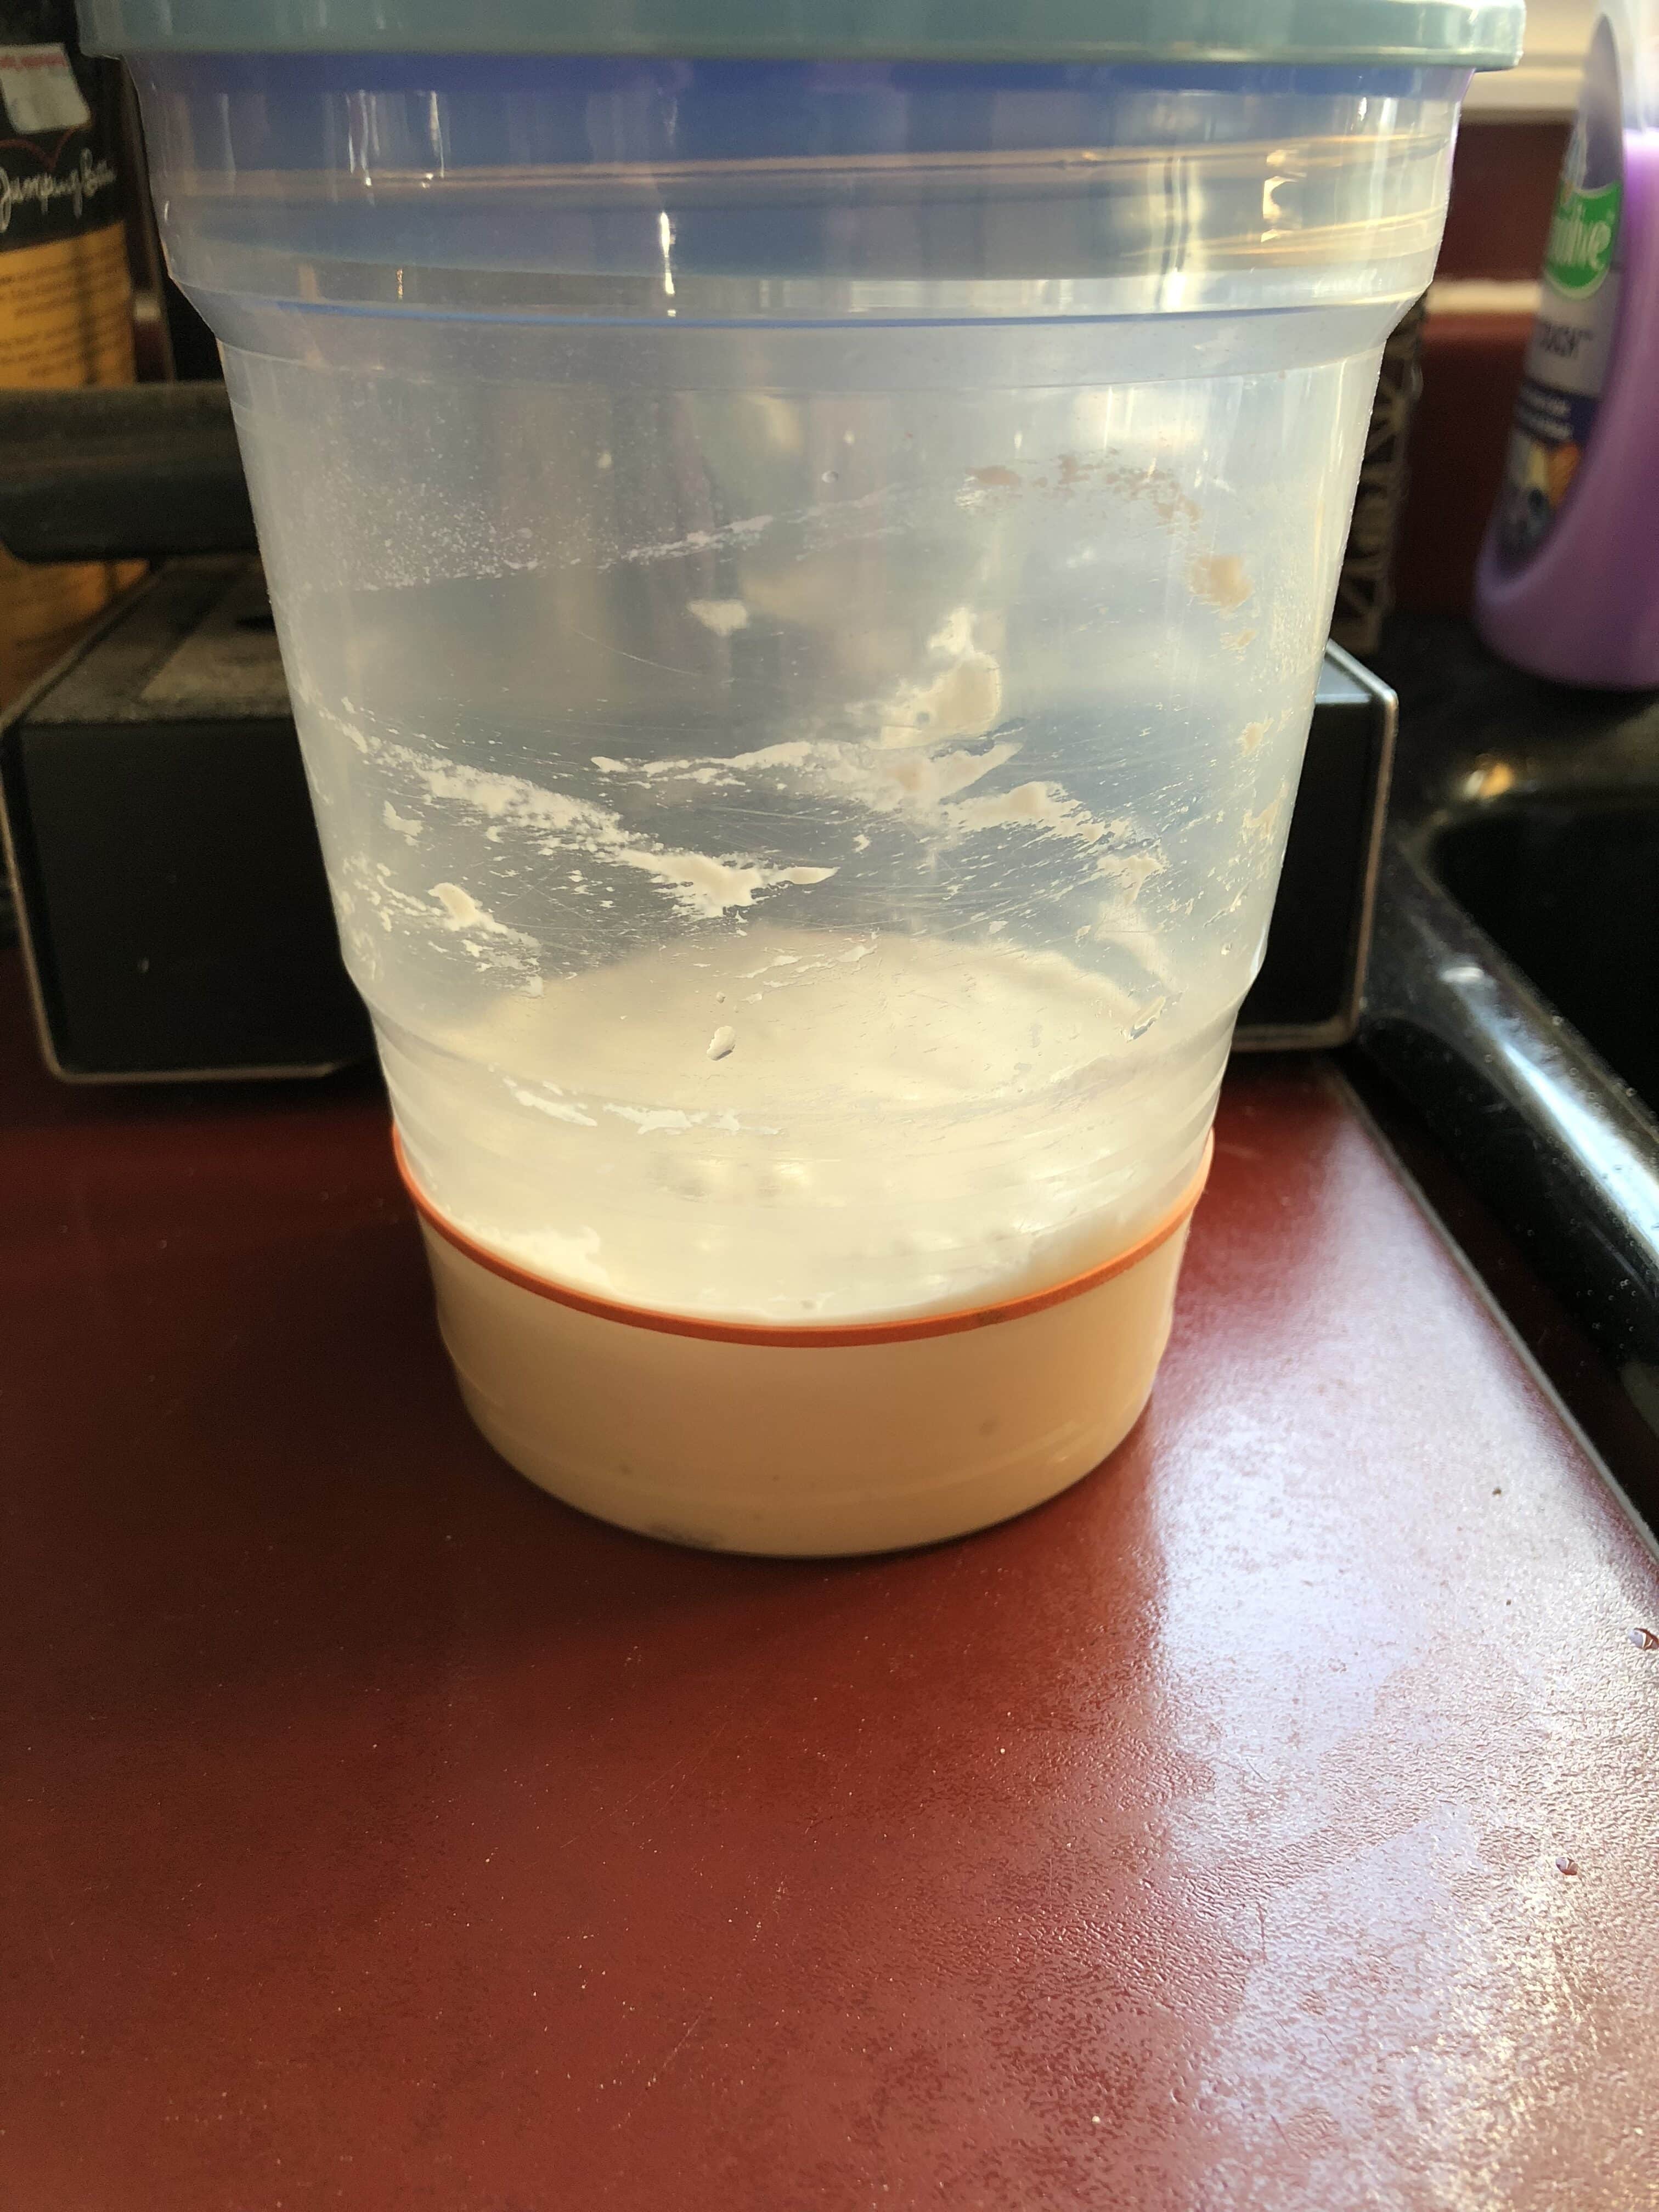
Day 3 to 5.
- This is the period where you should start to see activity.
- You may see a slight rise (using the elastic as a reference), you may see bubbles. But you should wonder what the heck is living in there because at some point, it’ll stink the high heavens.
- Many folks who want to make their starter will toss it out at this point because they believe it’s gone bad. It isn’t. I’d be a lot more worried if it didn’t stink at this point. I mean, the smell is truly putrid.
- Here you’ll start to discard some of your starter and feed it once a day, every day, preferably at the same time of day.
- So, you have 120 gms of starter. Throw out 80 gms (remember, your scale has a tare function) into the garbage bin so that leaves you with 40 grams of starter left.
- Pour in 40 grams of room temperature water, 20 grams of white unbleached flour and 20 grams of whole wheat flour. That is a feeding ratio of 1:1:1.
- Each number represents an ingredient; 1 for starter, 1 for flour and 1 for water, all equal parts. Give it a good stir making sure there are no lumps. Again, do this at the same time each day.
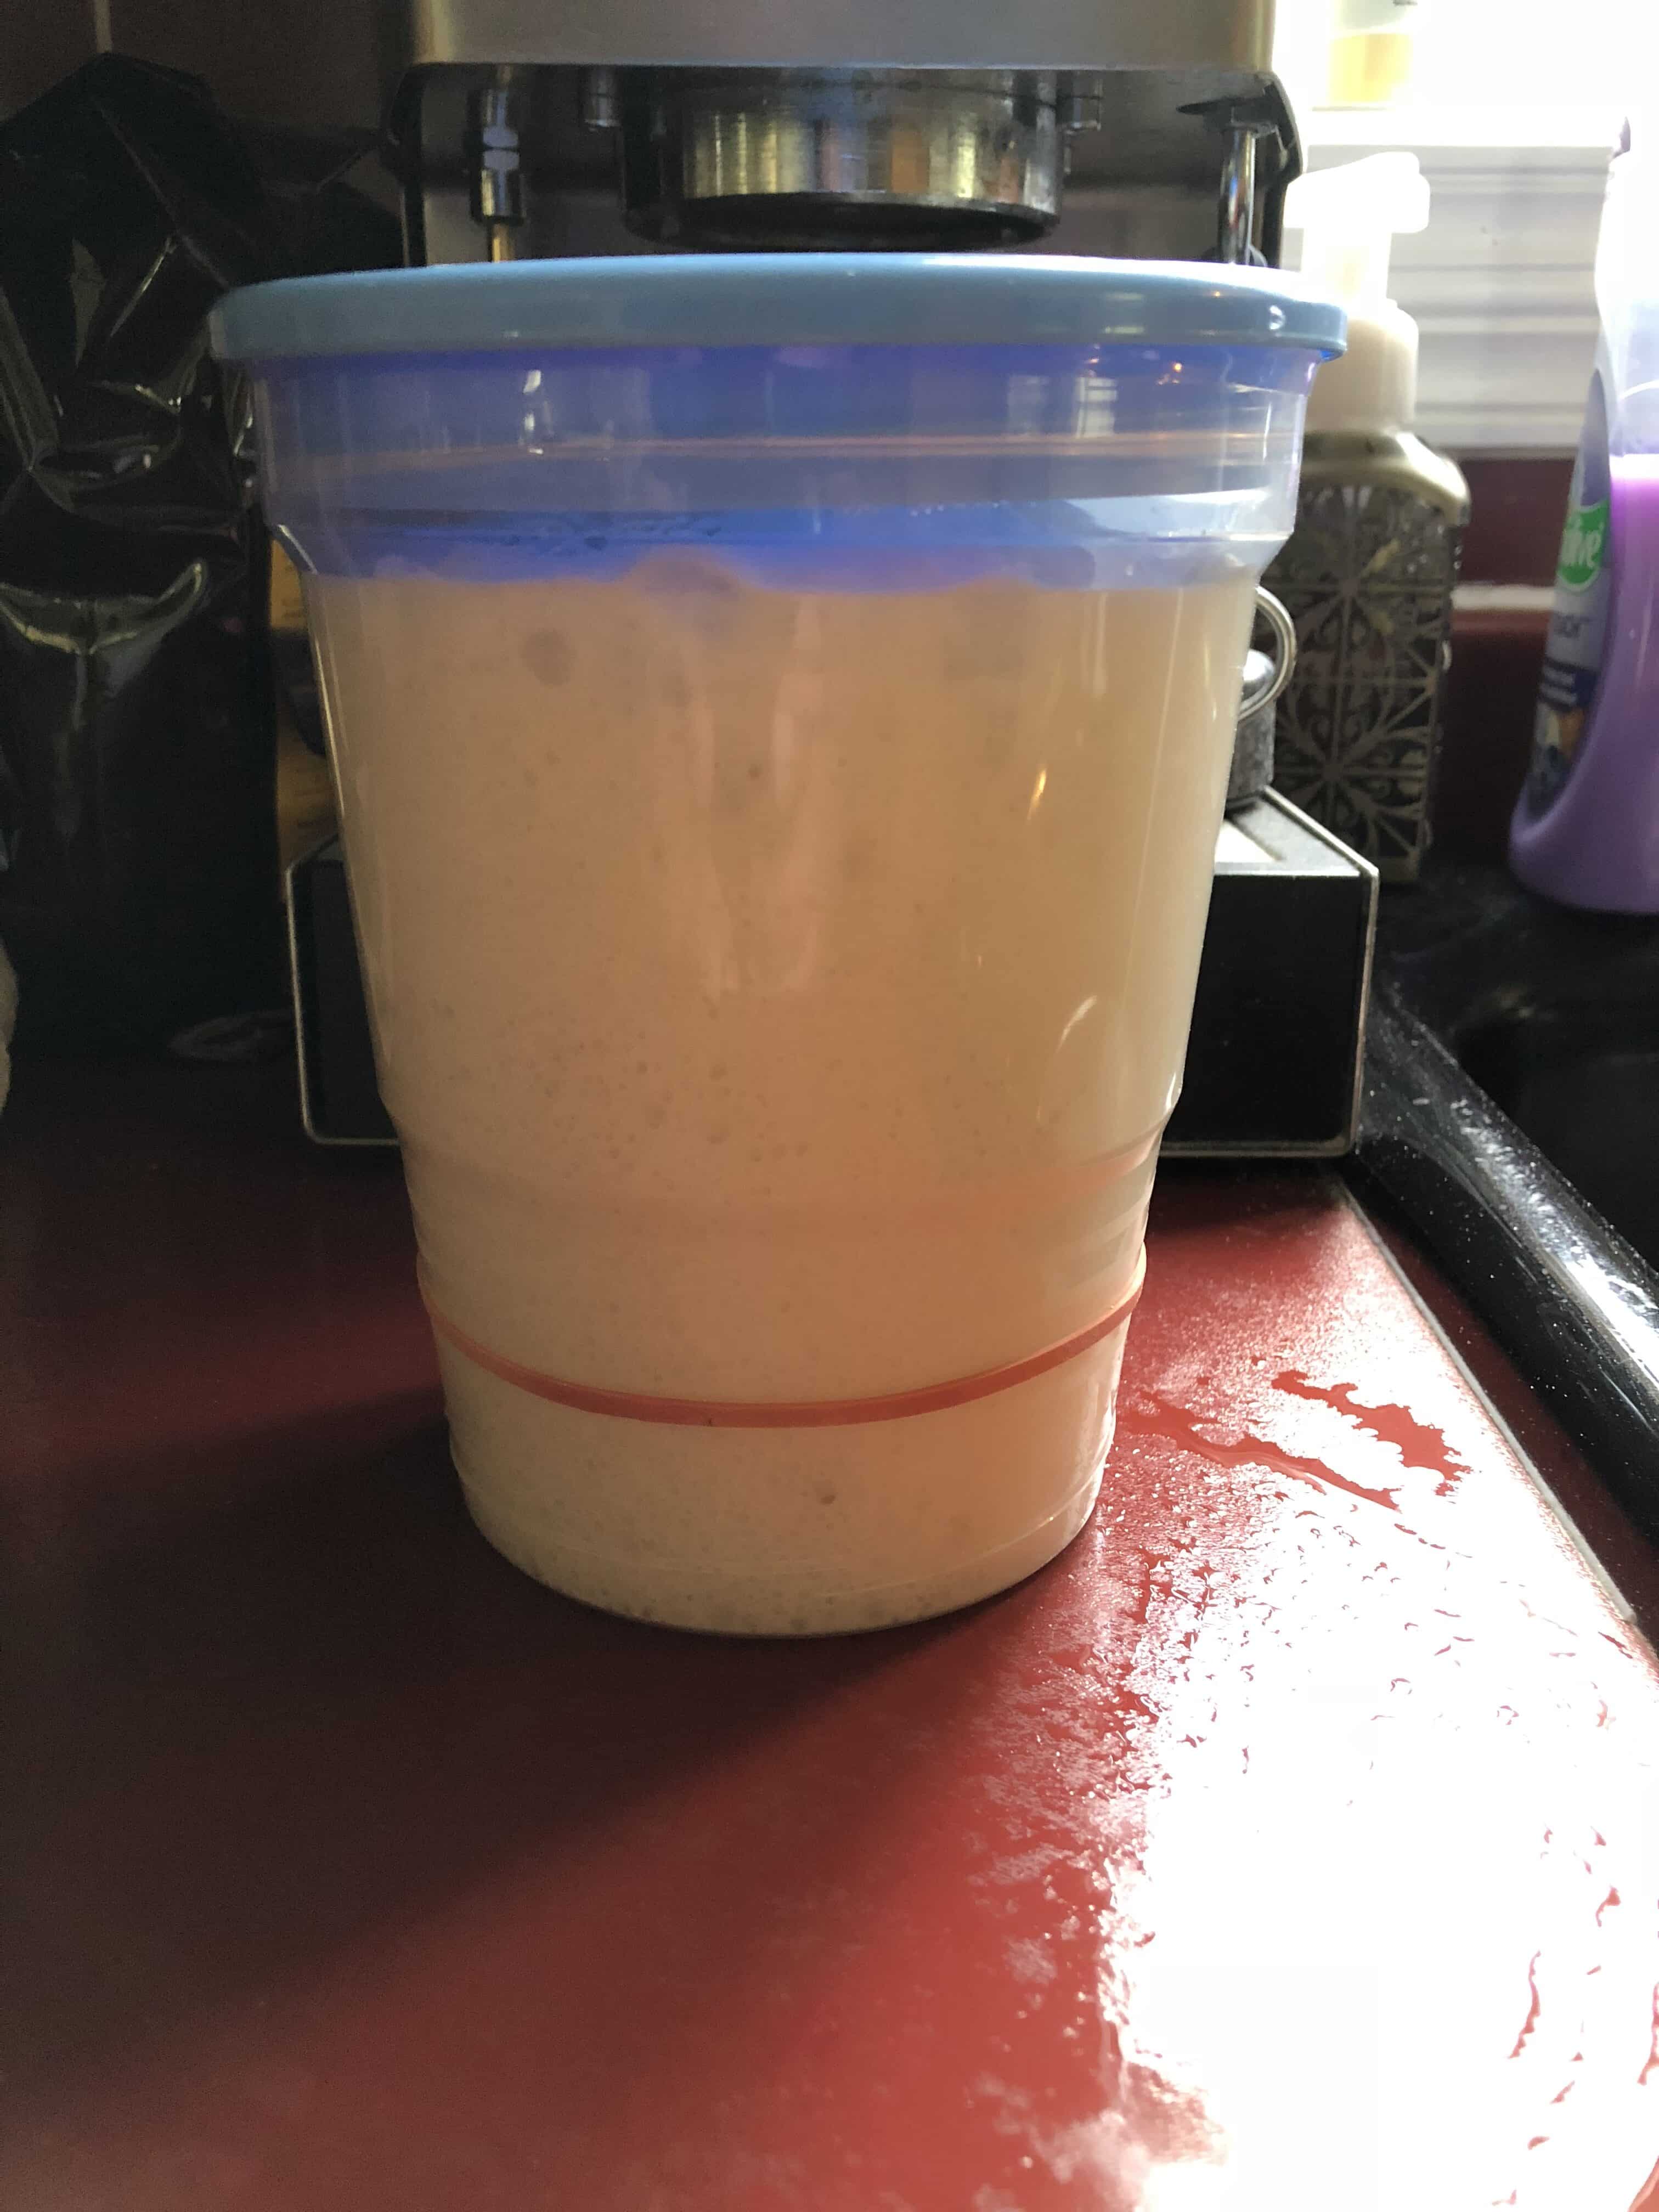
Day 5 to 10.
- By now the starter (have you given it a name yet?) should be past the smelly stage.
- Somewhere in this period, you’ll see it looks different at feeding time. The paste will be thinner and it may even show some dark thin liquid on top. That thin liquid is called “hooch”, and it’s basically excess alcohol from the yeast activity.
- This is a good sign, this shows your little colony of yeast and bacteria is growing and it’s hungry. When this happens, it’s time to start feeding it twice a day.
- So morning and night, roughly 12 hours apart, feed the same quantities as you were doing once a day.
- By now, your starter should be rising and falling predictably. Many guides say your starter is healthy if it doubles in a given period of time, be it 3 hours, 4 hours, or whatever.
- While that may be true for the particular person writing the guide, it’s like to many other things and it will vary from kitchen to kitchen. I believe a better indicator of a healthy starter is how long it stays at peak before falling.
- If your starter rises to peak and immediately falls, it’s most likely too acidic and needs to be fed a different ratio or more often. It should rise to peak and stay there for an hour or 2, or more, depending on physical size of the jar, temperature, etc.
Day 10 to 14.
- Your pet most likely now wants to be fed more as it grow older and the yeast and bacterial activity increases. Now is the time it’ll need a feeding ratio of 1:2:2 twice a day.
- For now, this will mean keeping only 25 grams of starter in the jar, and feeding it 50 grams of water and 50 grams of flour (25 grams each of white unbleached and whole wheat).
- At the end of this period, your starter MAY be ready to leaven some bread. I recommend waiting until it’s 3 weeks old, but I know you want to put it to work. I’ve been there, I know you’re anxious and excited to make bread.
- But if it doesn’t turn out, don’t get frustrated or disappointed, your pet is still a bit immature and may need a few more days to grow and become stronger.
Now, the big question is when after feeding do you use the starter in dough?
- I like the combination of flavours and activity when the starter is just past peak.
- This is when the surface of the starter is starting to flatten, it’s pockmarked by bubbles and every few seconds, you’ll see a bubble pop.
- If you shake the jar, you’ll see it jiggles like jello that isn’t quite set.
- You may learn that you prefer the flavours imparted on the dough if it’s used while still early in the peak stage, or maybe before peak.
- As the saying goes “You do you!” That being said, never try to use a starter that hasn’t at least doubled in a reasonable amount of time.
How To Care For Your Sourdough Starter
- To properly care for your sourdough starter so it does what you ask of it, you need to keep two things in mind: warmth and food. (And air, but that’s a given, right?)
- If you do these two things well, the starter will be very happy and make great food for you. This list of suggestions and guidelines not only works for a starter, but it also applies to a dough, once you get to that stage.
Note: People have often asked me to give (or sell) them a part of my starter. If they don’t know the basics of sourdough, and make a successful loaf, I won’t. Not because I’m cheap and miserable, after all, 20 or 30 grams of starter contains flour that’s only worth pennies. It’s because I believe making your own starter is “sourdough kindergarten”, and you gain important knowledge from making a starter that will help you when it comes to making bread, be it your first, or if you’re an old hand at it. Also, there’s quite a special feeling knowing you did this from scratch, with just flour and water, and 3 of the most important ingredients that can’t be purchased; love, time and patience!
Environment:
- A sourdough starter likes to be warm while it is working. Ideal temperature is right around room temperature, or about 70-72 F.
- Cooler than that, it will be slow, and warmer, it’s faster.
- When I started my first one, it’s home was in the cupboard over the fridge. I had read that’s one of the warmest places in the house and it worked for me.
- An oven with the light on works too, but make sure you have a low wattage appliance bulb in there. I find any more than 40 W will get the oven too warm.
- Use water and flour to feed your starter. Warm water is best. (I use an instant read thermometer and use water that’s 78-80 F. Don’t add cold water or cold flour to your starter unless your kitchen is really warm, see note below.)
- Otherwise your starter will be super slow reacting to the food as the culture will have been chilled below it’s preferred temperature.
Note: If you live in a very warm climate and don’t use air conditioning, and your house is over mid-80s, you may need to take steps to keep your starter cool. Find a cold place in the house, feed with cool water and flour, even place the tub / jar your starter is in into a bowl of cool water, refreshing that water as it warms.
Menu:
- The wild yeast in a sourdough starter feed on the complex sugars (carbohydrates and starches) in the flour.
- If you ask 10 people how they feed their starter, you’ll get at least 8 different answers.
- I’m going to ask you to use a blend of white unbleached (more on this below) and whole wheat flours to get your starter going, for at least the first 3 weeks.
- After that, use whatever wheat flour you can get your hands on and that you’re using for your bread.
- Eventually, you may want to use a starter that’s been fed with rye, or spelt, etc, to experience the difference(s) it makes to the bread.
- Personally, I use white flour only in my starter. That way, I can make a dough with any type of flour I want. If someone is expecting a pure white loaf, it can be a bit of a turnoff to see flecks of bran from the whole wheat in the bread.
Now, bleached or unbleached:
- I highly recommend using unbleached flour to get your starter going.
- When starting, you are trying to harvest yeast spores (and beneficial bacteria) from the environment you’re keeping your starter in. That can come from your body (yes, we unknowingly carry yeast), and that can come from other fruit and vegetables in your kitchen.
- Ever see the white powder on grapes? Yup, yeast. However, I believe the best source of yeast for your starter is the flour itself. If you try to use bleached flour, the bleaching process has killed off the yeast naturally in the flour, the yeast you’re trying to harvest and grow.
- So then, you’ll be depending on the wild yeast from other sources in your environment, and not from the flour, and your starter will take significantly longer to mature enough to leaven bread.
- Now, a bit of simple math that is related to feeding your starter. Throughout the “bread world” online and in printed guides, you’ll see ratios, such as 1:1:1, 1:2:2, etc.
- In general, the numbers represent quantities of each ingredient and how they relate to each other. The first number represents starter, the 2nd water, and the 3rd is flour.
- So 1:1:1 means 1 part starter, 1 part water and 1 part flour. Each “part” could be 10 grams, 150 grams or 6 kilograms. As long as each part is the same weight, it’s 1:1:1.
- So if that’s the case, 1:2:2 means this; 1 part starter to 2 parts water and 2 parts flour. So for example; 1:2:2 might be (a typical feeding for me) 30 gms of starter, 60 gms of water and 60 gms of flour.
YOU WON’T KILL IT!
An established starter is actually quite hard to kill.
You can freeze it, you can lose it in the back of the fridge for months, you can forget to feed it, etc. It will come back with a few good feedings.
That being said, most of us will become quite attached to our starter and such a thing as this won’t happen. It’s a living thing, YOU created it and you take care of it. Give it some love and you’ll be rewarded with delicious bread.
Jamie O'Flaherty
Like How to Make a Sourdough Starter?
You'll find hundreds of other great ideas in our Breads Category!
It's easy to keep up with the latest home style cooking & baking ideas from Rock Recipes. Be sure to follow Rock Recipes Facebook Page and follow us on Instagram.
Plus you'll see daily recipe suggestions from decadent desserts to quick delicious weekday meals too.
You can also sign up for our FREE newsletter to know immediately when we add new recipes. You'll also get weekly suggestions for great family friendly meals and desserts too!

Rock Recipes a participant in the Amazon Services LLC Associates Program, an affiliate advertising program designed to provide a means for us to earn fees by linking to Amazon.com and affiliated sites. Our product recommendations are almost exclusively for those we currently use or have used in the past.