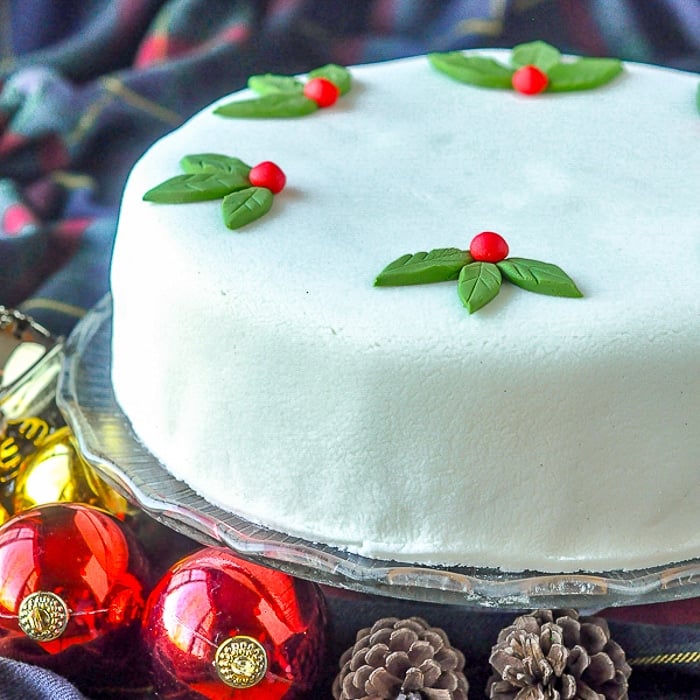
Easy Marshmallow Fondant. It costs far less, is not difficult to prepare and tastes better than store bought too! It’s also easy to add flavourings and colouring to suit the cake.

Ultimate Nut Fruitcake
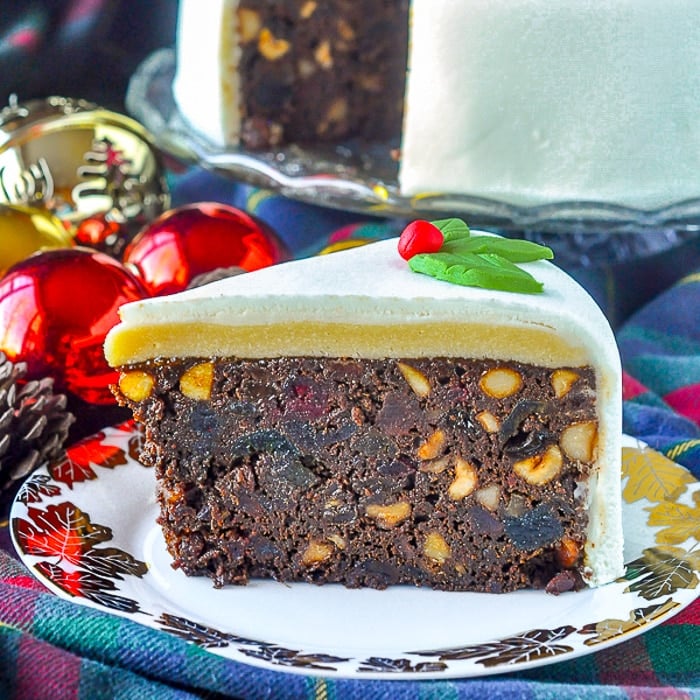
I made this marshmallow fondant recently just because I wanted to give a finished look to my Ultimate Nut Fruitcake for Christmas. I did decorate a lot of cakes once but never really got into fondant.
Yes, it looked pretty and polished but I always thought it as a bit of a waste, since anyone rarely ever ate it. It always seems to be discarded to the edge of the plate at birthday parties and weddings.
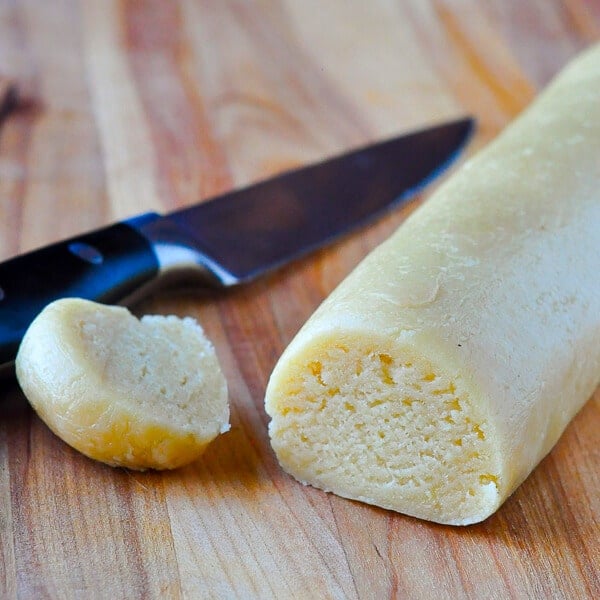
Still, because I was using a layer of Homemade Marzipan on my cake, I thought a finish of smooth fondant with some simple seasonal decoration might make the cake a bit more of a centrepiece at my Holiday buffet table.

Ultimate Nut Fruitcake
The fondant turned out to be as easy as the many, many Pinterest posts about it claimed. Many websites have featured this recipe but it is the same basic one in all of them.
The only thing I found a bit odd is that some call for as much as a 1/2 cup of shortening to help it from sticking to your hands and surfaces as it is being kneaded. That amount might actually cause the fondant to fail because I only used a couple of tablespoons and I think the less the better here.
As many of the recipes I read suggest, this fondant really does need a day to be wrapped tightly and rest. The resting period makes it easier to roll and somehow gives it more strength, making it easier to roll.

Easy Marshmallow Fondant
Colouring the fondant
If using colouring, use cake decorating colour paste like Wilton brand. It’s much easier to get the intensity of colour you want than by using liquid colour.
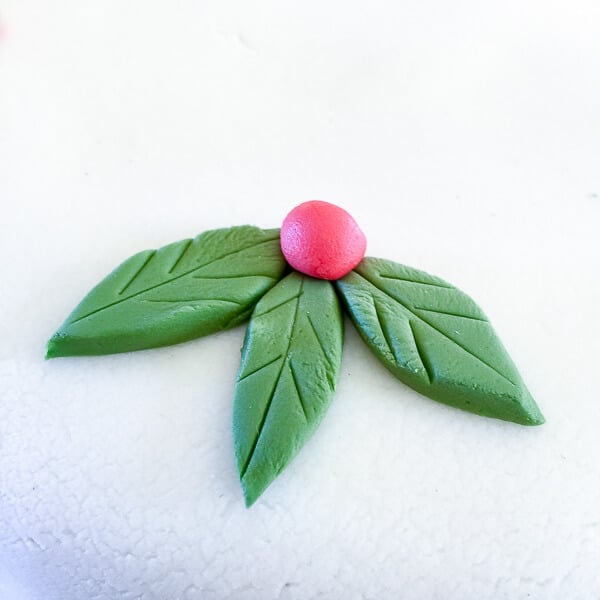
You can also use just little of the paste to knead into small pieces of fondant for decoration if you only need a little, as in the leaves and berries on the fruitcake pictured. Disposable gloves are helpful with that, so as not to stain your hands.
You can flavour the fondant using extracts, like almond or clear vanilla. If using colour or flavourings for the whole batch, then it’s best and easiest to use it in the batch before all of the icing sugar has been added.
This was so easy to do that I think I may try something a little more special when I decorate my daughters birthday cake in a few weeks. Give it a shot, it really is quite easy.
If you like this recipe, be sure to check out our entire collection of Favourite Newfoundland Christmas Cakes here.
Like this easy marshmallow fondant recipe?
Find plenty of amazing cake recipes to use it on in our Cakes and Pies Category.
It’s easy to keep up with the latest home style cooking & baking ideas from Rock Recipes. Be sure to follow Rock Recipes Facebook Page and follow us on Instagram.
Plus you’ll see daily recipe suggestions from decadent desserts to quick delicious weekday meals too.
You can also sign up for our FREE newsletter to know immediately when we add new recipes. You’ll also get weekly suggestions for great family friendly meals and desserts too!

Rock Recipes a participant in the Amazon Services LLC Associates Program, an affiliate advertising program designed to provide a means for us to earn fees by linking to Amazon.com and affiliated sites. Our product recommendations are almost exclusively for those we currently use or have used in the past.
- 1 pound large bag of mini marshmallows (1 500 grams)
- 4-5 tbsp water
- 8-9 cups or so of icing sugar powdered sugar
- tbsp a few vegetable shortening
- Flavour extracts or colour paste if needed
-
In a large plastic or glass bowl, toss the marshmallows in the water and microwave for 20 seconds or so.
-
Remove from the microwave, stir and return to the microwave for 10-15 second intervals, stirring after each one, until the marshmallows are fully melted and smooth. Be careful not to overheat the mixture. As soon as the marshmallows are smooth, you're done.
-
Add a couple of cups of the icing sugar to the marshmallow mixture and begin to fold it in gently.
-
Continue to add more icing sugar until the mixture becomes quite thick and almost dough-like. You can add favouring and colour just before this stage if you need to.
-
Use some of the shortening to lightly grease your counter top. Sprinkle on some icing sugar and pour the thick fondant mixture onto the counter.
-
Lightly grease your hands with the shortening as well, to keep the fondant from sticking to them.
-
Add more of the icing sugar on top of the mixture and begin to knead it in with your hands. Regrease your hands as necessary.
-
I found a metal spatula was good to use if the mixture begins to stick to the counter top. Scrape the counter and add a dusting of icing sugar, then continue to knead.
-
Continue to add icing sugar and knead until the fondant comes together into a ball and has the consistency of play dough.
-
Lightly grease some plastic wrap and place the fondant onto the wrap. You can split it into two balls if you prefer.
-
Wrap the fondant in one or two more layers of plastic wrap and let it sit at room temperature for 24-48 hours before using.
-
This fondant will easily keep for a couple of weeks at least, so you can make it well in advance if need be.


Lisa Leckie
Wednesday 6th of December 2017
Can this be done on stove top...I don't have a microwave.
Barry C. Parsons
Thursday 7th of December 2017
Probably but I've never tried that.
Karen Monahan
Monday 6th of February 2017
How much does this make? Just enough to cover a standard cake? Thanks!
Barry C. Parsons
Saturday 11th of February 2017
It was enough to cover a large 10 inch fruitcake with a little left over for decorations. I'd say enough to cover 2 8 inch layer cakes
Irene
Tuesday 6th of December 2016
Homemade fondant that uses marshmallows or gelatine and water is the best kind to use for covering cakes. The commercial brands are really better for making decorations with all those added gums that are listed in their ingredients. I had perfect results with this recipe the first time on a square fruit cake wedding cake.