
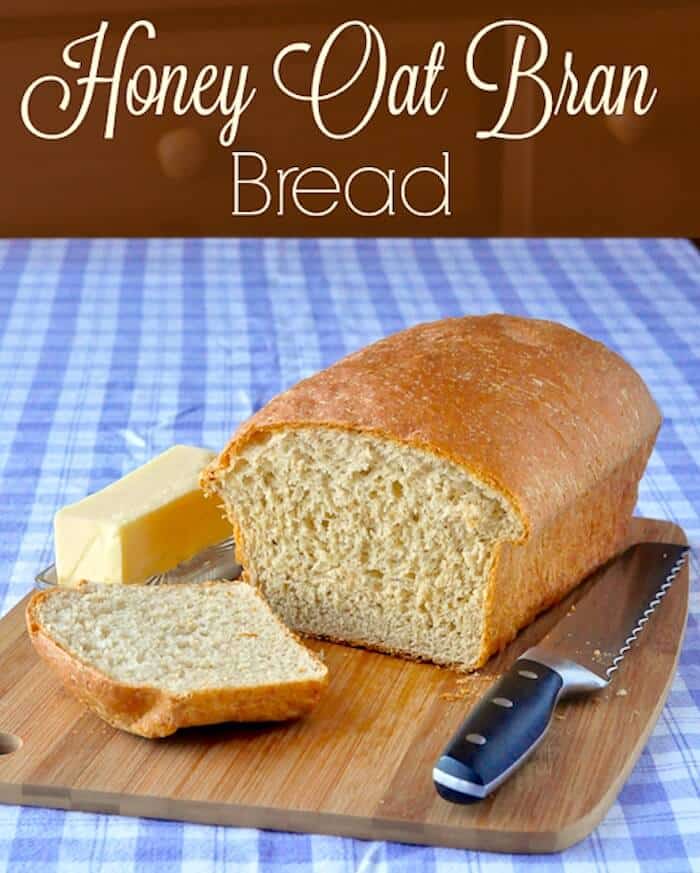
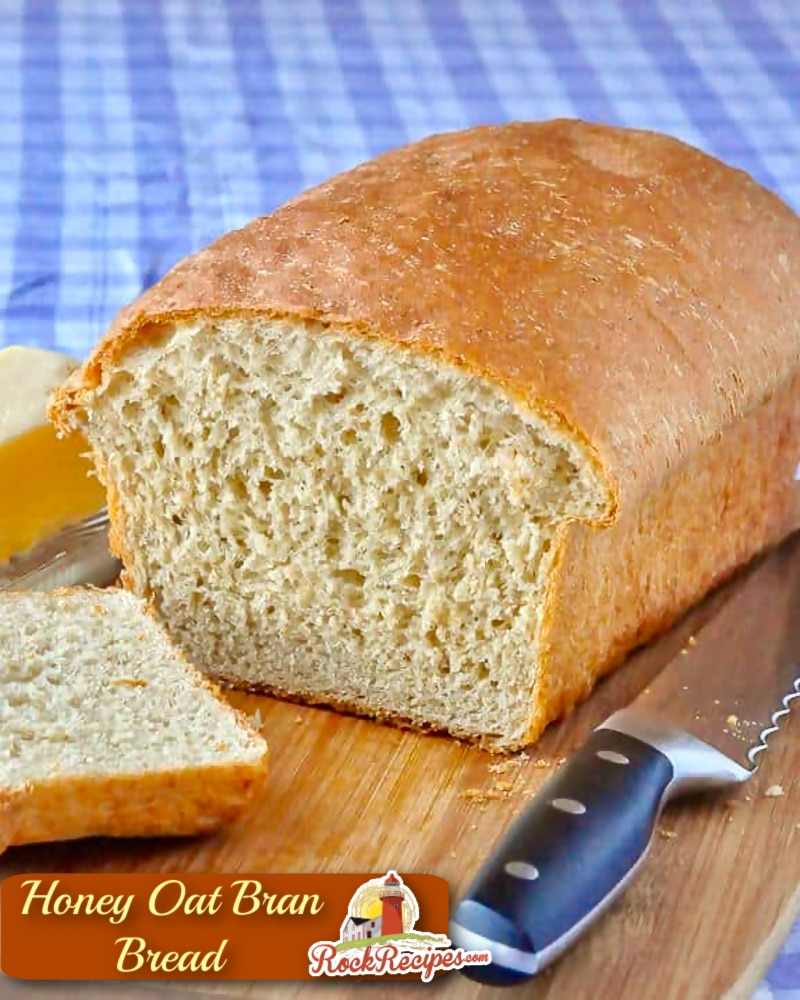
Honey Oat Bran Bread
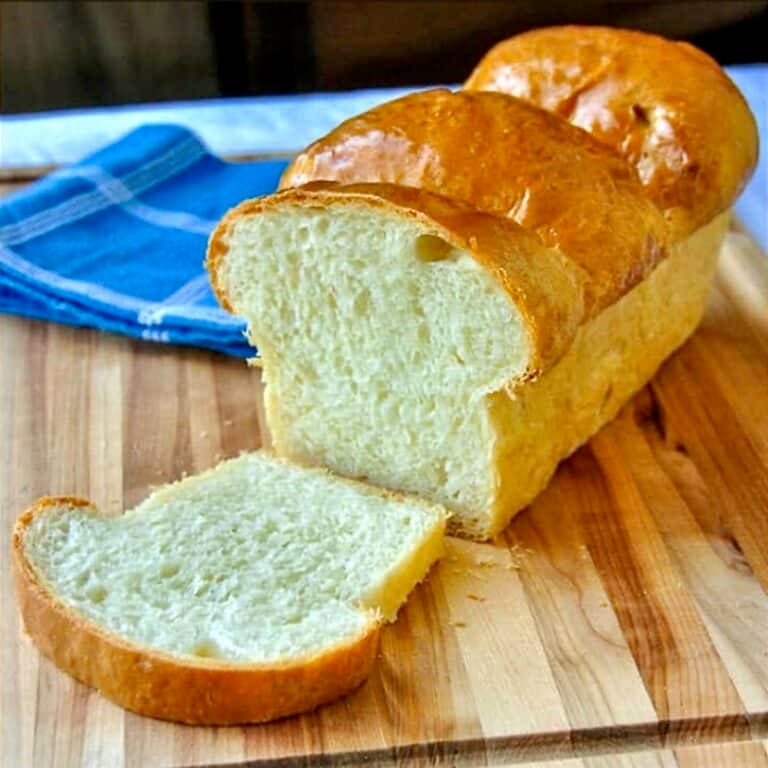
Honey Oat Bran Bread. A delicious home-made bread, lightly sweetened with honey and with the wholesome flavour of oats; makes a terrific sandwich loaf.
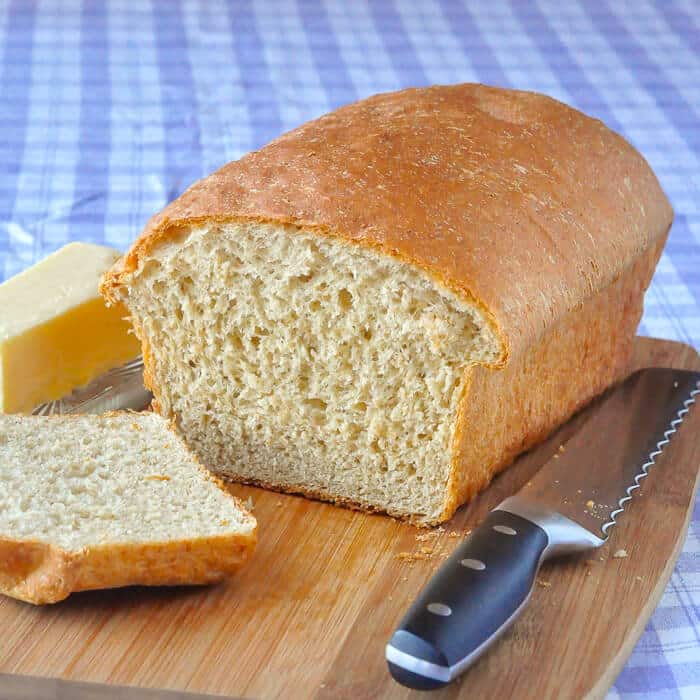
This Honey Oat Bran bread is a recipe I've been tweaking for a while. I do like whole grain breads but they can tend to be a bit mealy and dry in some cases.
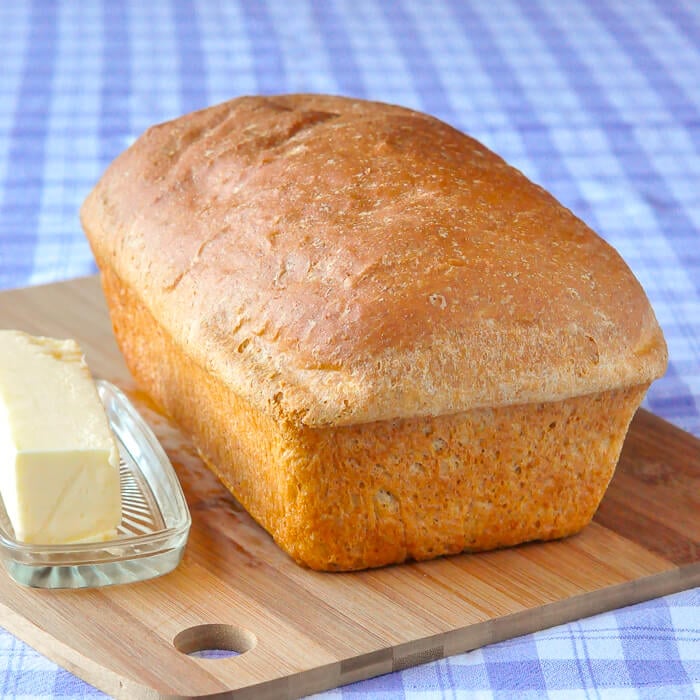
I was looking to make a softer, more tender loaf of that would make both a great sandwich bread. Also it should be a good bread for morning toast and jam.
I'm also a big fan of the flavour of oatmeal. Plain old oatmeal porridge is still a breakfast staple for me, especially in winter. As in other good bakery-style honey oat bran breads I'd tried, I wanted it to have the wholesome slightly nutty flavour of oats.
I achieved the texture of this bread by using a combination of flours and adding back in extra oat bran to increase its nutritional fibre. All in all I think this one turned out to be a great balanced bread with the flavour and texture I was looking for. I hope you bread bakers will enjoy it too.
Be sure to check out our incredibly popular recipe for Homemade White Bread too. Plenty of people swear by that recipe.
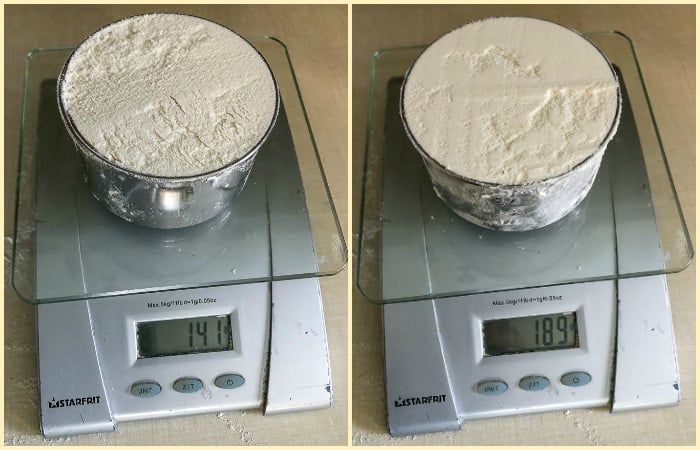
Measuring flour correctly.
It is easy to over measure flour for any recipe by as much as 30% or more as you can see in the photo below. Both are one cup of flour but one weighs much more. Read more on how to avoid this common baking pitfall in our post on How to Measure Flour Correctly.
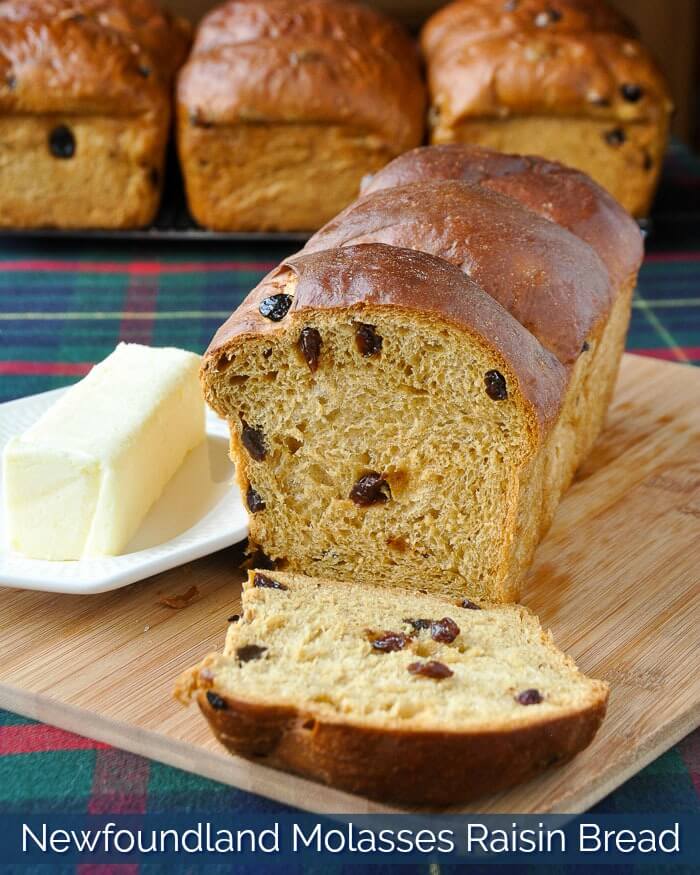
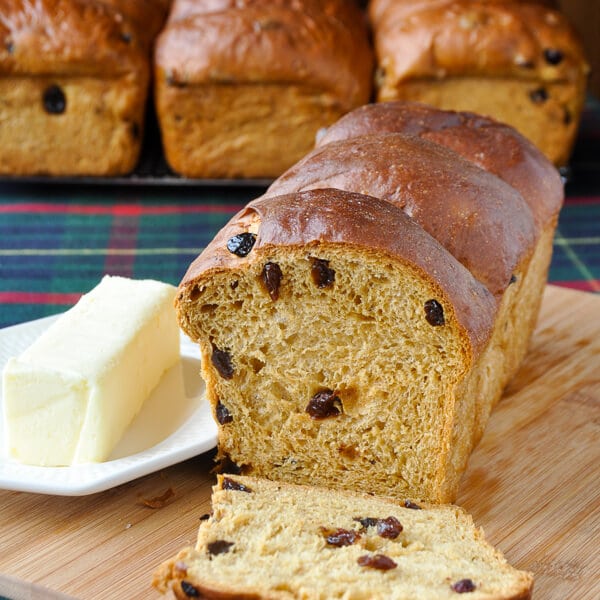
If you liked this recipe you may also want to try our Molasses Raisin Bread.
Like this Honey Oat Bran Bread recipe?
You'll find lots of other great ideas in our Bread & Baking Category and in our Side Dishes Category.
It's easy to keep up with the latest home style cooking & baking ideas from Rock Recipes. Be sure to follow Rock Recipes Facebook Page and follow us on Instagram.
Plus you'll see daily recipe suggestions from decadent desserts to quick delicious weekday meals too.
Get our newsletter.
You can also sign up for our FREE newsletter to know immediately when we add new recipes. You'll also get weekly suggestions for great family friendly meals and desserts too!

Rock Recipes a participant in the Amazon Services LLC Associates Program, an affiliate advertising program designed to provide a means for us to earn fees by linking to Amazon.com and affiliated sites. Our product recommendations are almost exclusively for those we currently use or have used in the past.

Honey Oat Bran Bread
Honey Oat Bran Bread - a delicious home-made bread lightly sweetened with honey and with the wholesome flavour of oats; makes a terrific sandwich loaf.
Ingredients
- 1 ½ teaspoon active dry yeast
- ½ cup lukewarm water
- 1 teaspoon sugar
- 4 ½ cups to 5 all purpose flour
- 1 cup of oat flour
- 1 cup whole wheat flour
- ½ cup oat bran
- 1 teaspoon salt
- 2 eggs
- ½ cup melted butter
- 2 ½ cups lukewarm milk
- ⅓ cup honey
Instructions
- Proof the yeast by dissolving the 1 teaspoon of sugar in the ½ cup warm water. Sprinkle in the yeast and leave to sit in a warm place for 10 minutes until it gets foamy.
- It is possible to hand knead this dough entirely but I now make it in my KitchenAid stand mixer.
- Add 2 cups of the all purpose flour, the oat flour, the whole wheat flour and the oat bran flour to the bowl of your electric mixer with the dough hook attached. Stir in the salt.
- Add all of the remaining ingredients and turn the mixer on low for about 5 minutes to get the dough started.
- Begin to add the remaining all purpose flour, ¼ cup at a time leaving it to knead into the dough for a few minutes. Continue to add flour only until the dough releases from the sides and bottom of the bowl, then let the dough knead for another 5 minutes.
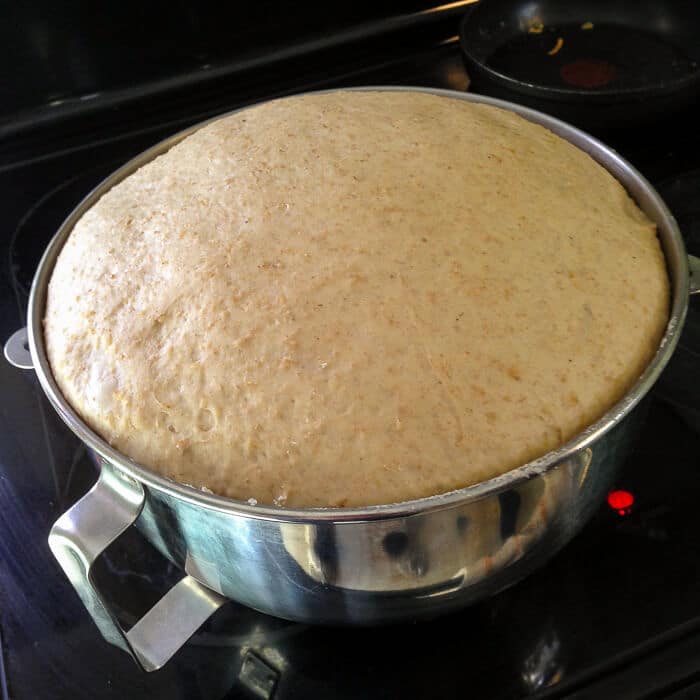
- Cover dough and leave to rest and rise for one hour.
After rising is done
- Punch the dough down and knead it for a few minutes by hand before letting it rest for another 10 minutes.
- Grease 3 bread pans. Divide the dough into 3 equal portions.
- Form the dough into straight loaves and place in the greased pans.
- Cover with a clean tea towel and allow the dough to rise until it is about 2 inches above the rim of the pan, about 2 hours depending on room temperature. (NOTE: At this stage, the bread dough can be cold proofed overnight in the fridge if you want to serve it freshly baked early the next day or just want to save time in advance. Just cover the pans with a clean tea towel. You can spray the surface of the dough with water from a spray bottle to prevent the surface of the dough balls from becoming too dry if you like but this is not really necessary with the humidity in most fridges. Just remove the pans from the fridge in the morning and allow them to finish raising to about 2 inches above the pan rim as shown in the photo above, which could be another 1-2 hours and bake as directed below.)
- Bake at 350 degrees F for 40-50 minutes depending on the size of the pans that you are using. The loaves should have a golden crust top and bottom and sound hollow when tapped to be fully baked.
Notes
Total time does not allow for rising time of the dough. Allow another 2 hours.
-
The nutritional information provided is automatically calculated by third party software and is meant as a guideline only. Exact accuracy is not guaranteed. For recipes where all ingredients may not be used entirely, such as those with coatings on meats, or with sauces or dressings for example, calorie & nutritional values per serving will likely be somewhat lower than indicated.
-
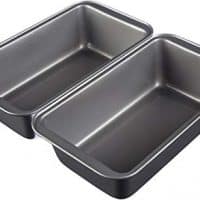
Recommended Products
Rock Recipes a participant in the Amazon Services LLC Associates Program, an affiliate advertising program designed to provide a means for us to earn fees by linking to Amazon.com and affiliated sites. Our product recommendations are almost exclusively for those we currently use or have used in the past.


Nutrition Information
Yield
3Serving Size
sliceAmount Per Serving Calories 132Saturated Fat 2gCholesterol 17mgSodium 99mgCarbohydrates 21gFiber 1gSugar 3gProtein 3g
Would you like to save this recipe?
Send this recipe to my email.


I would like to try this recipe as I love oatmeal, but was wondering if regular flour can be substituted for the oat flour (source issue) ?
Thanks
Yes or more whole wheat.
I tried this recipe followed the instructions to a T
The dough rose lovely, and when I put it in the oven it went flat.
What ever did I do wrong???
The bread is very good soft, tasty, with just a bit of crust to make it nice and crunchy. If only I could get it to rise and stay up while baking.
Thanks
Sounds like you let it rise too long. Over proofed.
With delicious white bread i doubled the recipe and used 4 pans but with this recipe after doubling this recipe I had too much dough for 4 pans. What size pans do you use in this recipe?
Not sure what you are saying. Are you comparing my white bread recipe to this one in terms of size. I generally use 9x5 pans. Some people have 8 x 4 1/2 pans.
Yes, I have been doubling your white bread recipe and getting 4 good size loafs. I have been using the 9x5 pans.
I doubled your honey oat bran recipe and had more than enough dough for 4 pans but certainly not enough for 6 perhaps maybe 5 so I figured you were using smaller pans.
Since my first comment I had another go at the Honey Oat Bran and this time I didn't double the recipe. I used the Kitchen Aid Mixer as you suggested rather than hand mixing and kneading as I did last time. After the first 1 hour rise I decided the dough was much too sticky so I reluctantly put the bowl back on the mixer and added more white flour as the machine kneaded the dough, thinking I would probably end up with a large batch of healthy dog biscuits. After about a good cup of flour the dough was somewhere around the right texture and it was very elastic although I was losing my ability to judge these things. So the dough was kneaded and panned in 3 pans then promptly forgotten about. When I finally came round and remembered to check some 3 1/2 hours later the dough had more than doubled and I thought surely the loaves would collapse when I put them in the oven.
36 minutes later I had 3 perfectly shaped loaves of bread that tasted great and had a better texture and lightness than the last. Unbelievable.
Lessons learnt:
1.The dough can survive 3 risings
2. Since my kitchen is cool the dough could stand rising more than the 1 and 2 hours.
3 The mixer did a great job on the gluten and the abnormal high (for me) loaves survived the oven.
Maybe I'll rethink the white bread recipe
Thanks for your reply
Wayne
Has anyone tried this in a bread machine?
I love the flavour of your Honey Oat Bran Bread. I like making it in three buns because I like the “kiss” ( the slice between two buns) and this time I dipped the tops of my buns in egg and then dipped it in old fashioned rolled oats. It now resembles an artisan loaf.
Awesome recipe!!
First, the bread is very good. It would help very much if you would indicate the pan sizes to be used. Also, if you would indicate the kneading time required when making this bread by hand. I was confused after the first rise, was I supposed to knead the bread again? So the taste test was ok but it did not look like a tradional loaf as it turned out to be flat on top, and I’m pretty sure it has to do with the pan size and kneading. Could you please clarify because I wish to try this again. Thanks
Only a short knead of a few minutes. 9x5 pans should be fine.
I am looking for a recipe for oat bread that uses buttermilk. Do you think it could be substituted for the milk in this recipe?
We haven’t tried it but give it a go!
What can you substitute for oat bran in this recipe?
Does the first rise need to be as puffy as what is shown in the picture? Mine was not.
I liked the bread very much but will add a bit more salt next time I make it...which will be soon 🙂