Authentic Neapolitan Pizza Dough
Authentic Neapolitan Pizza Dough. This recipe gets everything right, from texture and flavour to the proper stretchability of the dough.
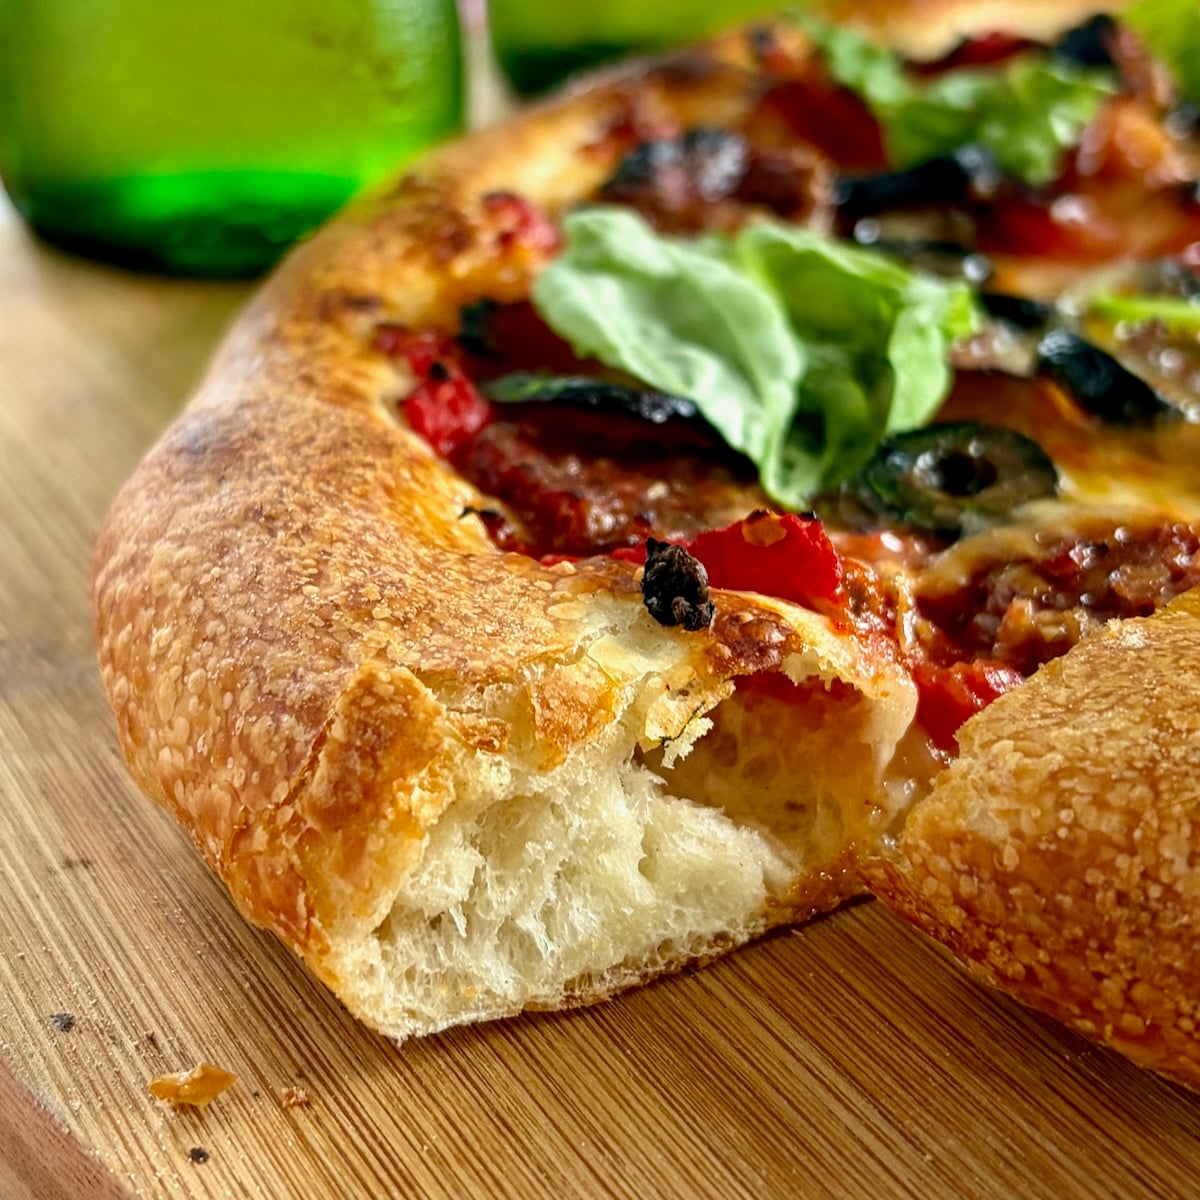
I've been chasing this recipe for a long time and quite a bit of research has gone into it. After using this recipe for the last several pizzas in test batches, I am in love with the final result.
First off, let it be known I am a pizza junkie. There is not a city in the world where I have visited that I have not had at least one pizza meal.
I've sample pizza from Venice, Rome, Naples of course, London, Cannes, several in NYC and Toronto, Vancouver, Las Vegas, San Francisco, Tampa, Boston and many others too numerous to mention. I could write a book on sampling pizza around the world.
I'm not here to knock New York, Detroit, Roman, Sicilian, or Chicago Deep dish styles. I've sampled many that I loved. My all time favourite though is Neapolitan style.
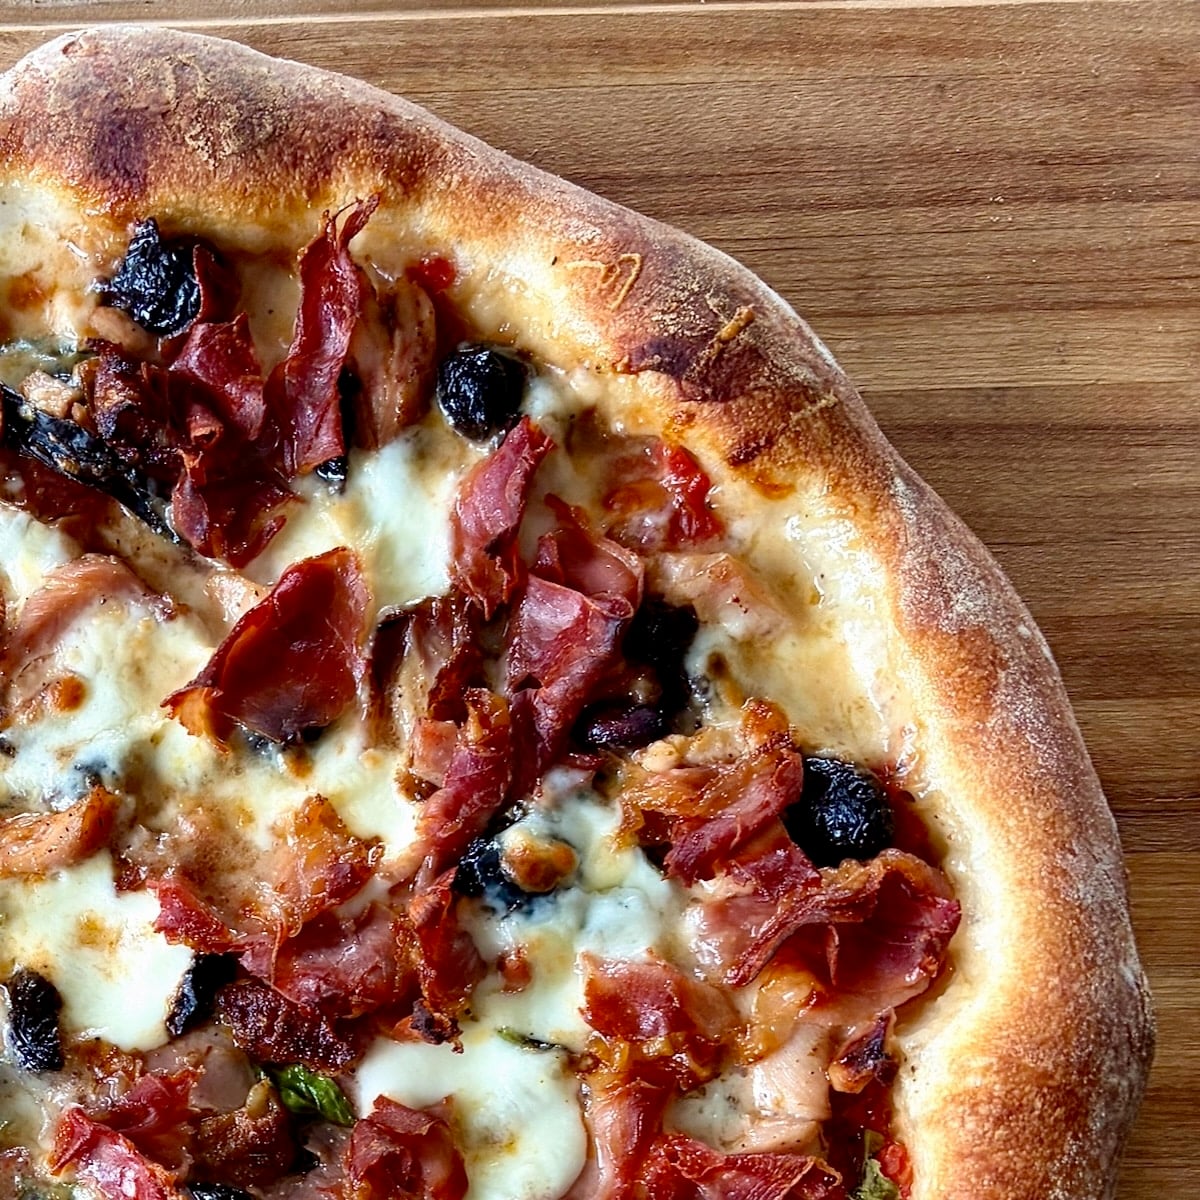
The genesis of pizza.
Although flatbreads with various toppings have existed in different food cultures for centuries, Neapolitan Style is considered to be the origin if the modern day pizza.
Wikipedia tells us:
"Raffaele Esposito is often credited with creating the modern version of pizza in Naples at the end of the 19th century. A popular legend holds that the archetypal pizza Margherita was invented on 10 June 1889, when the Royal Palace of Capodimonte commissioned the Neapolitan pizzaiolo Raffaele Esposito to create a pizza in honor of the visiting Queen Margherita.
Of the three different pizzas he created, the queen strongly preferred a pizza swathed in the colours of the Italian flag—red (tomato), white (mozzarella), and green (basil). Supposedly, this type of pizza was then named after the queen, with an official letter of recognition from the queen's "head of service" remaining to this day on display in Esposito's shop, now called Pizzeria Brandi."
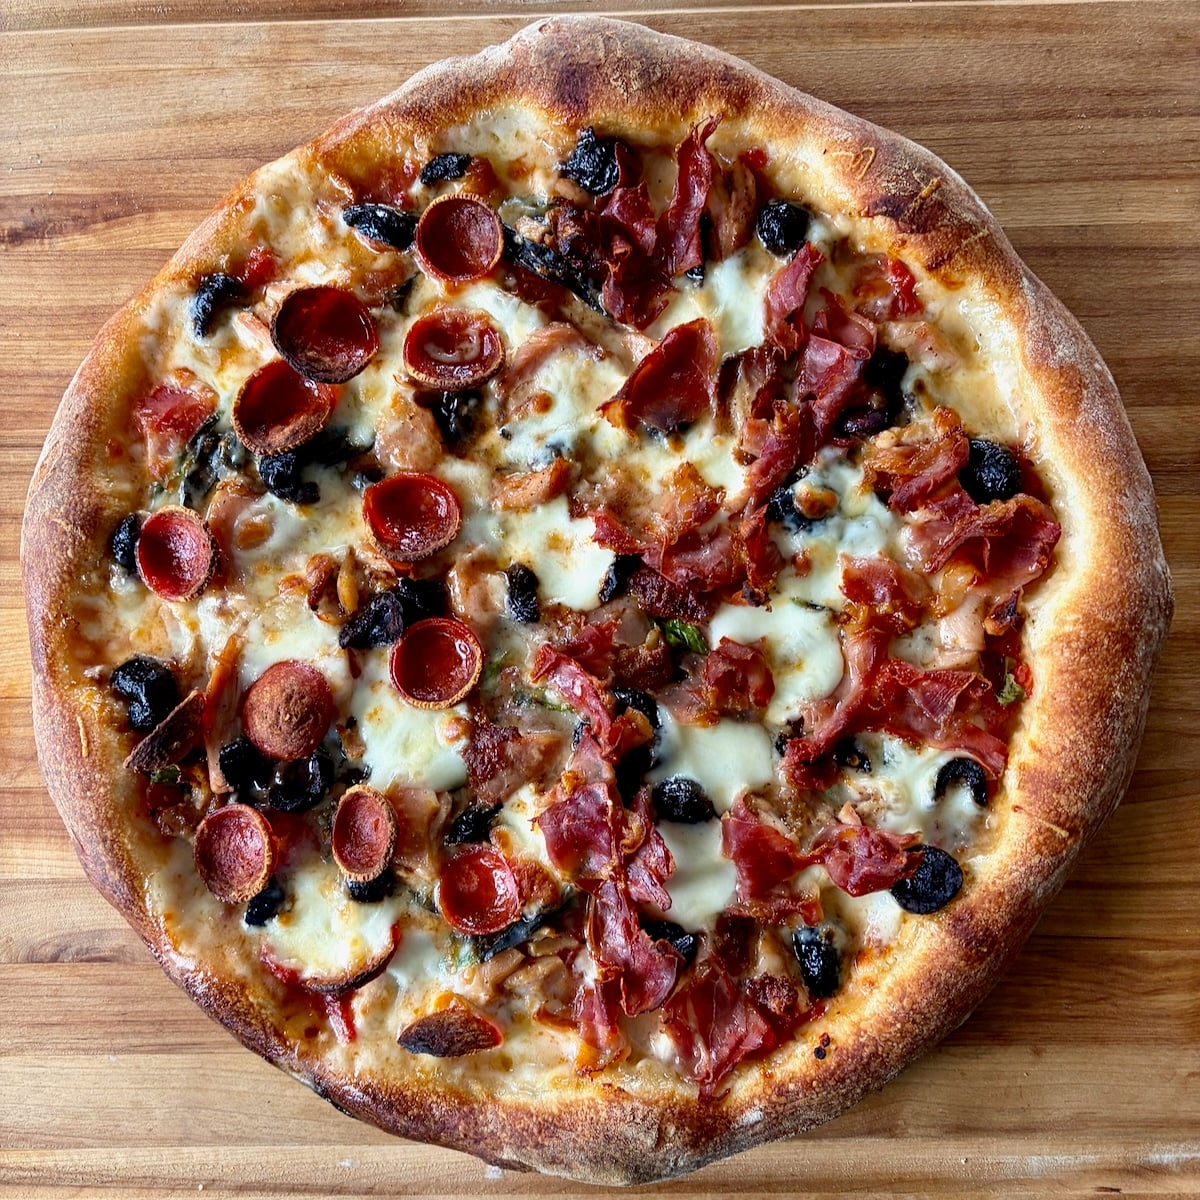
Neapolitan Pizza Dough, why do I refer it?
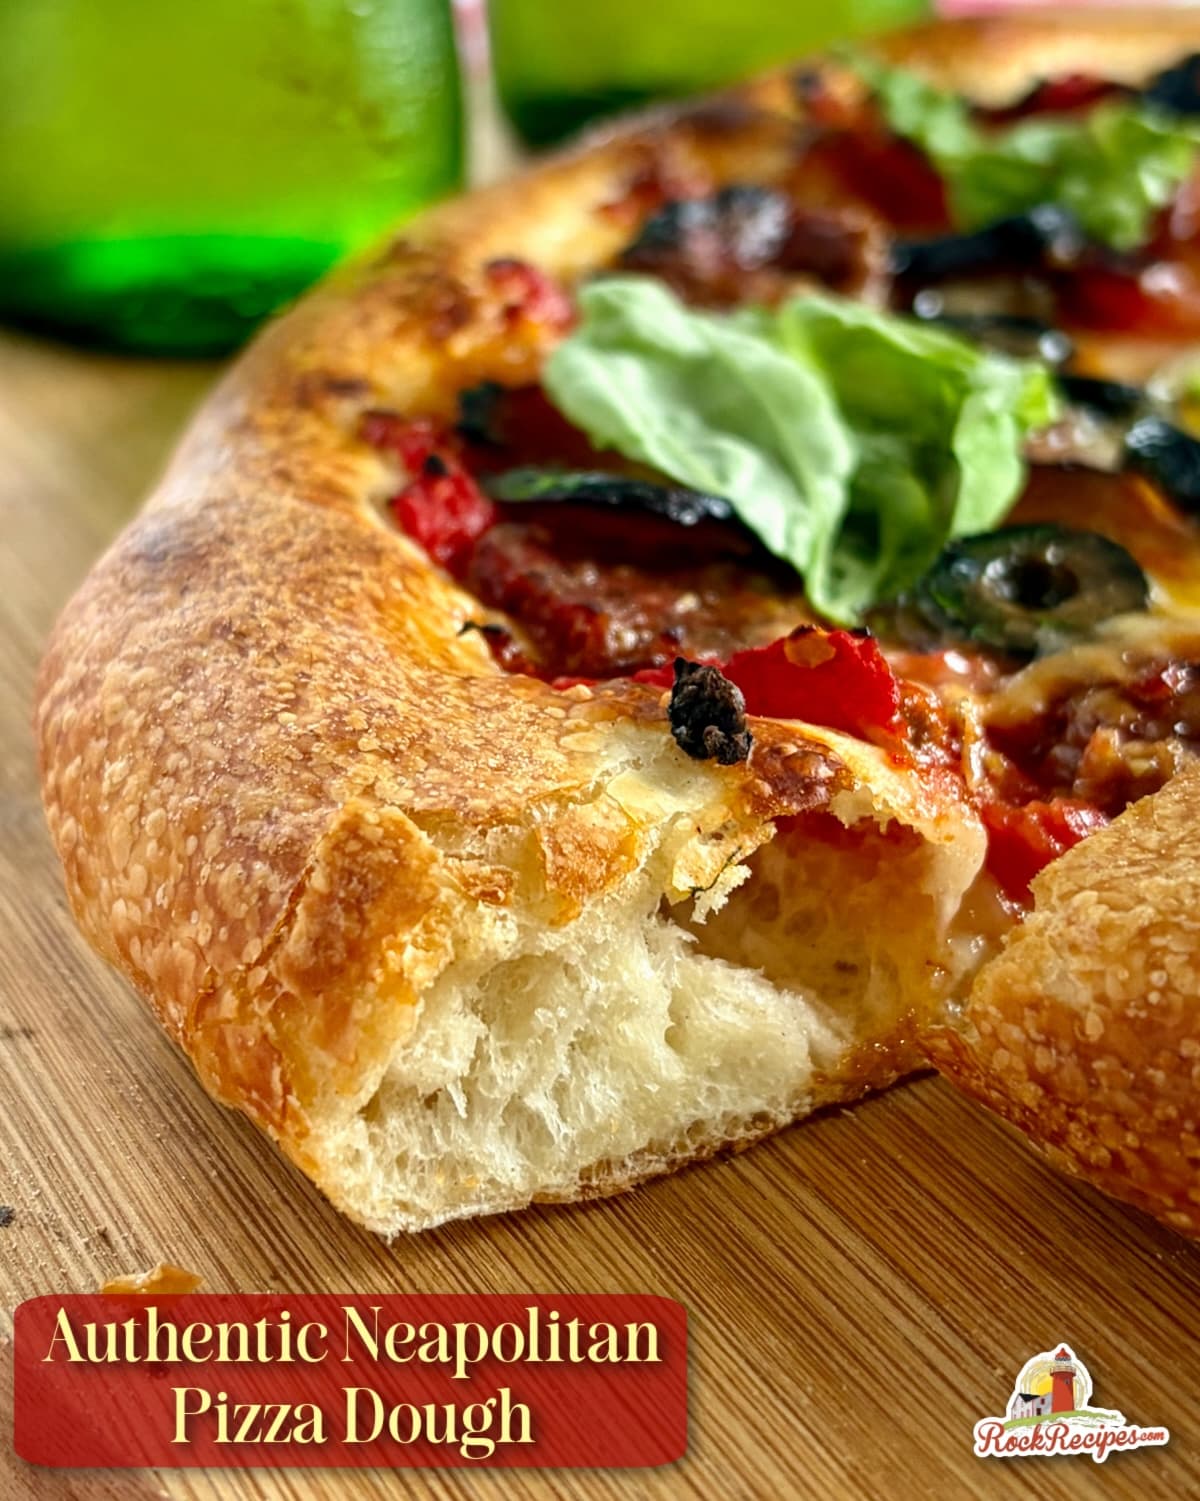
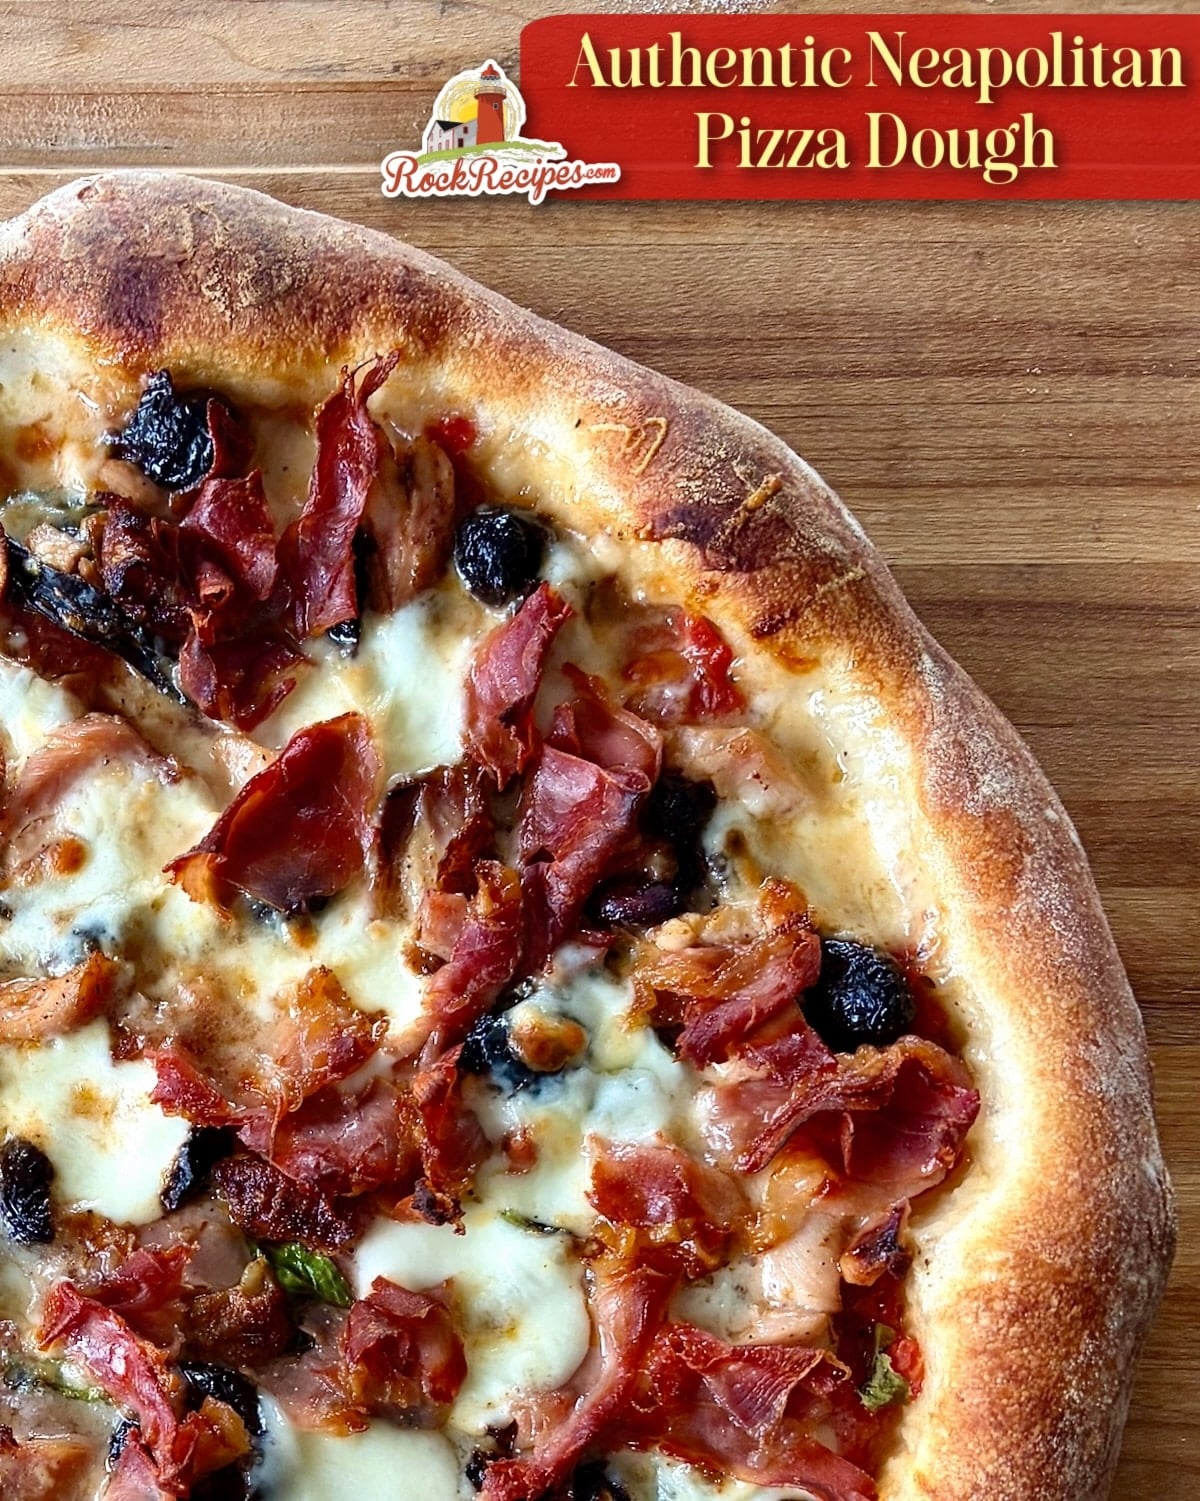
First and foremost I prefer a thin crust pizza and that is what authentic Neapolitan Pizza Dough does best. The stretchy, elastic quality if the dough allows you get a crust at the centre that is only a few millimeters high.
Thick crust pizza, I think fills you up too quickly and when using high quality toppings, they should be what shines in any pizza.
Neapolitan pizza doesn't hold back on letting you actually taste the flavour of the dough though. The traditional puffy edges are meant to be thoroughly enjoyed as well.
What many folks don't know is that the best pizza places never use dough that is made on the same day. The reason for that is flavour.
Many great pizzas are made with dough on the third day after it was made. I keep mine in the fridge after forming the balls for at least an entire day, most often two.
It is the long slow fermentation of yeast that creates a better flavour and often a better texture in pizza dough. If I were to present you with the edges of two pizzas, one with same day dough, and one that was aged 2 days, you would recognize the difference immediately.
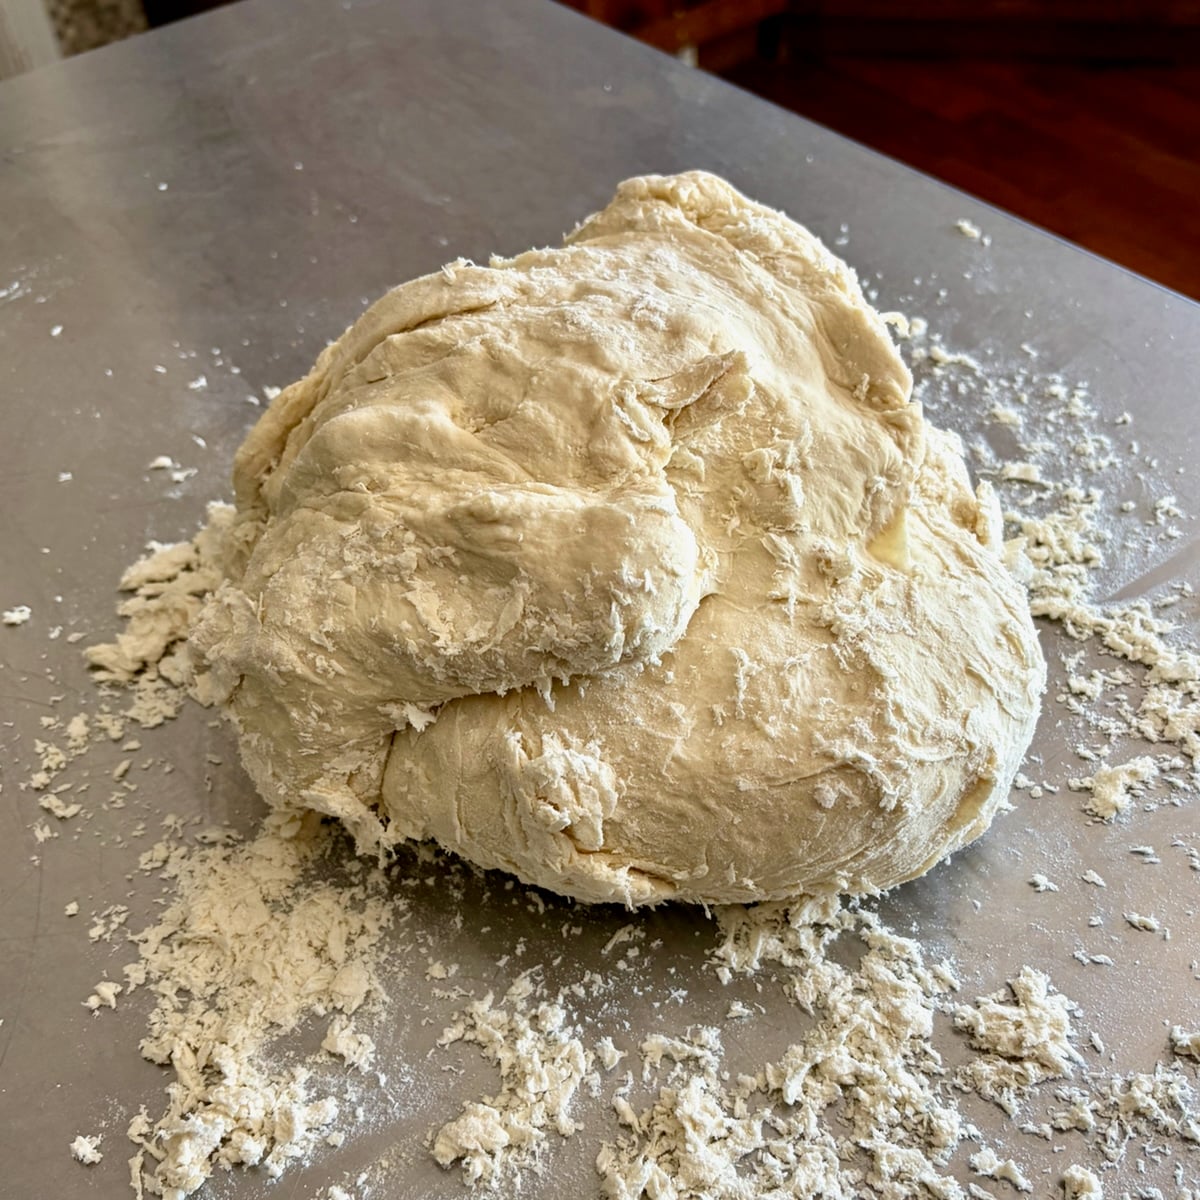
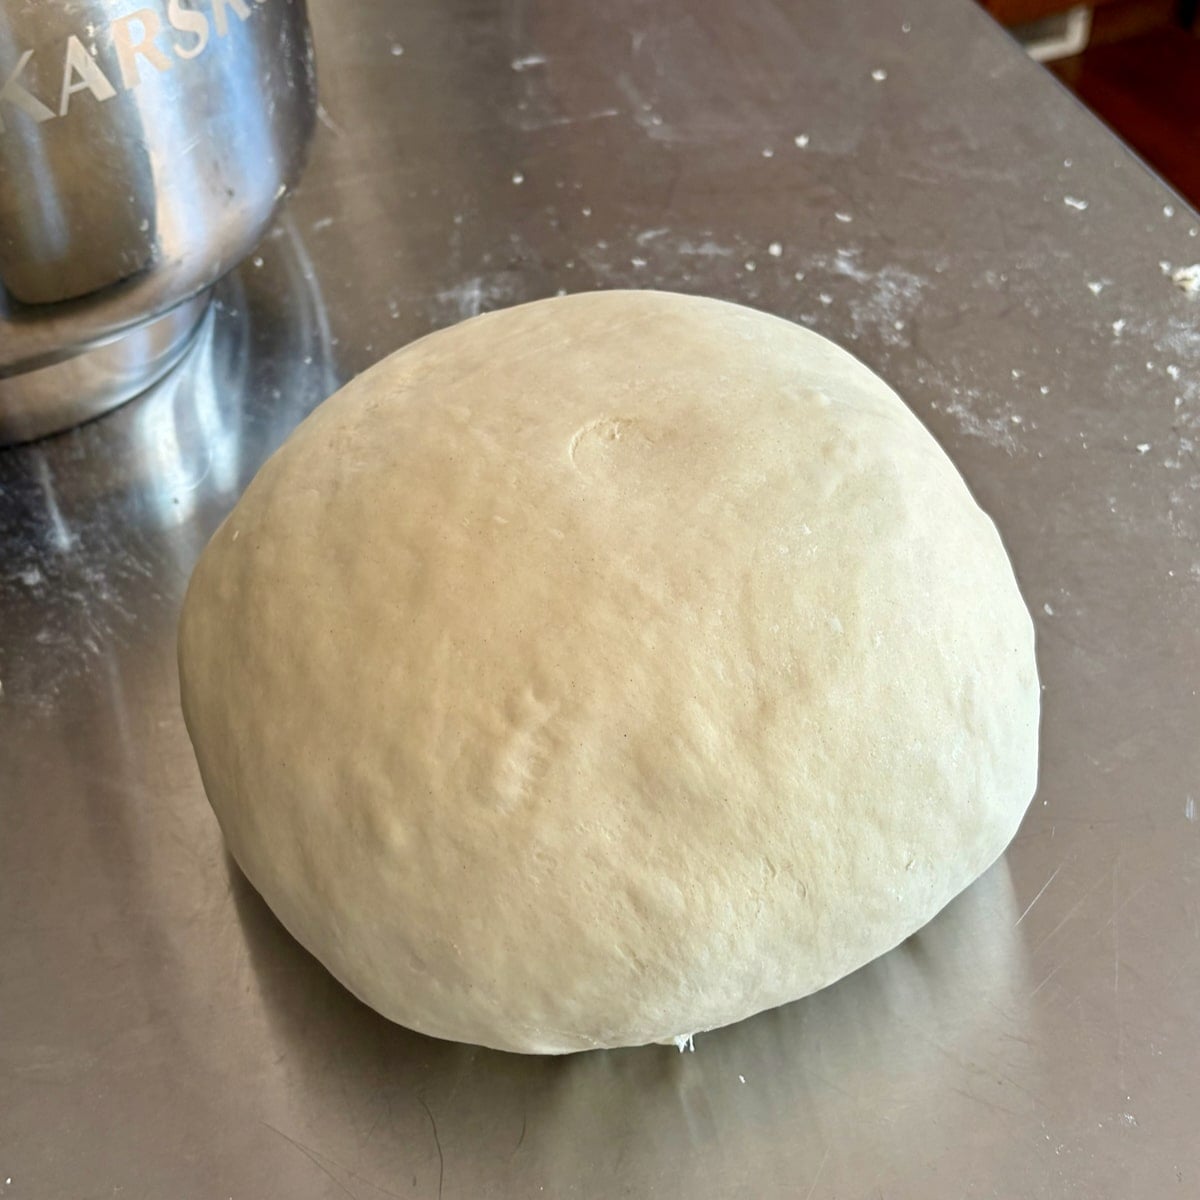
Authentic Neapolitan Pizza Dough, the stretch factor.
Professional bread bakers and home sourdough bakers alike, choose to bake by weight and hydration. The texture they are trying to achieve is done by precisely changing and controlling the proportion of water weight to flour weight.
This ratio is referred to as the dough's "hydration". White bread is often baked at around 70% dough hydration. That means, that whatever weight of flour is used in the dough, 70% of the same weight is added in water to form the dough.
Since 1 ml of water = 1 gram, it is easy to measure the water in the right proportion. Most pro bakers would still weigh the water though, for complete precision.
I have been known to use a high hydration dough for pizza in the past and If I wanted the dough quickly, I still would. Our No Knead Pizza Dough is a good example of this.
That dough is easy to stretch because of the high water content but it will be much stickier and break more easily. The dough you see being tossed in pizza shops is lower hydration and therefore stronger and able to take a more robust handling.
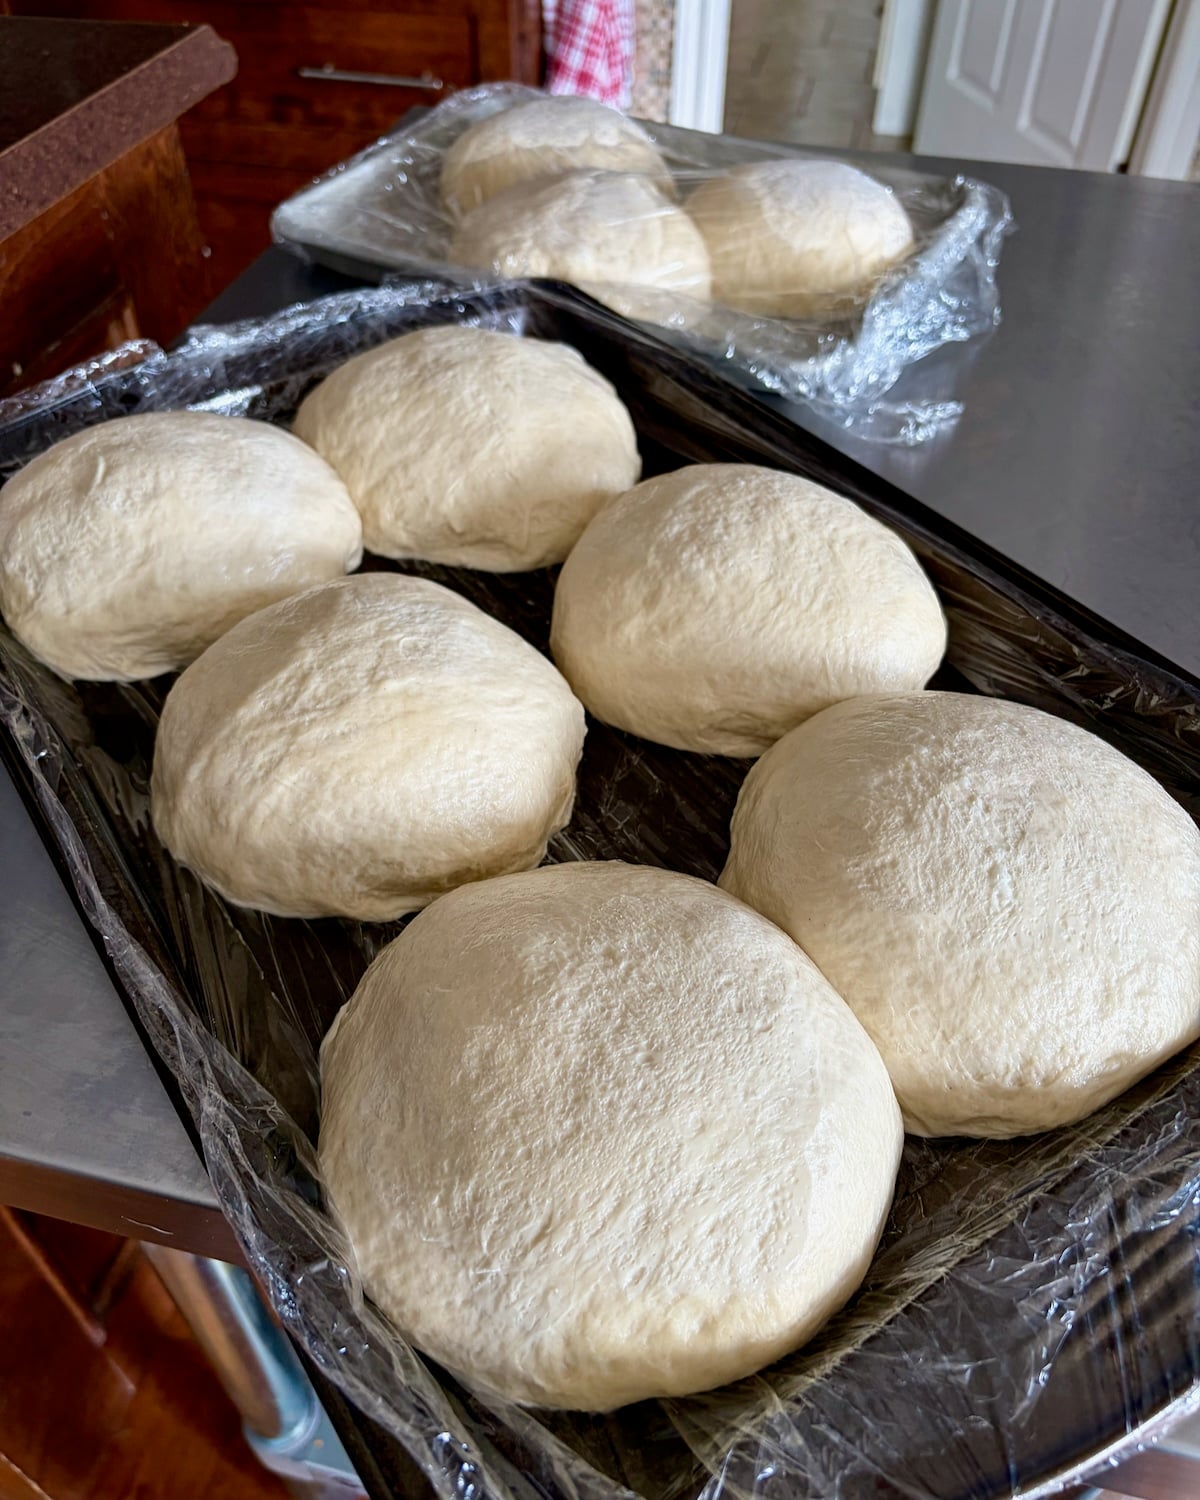
The flour is very important in Authentic Neapolitan Pizza Dough.
Proper Neapolitan pizza dough is made with 00 type flour. That is the ONLY flour to use in this recipe.
00 flour is ground extra fine to absorb water quickly when forming the dough. It is the same four often uses in pasta making, resulting in a silky smooth dough that doesn't break easily.
The pizza variety of 00 flour typically is also a higher protein flour, adding even more strength to the gluten strands in the dough. It is also what provides the satisfying chewy texture to the crust, particularly at the puffy edges.
Plain flour or even bread flour is not the same in this recipe. Recent years have seen the availability of 00 flour move from specialty stores onto supermarket shelves everywhere.
Store brands like President's Choice now stand beside old standards like Caputo brand. Even the venerable Canadian brand Robin Hood, now has its own version that I've used quite successfully.
Be sure you pick some up before starting the recipe and be sure to let us know your results!
Like this Authentic Neapolitan Pizza Dough recipe?
You'll find hundreds of other great ideas in our Italian Dishes Category and even more in our Pizza Category.
It's easy to keep up with the latest home style cooking & baking ideas from Rock Recipes. Be sure to follow Rock Recipes Facebook Page and follow us on Instagram.
Plus you'll see daily recipe suggestions from decadent desserts to quick delicious weekday meals too.
You can also sign up for our FREE newsletter to know immediately when we add new recipes. You'll also get weekly suggestions for great family friendly meals and desserts too!

Rock Recipes a participant in the Amazon Services LLC Associates Program, an affiliate advertising program designed to provide a means for us to earn fees by linking to Amazon.com and affiliated sites. Our product recommendations are almost exclusively for those we currently use or have used in the past.

Authentic Neapolitan Pizza Dough
Authentic Neapolitan Pizza Dough. This recipe gets everything right, from texture and flavour to the proper stretchability of the dough.
Ingredients
- 1 kg 00 flour (approx 8 cups)
- 600 grams (ml) water (approx 2 ½ cups )
- 3 grams instant yeast
- 30 grams sea salt (about 5 tsp)
Instructions
- This recipe will not be able to be made in a home kitchen stand mixer. The final dough will be too dense for most kitchen mixers and will possibly damage the motor.
- You can, of course, start the dough in the mixer until the dough comes together enough to be removed from the bowl, but the last of the flour WILL HAVE TO BE kneaded in by hand.
- Add the water and salt to a large bowl.
- Stir until the salt is fully dissolved.
- Add the yeast and stir to dissolve as well.
- Add half the flour and stir with a wooden spoon until the dough begins to come together.
- Add the remaining flour gradually until the dough forms a cohesive ball.
- Turn the dough out onto a floured surface and gradually knead in all of the remaining flour, a little at a time, until all of the flour is used.
- This will be a very stiff dough. That is normal. Continue to knead the dough for an additional 10-15 minutes until the surface is smooth and the dough ball holds a tight shape.
- During the kneading process, it is okay to take a couple of 10 -15 minute rest breaks.
- Just cover the dough with a damp towel and let it sit. The gluten strands will relax and the dough will become more workable after these rest periods.
- I usually knead 5 minutes, rest 10 minutes, knead 5 minutes more, rest 10 more minutes, then finish kneading until the dough is smooth.
- Place the dough back in a large bowl and cover the bowl with a plastic wrap. I like to spritz the surface of the dough with water in a spray bottle before covering, as the surface can dry out quickly especially in warmer temperatures.
- Place the dough in a cool room and let rise for 2-3 hours. I have a cooler room off the garage that I keep it in for usually three hours. The small amount of yeast will cause it to rise much slower than bread dough, so don't let slow progress concern you.
- After the initial rise knead the dough again to remove the air until the dough is again smooth. Let the dough rest for 15 minutes before shaping into balls.
- I like to weigh the balls of dough to be sure they are evenly sized. I weigh them to be about 260 grams or about 9 ounces.
- Place the formed dough balls onto a well floured cookie sheet, spaced evenly apart.
- Let the dough rise for another 45-60 minutes before covering in plastic wrap and keeping the dough balls in the fridge for 24-48 hours. I like to spritz the tops of the dough balls with water again before I cover them. You can spritz and recover them the second day as well if you see the tops getting dry, but I don't usually have that issue.
- Any dough not used after two days can be frozen. I just put the cookie sheet with the dough balls into the freezer until the balls are completely frozen, then package them individually in ziploc bags, getting out as much of the air as possible.
- I recommend taking the dough out of the freezer a day before you plan to use it and letting it thaw slowly in the fridge.
- Dough should be taken out of the fridge to warm up closer to room temperature for an hour before pizza making.
Nutrition Information
Yield
12Serving Size
½ pizzaAmount Per Serving Calories 303Total Fat 1gSaturated Fat 0gUnsaturated Fat 1gSodium 978mgCarbohydrates 64gFiber 2gSugar 0gProtein 9g
The nutritional information provided is automatically calculated by third party software and is meant as a guideline only. Exact accuracy is not guaranteed. For recipes where all ingredients may not be used entirely, such as those with coatings on meats, or with sauces or dressings for example, calorie & nutritional values per serving will likely be somewhat lower than indicated.
Would you like to save this recipe?
Send this recipe to my email.