Nanaimo Bar Cheesecake
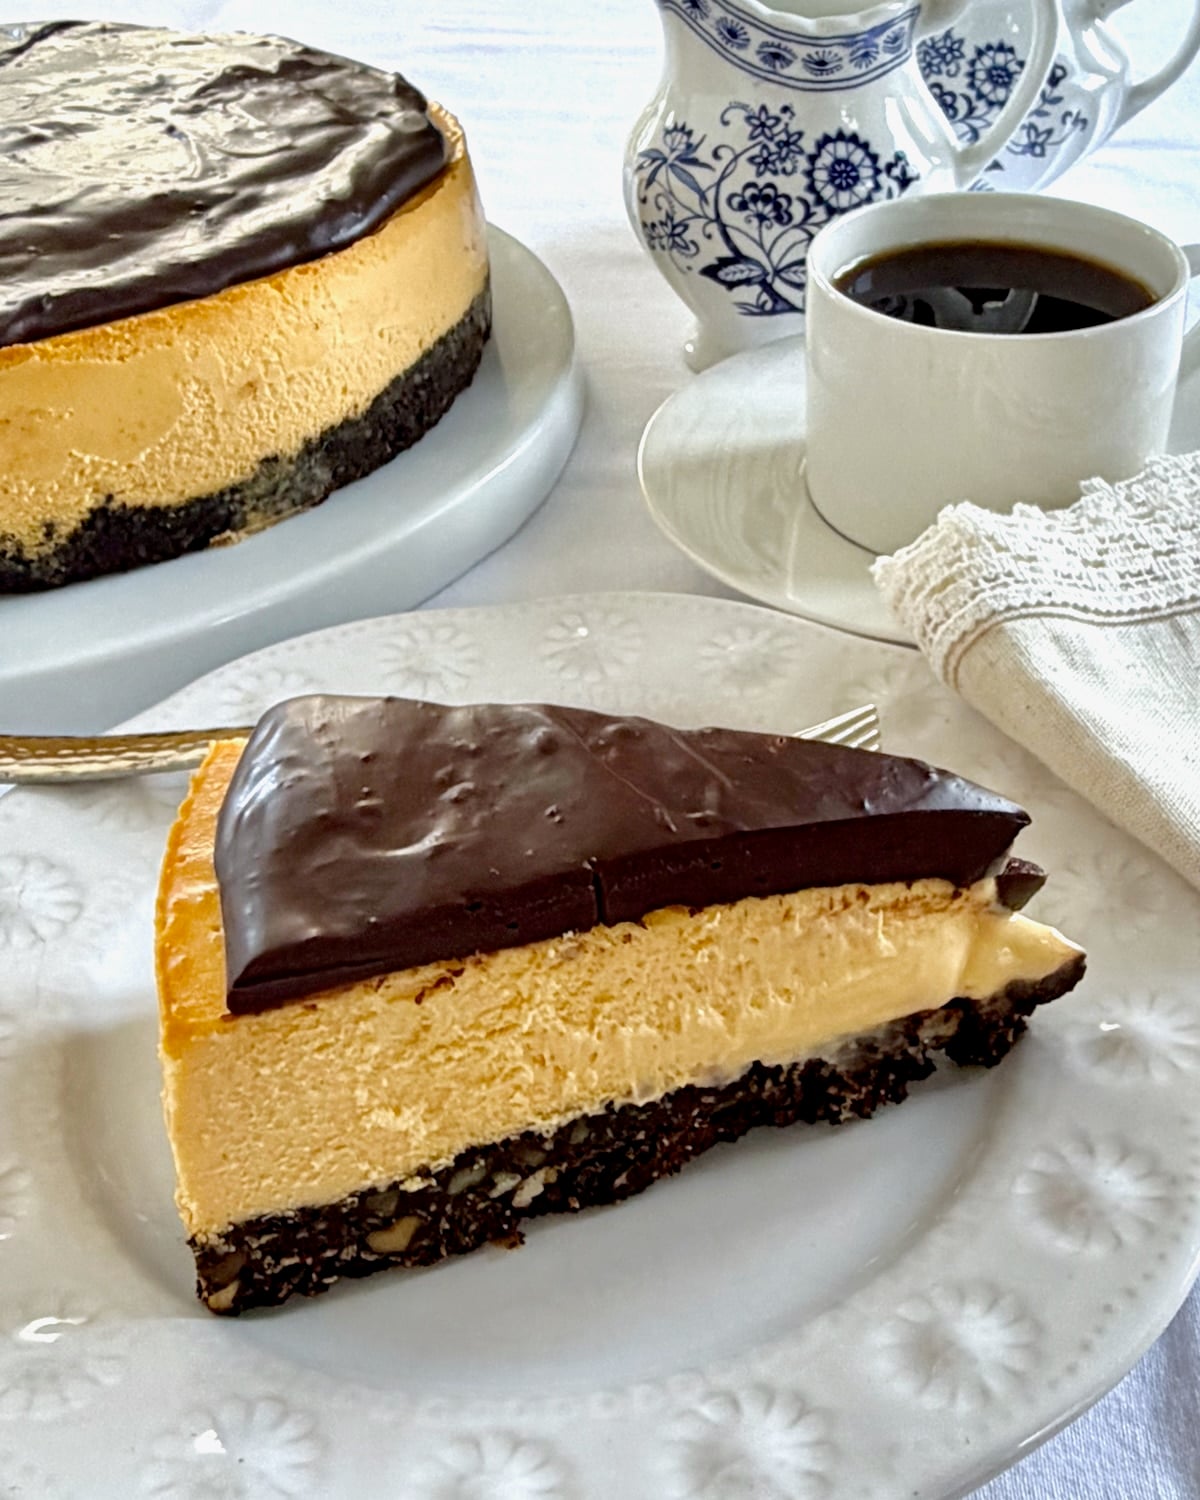
Nanaimo Bar Cheesecake. A New York Style baked cheesecake inspired by the famous Canadian cookie bar.
I love a good cooking or baking series on TV. I cannot imagine the number of thousands of episodes of such programmes I have viewed over the years.
Occasionally, however an episode does irritate me in the extreme. Such was the case with a recent episode of "The Great Canadian Baking Show".
Now, I have watched the UK version of this show since its inception back in August of 2010. Frankly, other international versions never quite hit the mark of the original series.
I've watched parts of the US, Irish, Australian, even New Zealand versions. Our own home grown version irks me most though, particularly the overly enthusiastically effusive hosts who trot out the perkiest fake TV personalities I've ever encountered on any version of the show.
The judges do seem knowledgeable and well qualified to quantify the great from grim baking. Some of the challenges they set however leave me tearing my hair out and muttering at my TV screen!
Such was the case of the recent Nanaimo Bar Cheesecake challenge!
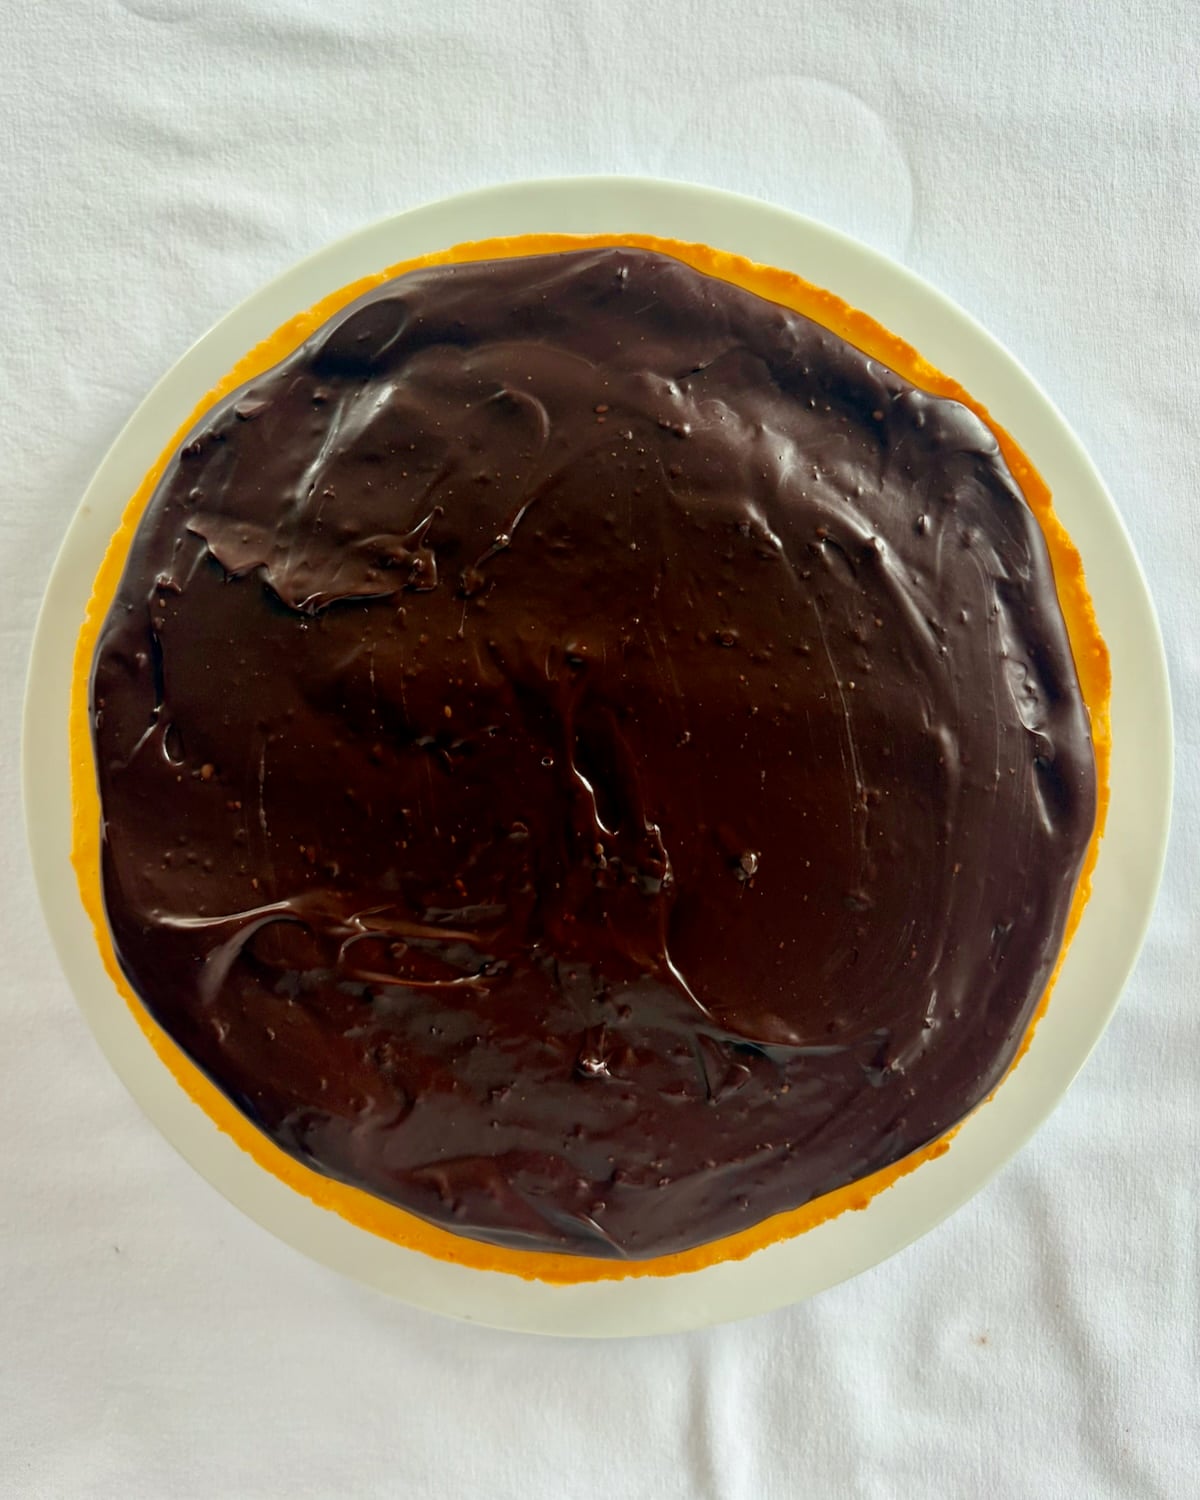
Nanaimo Bar Cheesecake. The impossible challenge.
My two biggest pet peeves about all of these shows are design challenges and impossible time challenges.
Just make me a great loaf of bread. I don't give a hoot if it has to be in the shape of a multicoloured map of Canada, or your favourite zoo animal. I don't care if you can construct the Taj Mahl in gingerbread! Utter nonsense and nothing to baking skill.
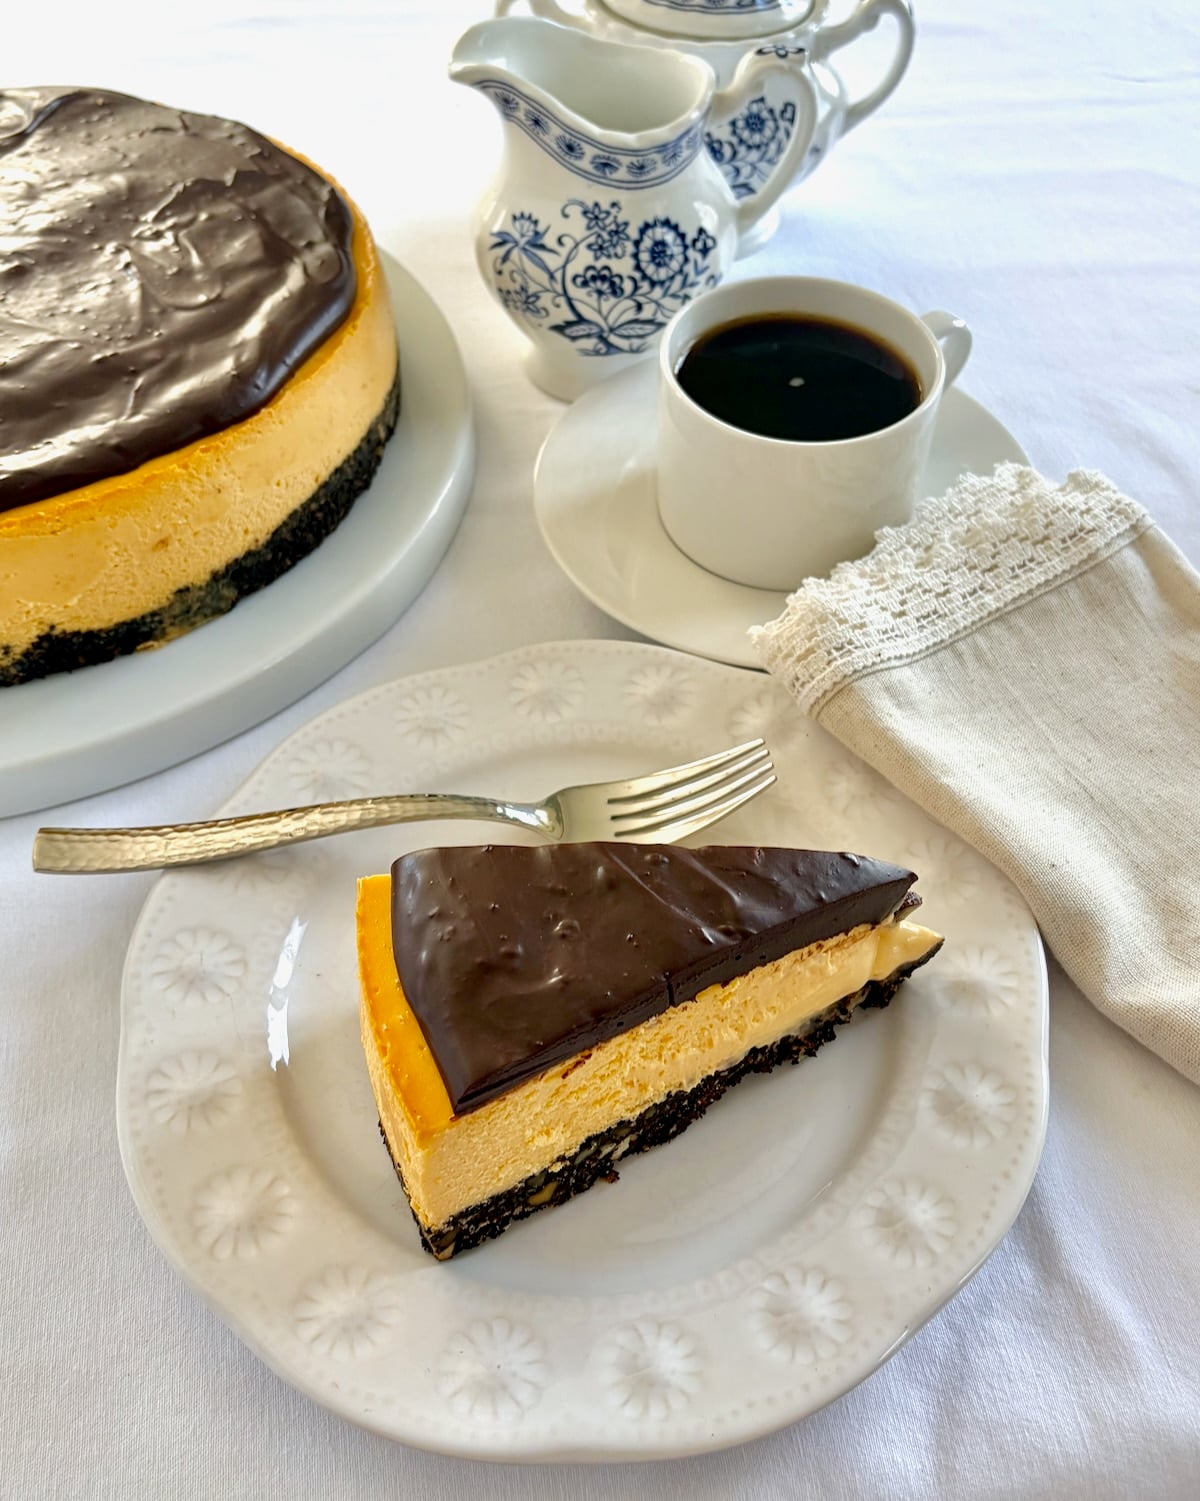
It was the time given for the Nanaimo Bar Cheesecake challenge that set me off this time though. I would put good money on the fact that the "expert" judges could never have completed the challenge in the time set.
What's wrong with setting a reasonable task in a reasonable time!?
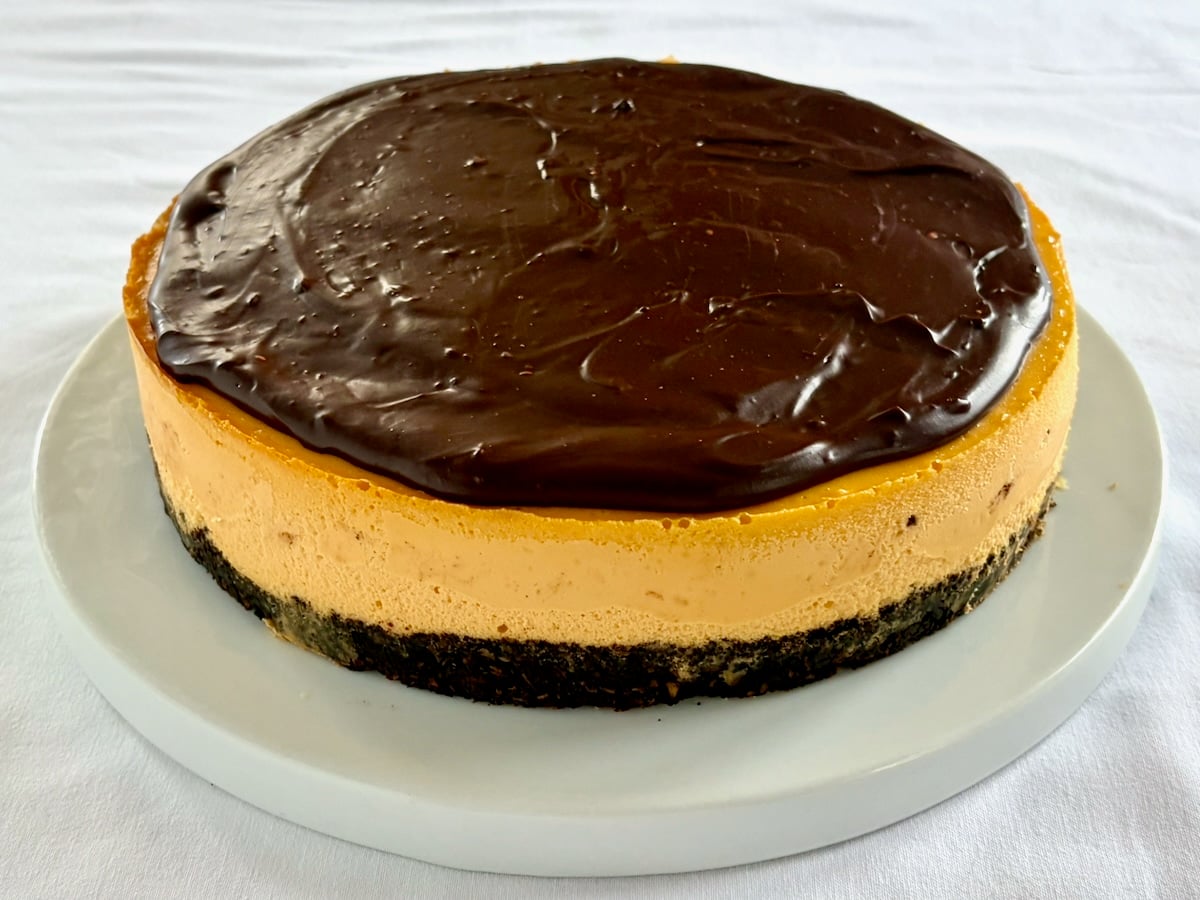
Levels of impossibility!
The infamous recipe, I mention from the show for Nanaimo Bar Cheesecake is HERE.
The recipe consists of a baked brownie base. Ok fine. But the Cheesecake layer is an unbaked set custard layer!
The brownie base would have to be completely baked and cooled before it was added. Then it would take considerable time for the custard to set firmly before adding a warm chocolate ganache on top.
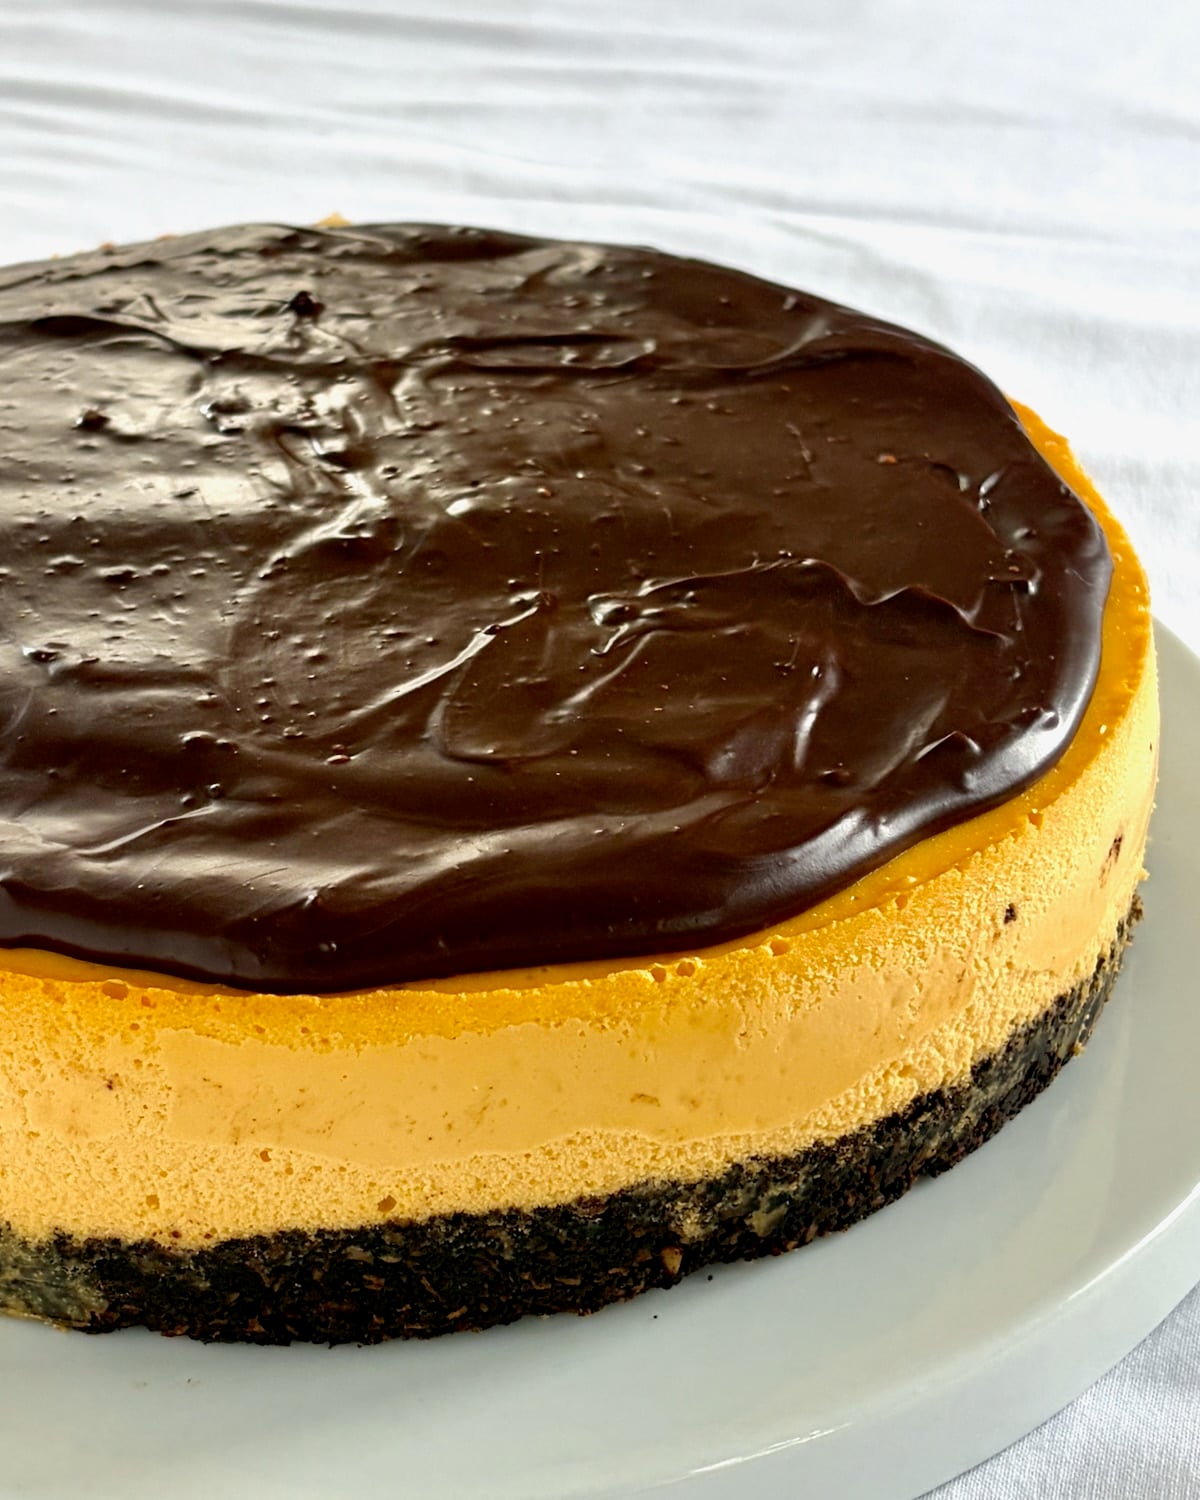
That would also have to chill and set before serving it to the judges to critique. Decorations for the top had to be made of tempered chocolate as well.
The time for all of this was only TWO HOURS! An accomplished, experienced professional pastry chef couldn't do it properly in that time. It irritated me no end!
To add insult to injury, I didn't think it payed ample tribute to the great Nanaimo Bar! The set custard middle layer had only 1 tablespoon custard powder! Where's the flavour in that!?
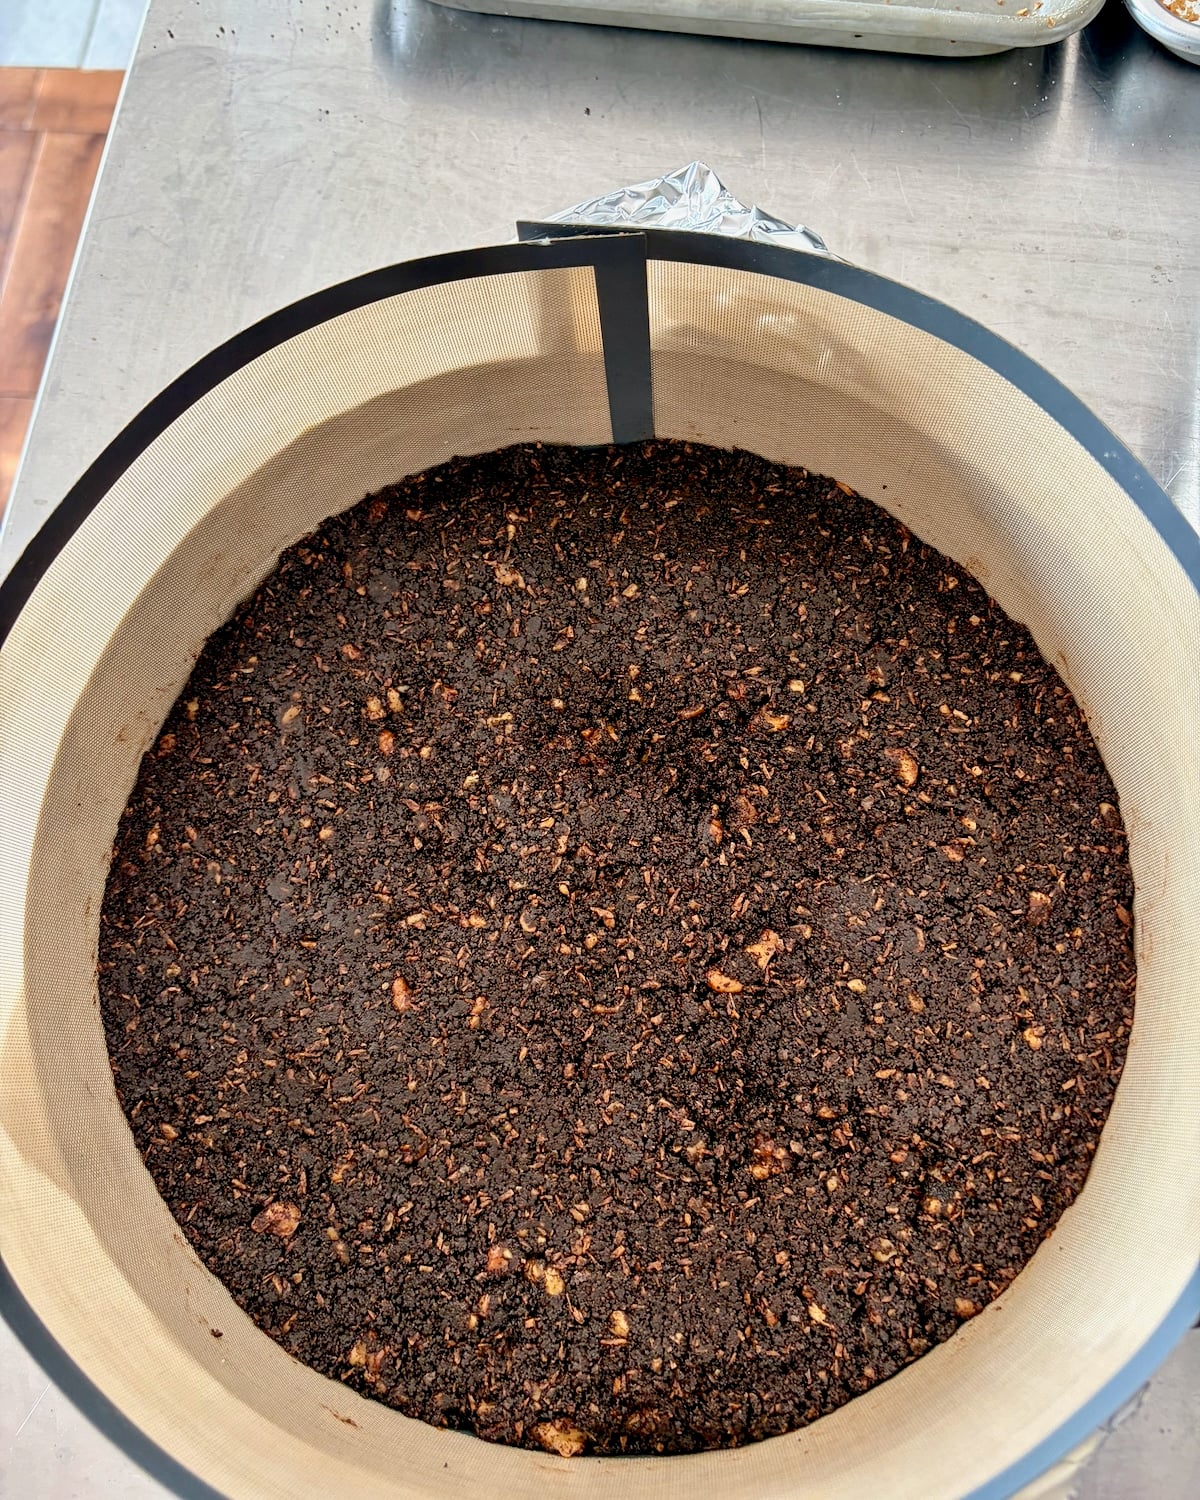
Nanaimo Bar Cheesecake. Getting it out of my system.
We were having the family over for Canadian Thanksgiving just a little while later, so I exercised my irritated baking demons by inventing my very own version!
It's something I often do when I see a bad recipe or have a restaurant dish that I think just missed the mark. When I say, I can do that better, I set out to prove it.
My version was a great success. Everyone loved it and i could barely save a sliver for myself for later, because everyone wanted an extra slice to take home.
It was such a success that it just may make another appearance at Christmas or New Year's Day dinner.
If you try it be sure t leave a review and comment below! Happy baking and thanks for letting me vent!
Want to try OTHER great Nanaimio Bar recipes too?
Be sure to check out all the other flavours in our Nanaimo Bars Collection!

Like this Nanaimo Bar Cheesecake recipe?
You'll find hundreds of other sweet ideas in our Cakes & Pies Category and even more in our Desserts Category.
It's easy to keep up with the latest home style cooking & baking ideas from Rock Recipes. Be sure to follow Rock Recipes Facebook Page and follow us on Instagram.
Plus you'll see daily recipe suggestions from decadent desserts to quick delicious weekday meals too.
You can also sign up for our FREE newsletter to know immediately when we add new recipes. You'll also get weekly suggestions for great family friendly meals and desserts too!
Rock Recipes a participant in the Amazon Services LLC Associates Program, an affiliate advertising program designed to provide a means for us to earn fees by linking to Amazon.com and affiliated sites. Our product recommendations are almost exclusively for those we currently use or have used in the past.
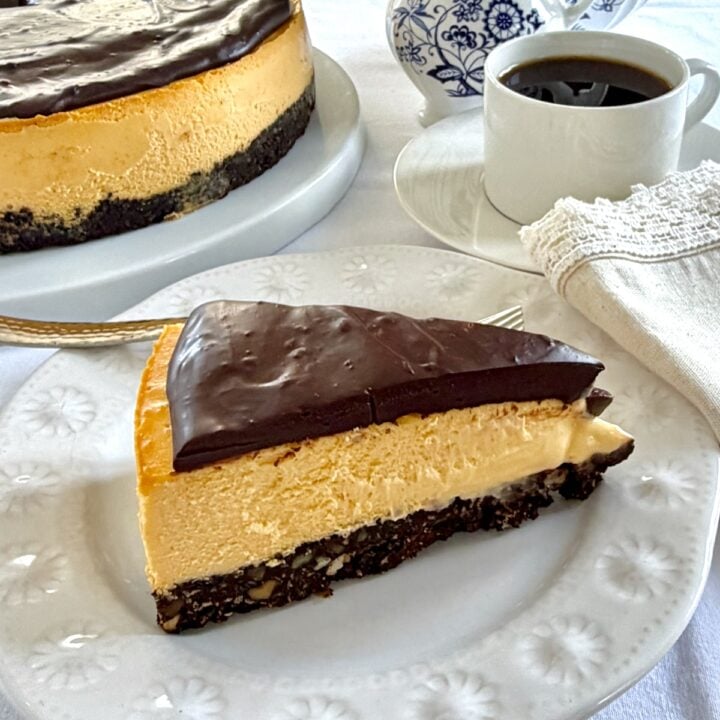
Nanaimo Bar Cheesecake
Nanaimo Bar Cheesecake. A New York Style baked cheesecake inspired by the famous Canadian cookie bar.
Ingredients
For the cheesecake base
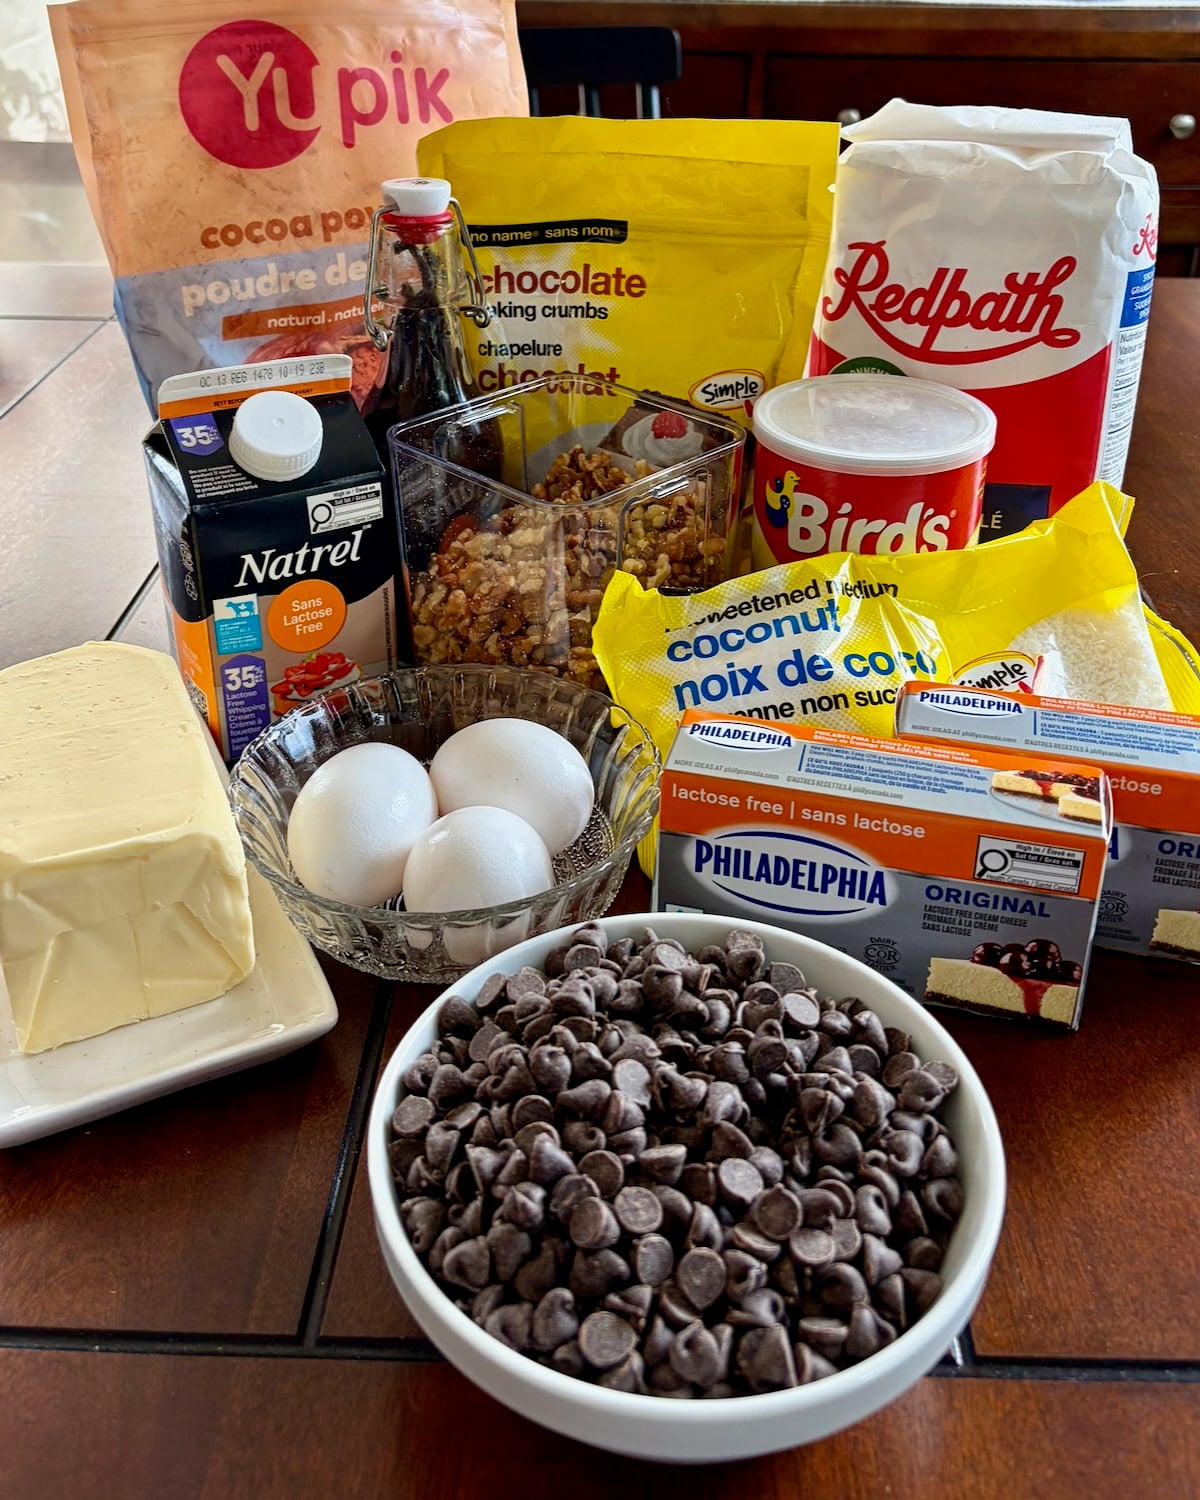
- 1 ½ cups chocolate cookie crumbs
- 6 tablespoon cocoa
- 4 tablespoon sugar
- ½ cup toasted coconut
- ½ cup lightly toasted, walnuts or pecans roughly chopped
- ⅓ cup melted butter
For the cheesecake layer
- 3 eight ounce packages cream cheese
- 1 cup sugar
- ½ cup custard powder
- 2 teaspoon vanilla extract
- 3 eggs
- 1 cup whipping cream
For the chocolate topping
- 1 ½ cups chocolate chips
- ⅓ cup whipping cream
Recommended Products
Rock Recipes a participant in the Amazon Services LLC Associates Program, an affiliate advertising program designed to provide a means for us to earn fees by linking to Amazon.com and affiliated sites. Our product recommendations are almost exclusively for those we currently use or have used in the past.
-
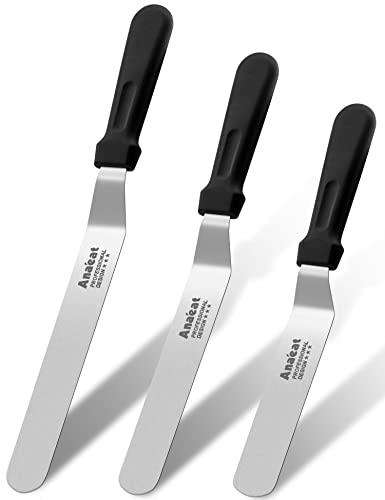 Anaeat Icing Spatulas, Set of 3 Professional Cake Angled Offset Spatula with 6", 8", 10" Stainless Steel Blades - Thickened Frosting Knife with Durable Plastic Handle for Cake Decorating Pastry Baking
-
 Wilton Excelle Elite 9-Inch Springform Pan
-
 Artisan® Series Tilt-Head Stand Mixer KSM150PSMI | Includes Pouring Shield for Mess-Free Mixing, 10 Speed Settings, Easily add Ingredients with the Tilt-Head Design
Instructions
To prepare the cheesecake base
- Line the bottom of a 9 inch springform pan with parchment paper for easy release later.
- Toast the nuts and coconut in separate baking pans in a preheated 350 degree oven. They should take about 10 minutes but toss the nuts and coconut at about 5 minutes, Watch carefully as coconut burns very easily. When it gets good colour it's done.
- Roughly chop the toasted nuts with a chefs knife, then toss them together with the rest if the base ingredients, except the butter until well combined
- Add the melted butter has been distributed evenly through.
- Press firmly into the bottom of the prepared springform pan.
To prepare the cheesecake layer
- Beat together the cream cheese, custard powder, sugar until smooth.
- Add the eggs, one at a time, beating well after each addition.
- Add the vanilla extract and slowly mix in the whipping cream.
- Scrape the sides and bottom of the bowl a final time and beat until smooth.
- Pour over the cheesecake crumb base.
- Bake in a bain marie (See Note) at 300 degrees F for 70-75 minutes. (some ovens will take 10-15 minutes longer, See notes below.)
- The cheesecake does not have to brown at all in order to be fully baked; the surface of the cheesecake should lose any shine when the cake is properly baked. It can still be slightly wobbly just at the center at this point.
- Remove the cake from the oven and run a sharp knife completely around the edge of the pan. This will allow for the cheesecake to shrink as it cools and hopefully not crack (but who cares if it does? I am never bothered by a crack or two in t he surface)
- Allow the cheesecake to cool thoroughly on a wire rack at room temperature. (NOT in the fridge). Refrigerate after fully cooled.
To prepare the chocolate topping
- Add the chocolate chips to a small glass or metal bowl. I like to heat the bowl with hot water in it for a few minutes first, so that it does not cool down the cream when added. Just be sure to dry it thoroughly before adding the chocolate chips
- Heat the whipping cream to scalding in the microwave, in 10 second increments. It should be steaming but not boiling.
- Pour the hot cream over the chocolate chips.
- Cover the bowl with a plate and let stand 5 -7 minutes.
- Stir the chocolate and cream together until smooth.
- Pour into the centre of the top if the chilled cheesecake and spread to the edges with a small offset spatula.
- Return to the fridge to let the chocolate set for a half hour or so before removing the cake from the springform pan and serving.
Notes

NOTE: Some feedback on our cheesecake recipes when using a bain marie says it is perfectly fine to bake for 90 minutes or so. The method is very forgiving, so if you feel the cheesecake needs longer, leave it in the oven. Some people also like to leave it in the oven with the door ajar until it cools. That's perfctly fine also. Once you see what works in your own oven you'll make it oerfecty every time.
A word about baking a cheesecake in a bain marie before starting the recipe. A bain marie is simply a water bath that buffers the direct heat from the sides and bottom of the baking pan to more evenly bake the cheesecake from the sides to the center.I bake my cheesecakes in a 9 inch springform pan that has the bottom and sides wrapped in multiple layers of wide heavy duty aluminum foil which forms a sort of boat that the cheesecake pan sits in. The roll of aluminum foil that I use is about 16 inches wide. I use at least 4 layers of foil to make sure that no water leaks in and ruins the crust of my cheesecake. The aluminum foil wrapped pan is then placed inside a larger baking pan; I use a 12 inch cake pan. Boiling water is then poured into the larger pan filling it from ½ to ⅔ of the way to the top.I find it best to pour the boiling water into the pan after it is placed on the rack in the oven as you are less likely to splash water onto the cheesecake or inside the aluminum foil. I reuse the aluminum foil for several future cheesecakes, adding a couple of layers to it each time just to be safe.
Nutrition Information
Yield
16Serving Size
1 sliceAmount Per Serving Calories 485Total Fat 34gSaturated Fat 18gUnsaturated Fat 16gCholesterol 100mgSodium 182mgCarbohydrates 45gFiber 3gSugar 38gProtein 6g
The nutritional information provided is automatically calculated by third party software and is meant as a guideline only. Exact accuracy is not guaranteed. For recipes where all ingredients may not be used entirely, such as those with coatings on meats, or with sauces or dressings for example, calorie & nutritional values per serving will likely be somewhat lower than indicated.