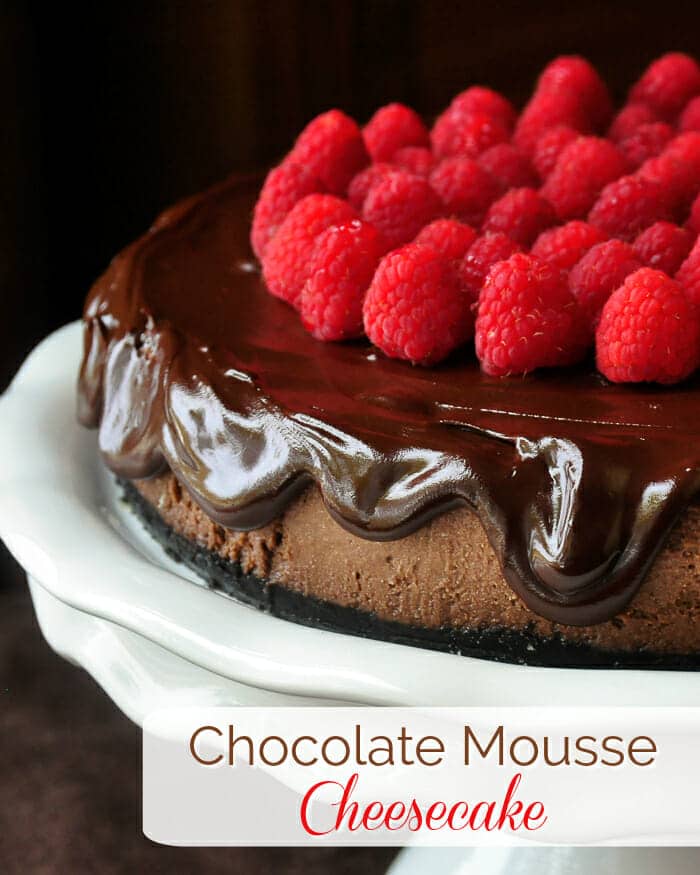
Chocolate Mousse Cheesecake. This luscious chocolate mousse cheesecake is baked in a water bath, keeping it light, creamy and melt-in-your mouth delectable.
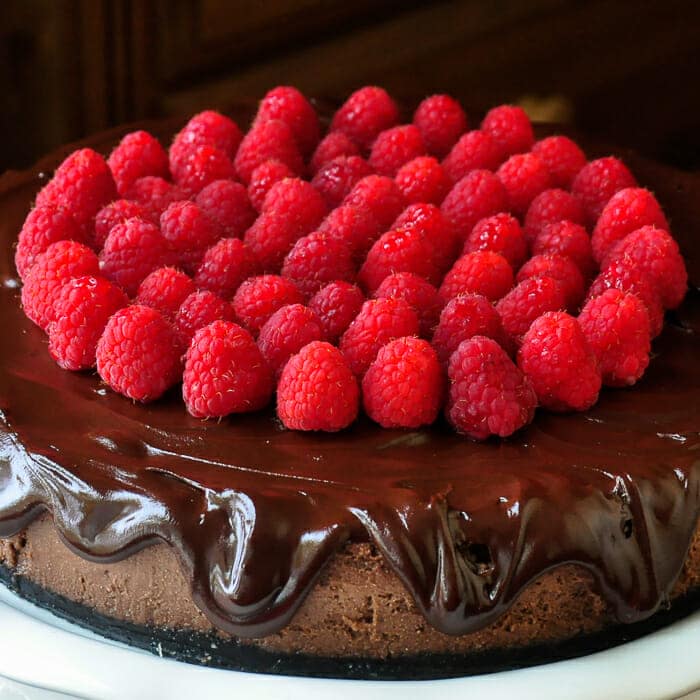
Chocolate Mousse Cheesecake
Originally published September 25, 2012.
Today, marks the 5th anniversary of Rock Recipes! When I started a personal recipe blog back in 2007, I never imagined that it would grow as much as it has.
Up until that point, I had never written down recipes that I came up with or modified to suit our family’s taste.
My sister started insisting that I provide her with some of my favourite recipes. At the same time, I hd an upcoming major ankle surgery looming that would have me in a wheelchair for several months.
I decided having all that time away from work was a good opportunity to start a recipe blog as a reference for family and friends.
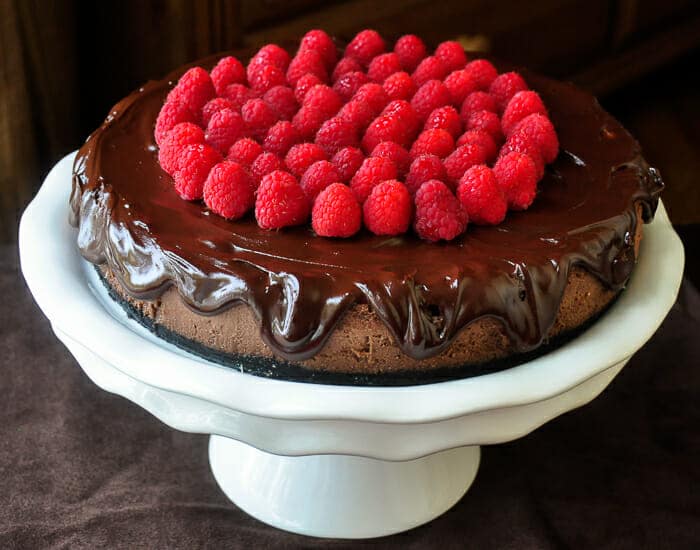
Chocolate Mousse Cheesecake
Over 100 of the very first recipes on Rock Recipes, with the enormous help of Spouse, were made, written and photographed from that wheelchair. One of the visual memories I carry from that time is of the kitchen door frame.
My wheelchair just barely fit through that door. Over the months, I gradually wore all the paint off the door frame from so many trips back and forth to the kitchen.
I must have tried Lynn’s patience to the limit. I’m demanding enough at the best of times, so having me immobilized was no treat, to be sure!
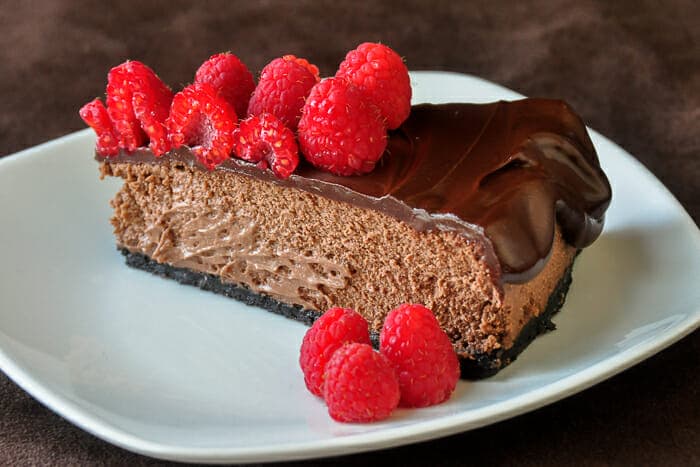
Chocolate Mousse Cheesecake
Slow beginnings.
In the first 30 days the website went online it received 6,830 hits, as family and friends started following our recipes. I thought at the time that was great that a couple of hundred times a day someone was visiting a page on our site.
Fast forward five years and incredibly, the number of page hits in the last 30 days was 453,528!! (2018 update. Our traffic now reaches over 1.3 million pageviews a month and up to 3 million pageviews a month during the busy Christmas season.)
I never would have predicted that level of growth. But with the advent of social media, more and more folks started following Rock Recipes on Facebook, Twitter, by email, RSS feeds & Pinterest.
lowly and steadily our readership has increased.
This past year has seen the biggest growth ever and we are looking forward to seeing what the year ahead holds. Thanks to you all for your continued support for what we do here, it is very much appreciated and stay tuned, we are not finished yet.
To celebrate our anniversary we return to an updated version of our chocolate cheesecake which was one of the very first recipes we posted on that first day, five years ago. I’ve updated the recipe and introduced a new method for adding the whipping cream to the batter, which results in a silky smooth, lighter textured cheesecake. I will be incorporating that idea into future cheesecake recipes for sure.
Some cheesecake tips:
I bake my cheesecakes in a 10 inch spring form pan that has the bottom and sides wrapped in multiple layers of wide heavy duty aluminum foil which forms a sort of boat that the cheesecake pan sits in. The roll of aluminum foil that I use is about 16 inches wide. I use at least 4 layers of foil to make sure that no water leaks in and ruins the crust of my cheesecake.
The aluminum foil wrapped pan is then placed inside a larger baking pan; I use a 12 inch cake pan. Boiling water is then poured into the larger pan filling it from 1/2 to 2/3 of the way to the top.
I find it best to pour the boiling water into the pan after it is placed on the rack in the oven as you are less likely to splash water onto the cheesecake or inside the aluminum foil. I reuse the aluminum foil for several future cheesecakes, adding a couple of layers to it each time just to be safe.
Even if you choose not to use a water bath method, wrapping the outside of your spring form pan with 4 or 5 layers of heavy duty aluminum foil will greatly help the even distribution of heat through your cheesecake as it bakes, making it more evenly creamy from edges to middle.
If you love cheesecake, but in a more portion controlled amount, be sure to try our Chocolate Cheesecake Cupcakes too!
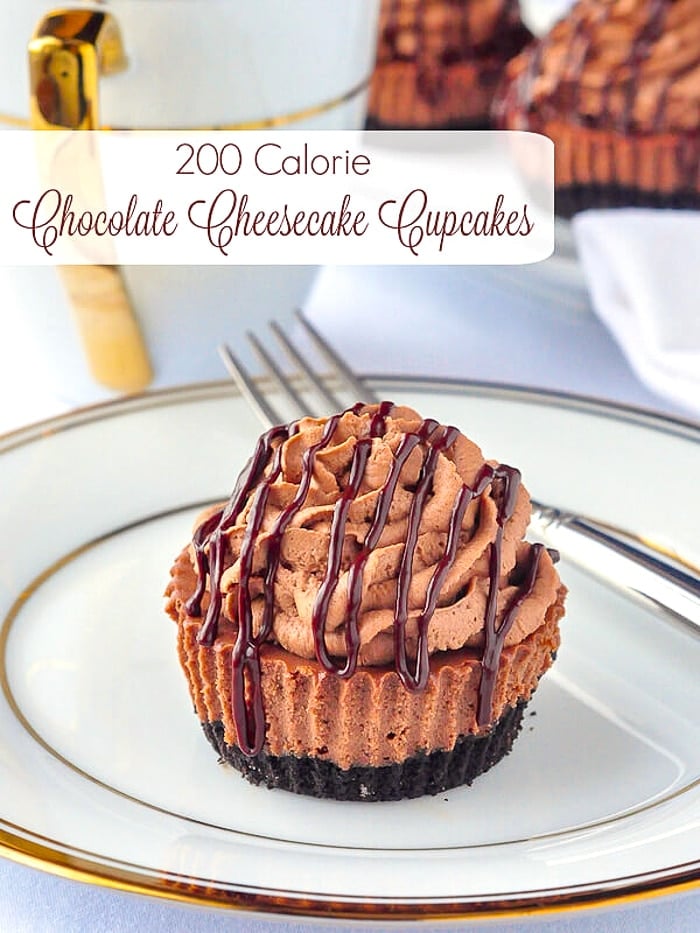
Like this Chocolate Mousse Cheesecake recipe?
You’ll find hundreds of other sweet ideas in our Cakes & Pies Category and even more in our Desserts Category.
It’s easy to keep up with the latest home style cooking & baking ideas from Rock Recipes. Be sure to follow Rock Recipes Facebook Page and follow us on Instagram.
Plus you’ll see daily recipe suggestions from decadent desserts to quick delicious weekday meals too.
You can also sign up for our FREE newsletter to know immediately when we add new recipes. You’ll also get weekly suggestions for great family friendly meals and desserts too!

Rock Recipes a participant in the Amazon Services LLC Associates Program, an affiliate advertising program designed to provide a means for us to earn fees by linking to Amazon.com and affiliated sites. Our product recommendations are almost exclusively for those we currently use or have used in the past.
Chocolate Mousse Cheesecake
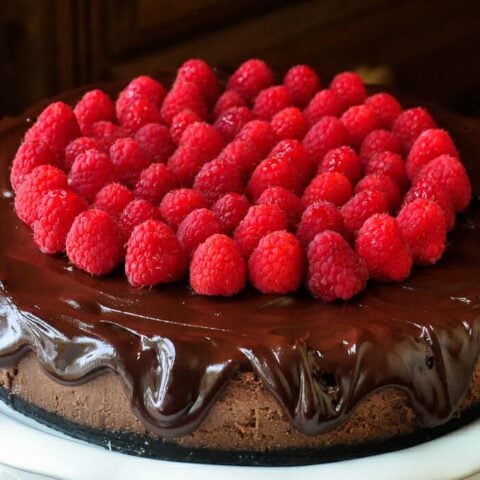
This luscious chocolate mousse cheesecake is baked in a water bath, keeping it light, creamy and melt-in-your mouth deletable.
Ingredients
For the Cookie Crumb Crust
- 1 ½ cups Oreo Cookie Crumbs
- 1/3 cup melted butter
- 3 tbsp sugar
For the Chocolate Mousse Cheesecake batter
- 1 ½ pounds cream cheese, three 8 oz blocks
- 3 squares unsweetened baking chocolate, 3 ounces of chocolate in total, melted ( In a pinch you can substitute 2/3 cup cocoa)
- 1 ¼ cups sugar
- 3 eggs
- 2 tsp vanilla extract
- 1 cup whipping cream
- 2 tbsp powdered sugar
For the Ganache Glaze
- 1/4 cup whipping cream
- 3/4 cup semi sweet or dark chocolate chips
Instructions
For the Cookie Crumb Crust
- Line the bottom of a 9 or 10 inch spring form pan with parchment paper. You can grease the bottom of the pan but using parchment paper is the best way to easily release a cheesecake from the bottom of the pan. I just lay a sheet over the bottom of the pan before clicking the side portion of the pan into place and then trim the excess paper.
- Mix the crumbs sugar and melted butter well and press the crumbs into a 9 inch spring form pan that has the bottom lined with parchment paper. No need to grease or line the sides. set aside while you make the cheesecake batter.
For the Chocolate Mousse Cheesecake batter
- Cream together well, the cream cheese, melted chocolate (or cocoa) and sugar.
- Add the eggs, one at a time, beating well after each addition.
- Beat in the 2 tsp vanilla extract.
- In a separate bowl, whip the whipping cream and powdered sugar to soft peaks and then fold gently into the cheesecake batter.
- Pour into prepared springform pan. Bake in a water bath (bain marie) at 300 degrees F for about an hour or until the surface of the cake no longer looks glossy. (60-75 minutes)
- Remove from oven and immediately run a sharp knife around the edge of the pan to release the cake. Cool completely in the pan. Top with chocolate ganache glaze.
For the Ganache Glaze
- In a small saucepan, scald but do not boil ¼ cup whipping cream
- Then melt in the chocolate chips on low heat:
- Pour over cooled cake and garnish with fresh berries if you like.
Notes
The nutritional information provided is automatically calculated by third party software and is meant as a guideline only. Exact accuracy is not guaranteed. For recipes where all ingredients may not be used entirely, such as those with coatings on meats, or with sauces or dressings for example, calorie & nutritional values per serving will likely be somewhat lower than indicated.
Nutrition Information
Yield
16Serving Size
1 servingAmount Per Serving Calories 377Total Fat 28gSaturated Fat 15gUnsaturated Fat 0gCholesterol 114mgSodium 238mgCarbohydrates 27gSugar 21gProtein 4g

Rachel
Saturday 20th of November 2021
Hello! One question. Does the cream cheese have to be at room temp before I cream it or can it be straight out of the fridge?
Lynn Parsons
Thursday 9th of December 2021
It’s easier to mix if it’s at room temperature
Shirley Furlong
Monday 11th of February 2019
Congratulations on such a successful blog, getting millions of visits. I can understand why. Real food (Not out of a box or can), easy to follow directions, and delicious food. We would rather have a delicious meal cooked at home than go out to a restaurant. Your recipes make it easy to choose a meal at home.
Peggy
Sunday 10th of February 2019
Hi. Just a thought. I use oven bags around my pan then the foil to keep the water out. It works.
Amani
Friday 4th of January 2019
If I make it and keep it in the fridge for 4 days would it be okay thanks
Barry C. Parsons
Sunday 6th of January 2019
I don't give food safety advice but 4 days is too long for my freshness meter.
Chris
Saturday 22nd of December 2018
Barry, Enjoying your recipes very much. Question: can I make the cheesecake ( with mouse) ahead of time and freeze it for a couple of days
Barry C. Parsons
Sunday 23rd of December 2018
Yes indeed.