
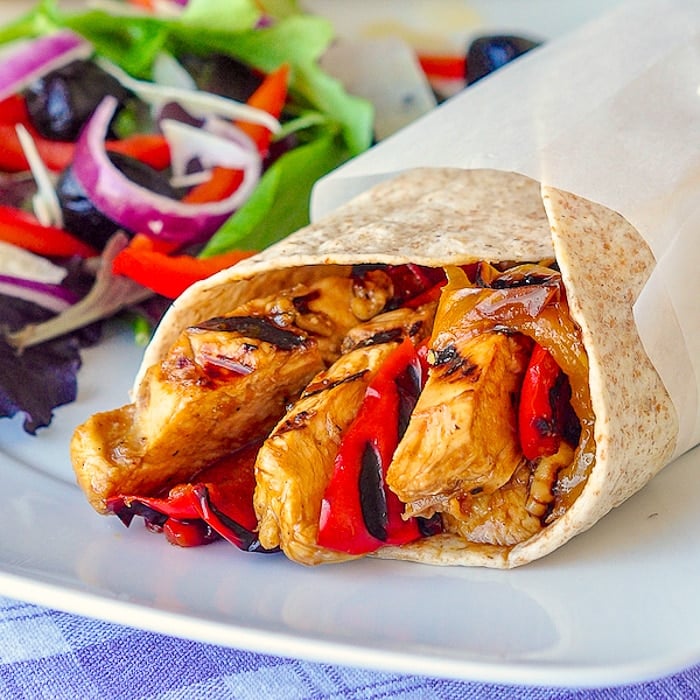
Double Crunch Honey Garlic Chicken Breasts
Double Crunch Honey Garlic Chicken Breasts. Rock Recipes NUMBER ONE recipe of all time. There is a very good reason why this recipe has been seen millions of times online!
Originally published April 2012.
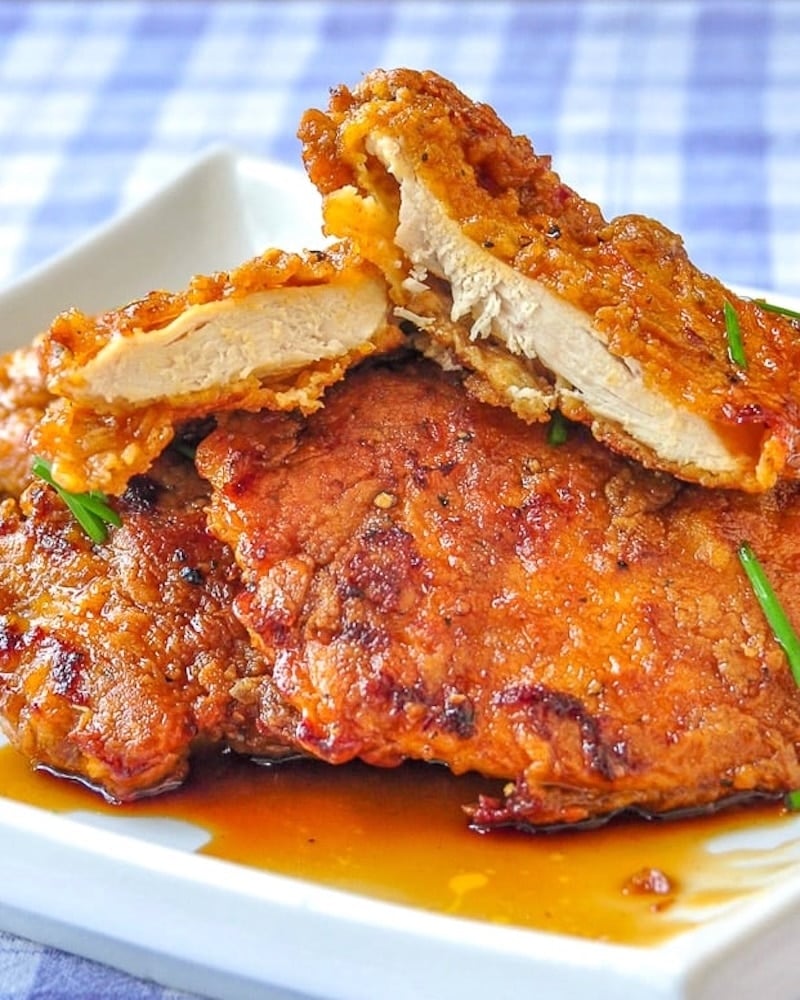
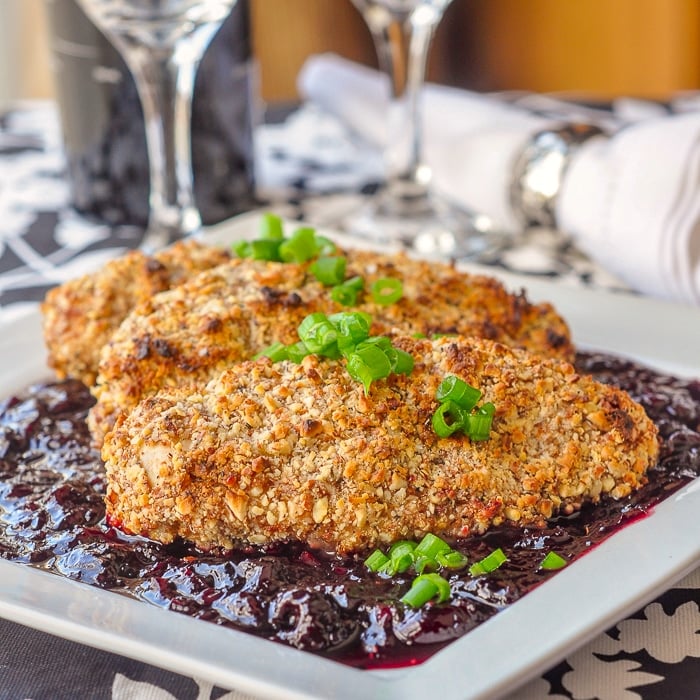
Do these honey garlic chicken breasts look good or what?
They should. The original pork version of this recipe Double Crunch Honey Garlic Pork Chops was posted one year ago this week.
It very quickly grew to being the most popular recipe ever on Rock Recipes with just over 117,000 views to date. (2017 update: now several million times!)
It has been among the most commented upon and possibly the most raved about recipe I have ever posted too. And for very good reason.
It seems everyone who tried them loved them and made them over and over again.
A reader favourite.
So many readers have sent thanks for this recipe and shared it with their friends. They declared that it had become a new favourite in their family and had become a permanent fixture in their dinner planning menus.
Many readers also shared that they had tried this recipe with chicken breasts as well, as we often do in my family.
On the occasion of the one year anniversary of the recipe’s publication, we decided to prepare the chicken version and snap a new photo for the blog.
TIP:
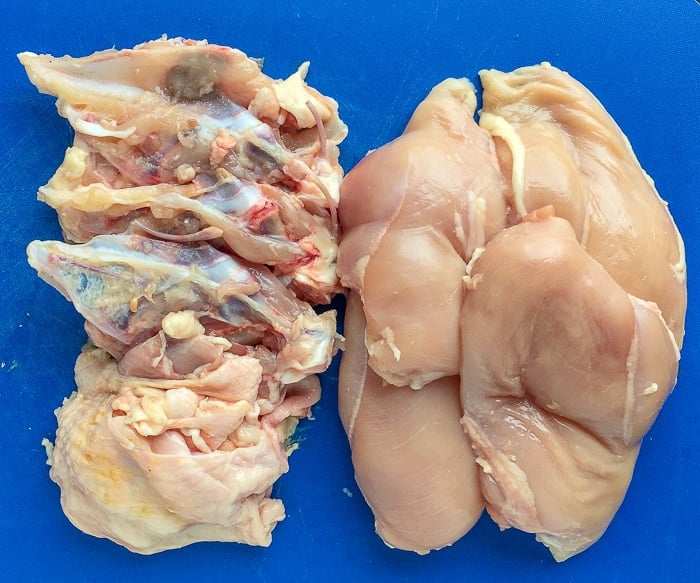
I like to debone my own chicken breasts so that I can roast the bones and skins for stock later. I freeze them until I have enough to cover a baking sheet then use the instructions in my post on making Chicken Stock here.
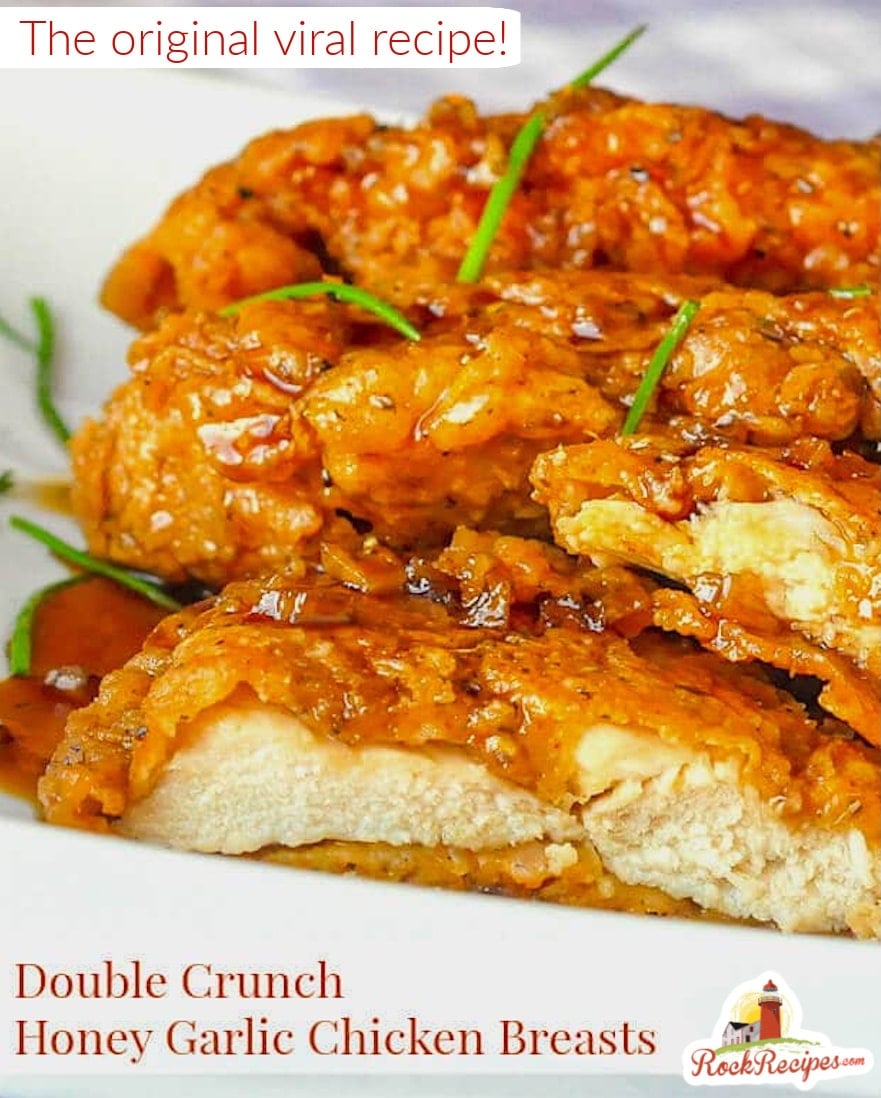
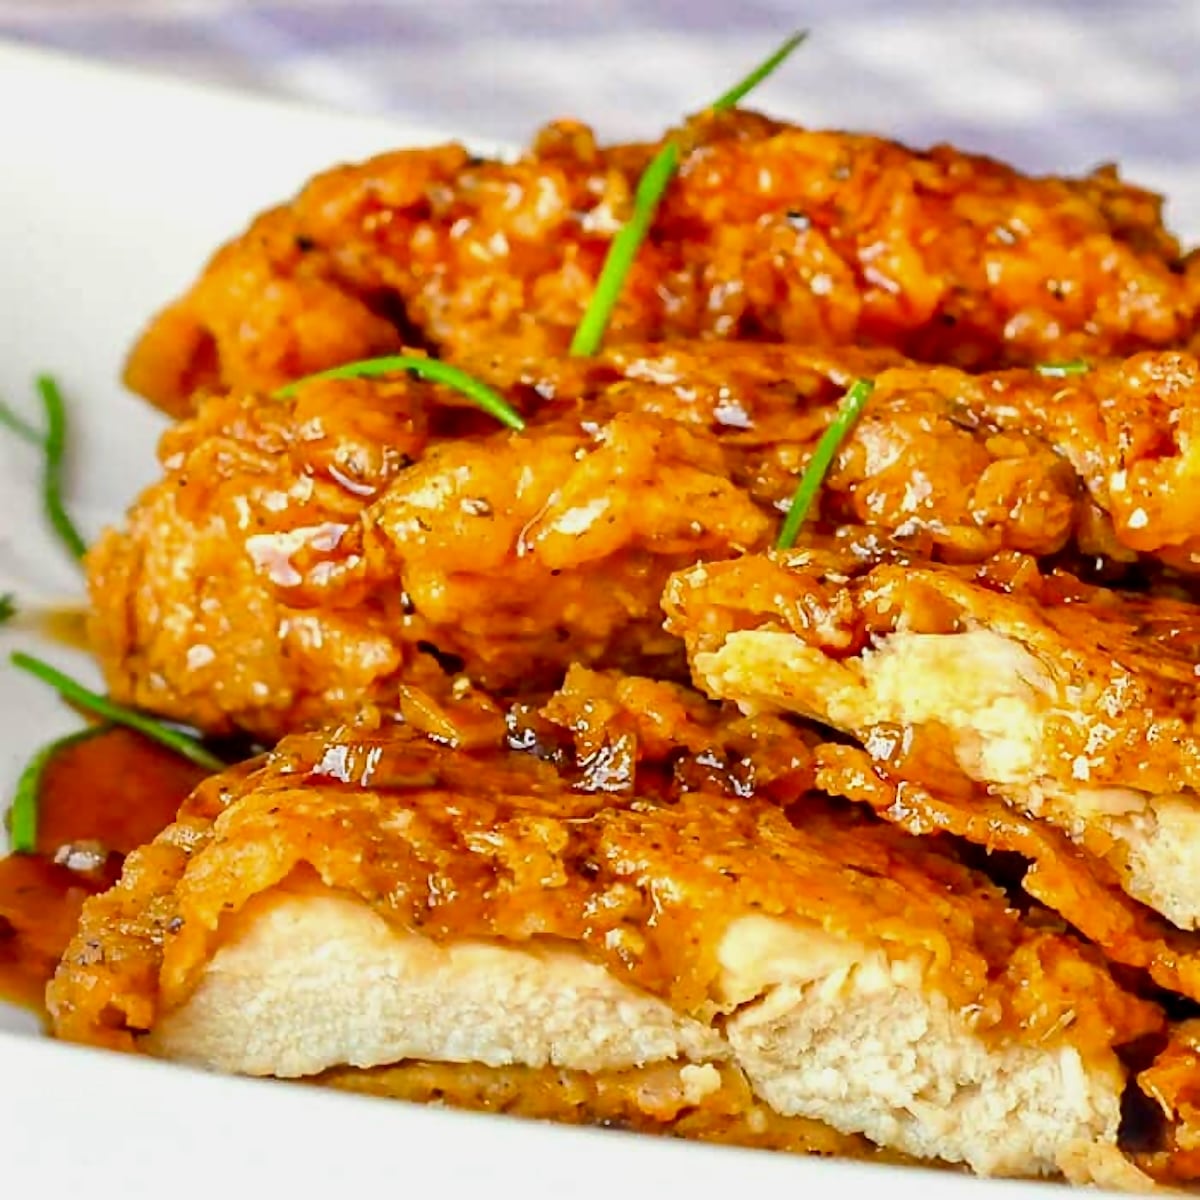
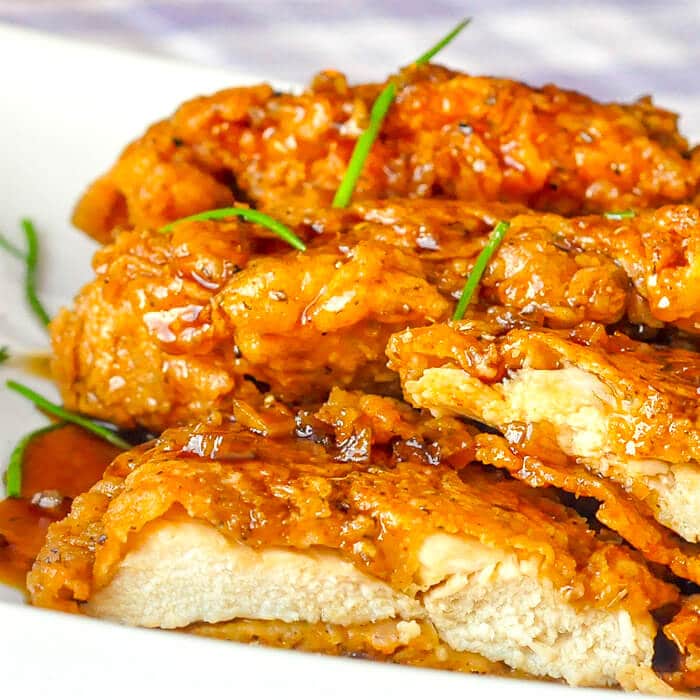
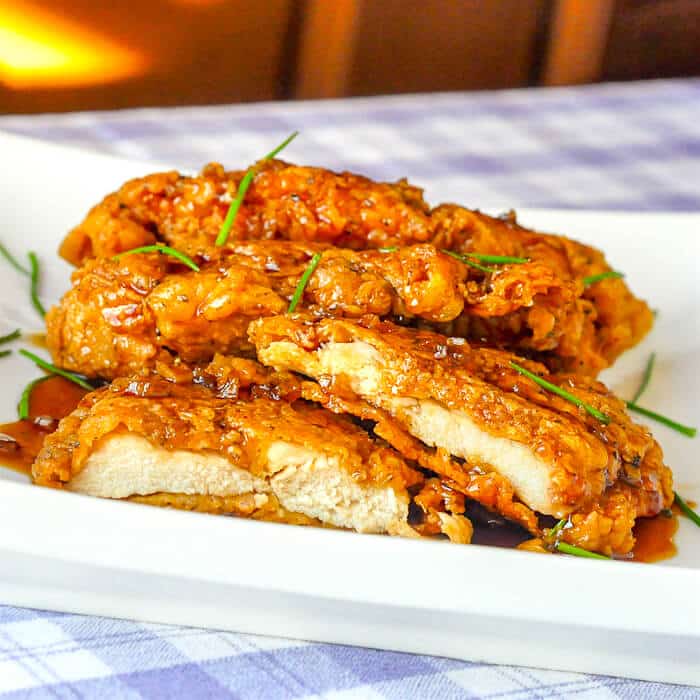
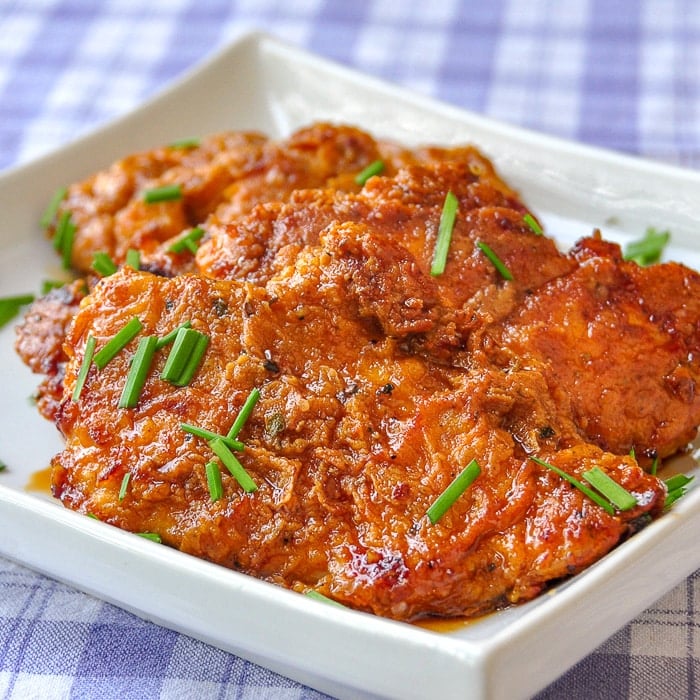
Because the chicken breasts are pounded out to a ½ inch thickness, they fry up even faster than the pork chops. But they still provide a juicy chicken interior and a super crunchy exterior that has been such a big reason for this recipe’s popularity.
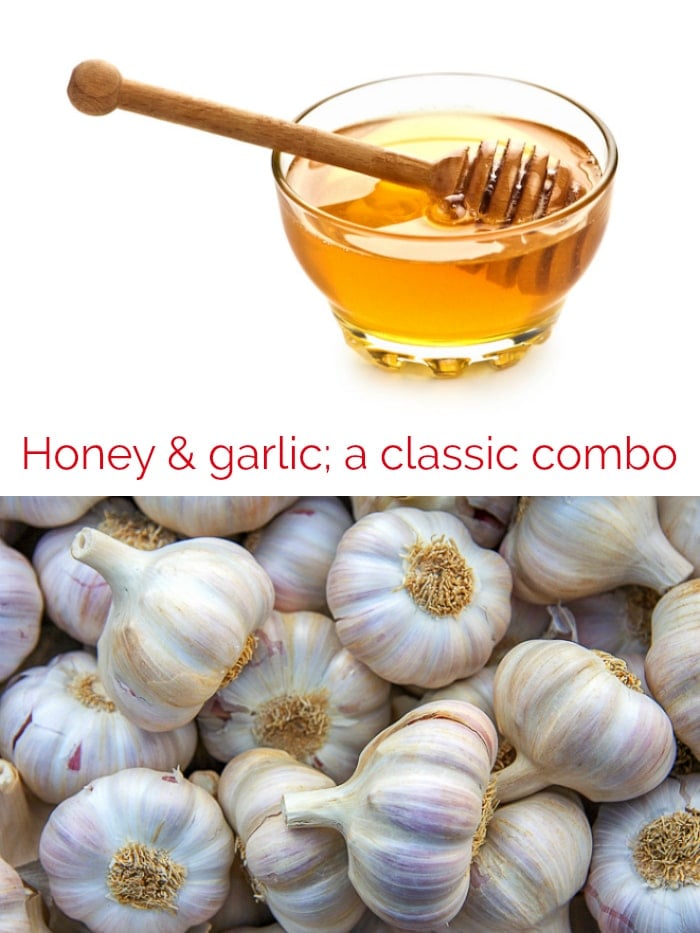
A quick dip in the easily prepared honey garlic sauce adds a sweet and slightly salty finish that everyone just loves.
Side dishes
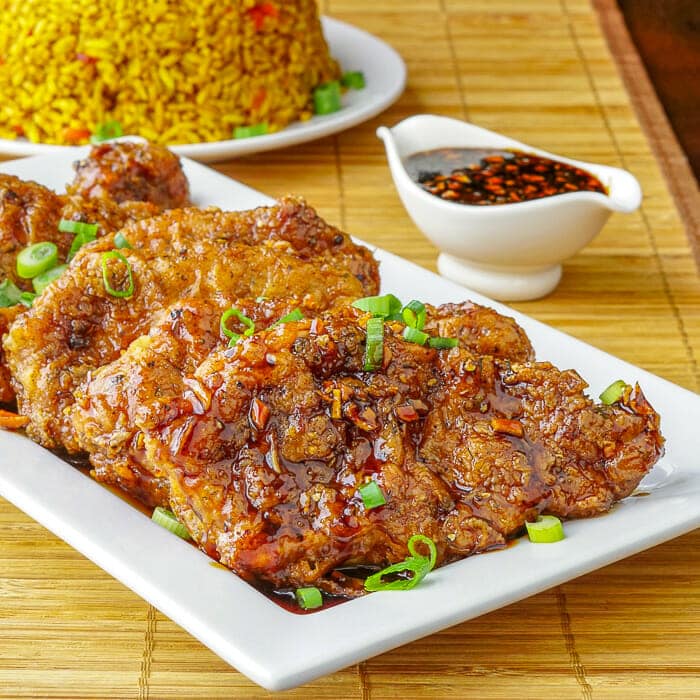
We served ours with some Chinese egg noodles, lightly tossed in the same sauce. A few sautéed vegetables on the side and you have what our entire family agreed was one of the most satisfying and delicious meals imaginable in under 30 minutes.
Workday dinners just don’t get better than this.
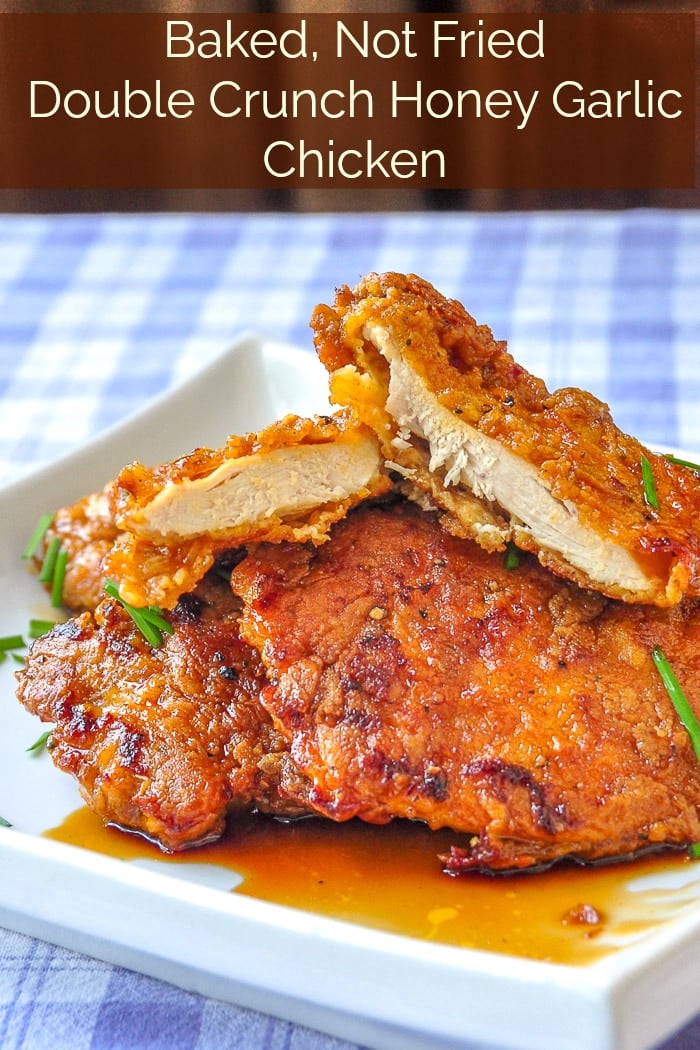
Double Crunch Honey Garlic Chicken, The baked version.
Folks kept asking if this recipe could be baked and not fried. So, we finally decided to test a baked version to see if we could make it work.
I had every reason to believe this would still be great as an unfried, fat reduced version. After all, we have quite a number of baked crispy wing recipes.
The result was not in the least bit disappointing. It was still crisp and delicious. Spouse said she prefers it baked to fried.
She also hates being the person to do fat frying when preparing dinner. She mostly leaves that up to me. However this version suits her style of cooking more...and maybe yours too.
Check out the detailed instructions in the recipe below.
Want still more Honey Garlic Chicken?
Many Many followers of Rock Recipes are huge fans of chicken wings of any kind. This version is easily translated into making amazingly delicious Crispy Honey Garlic Chicken Wings.
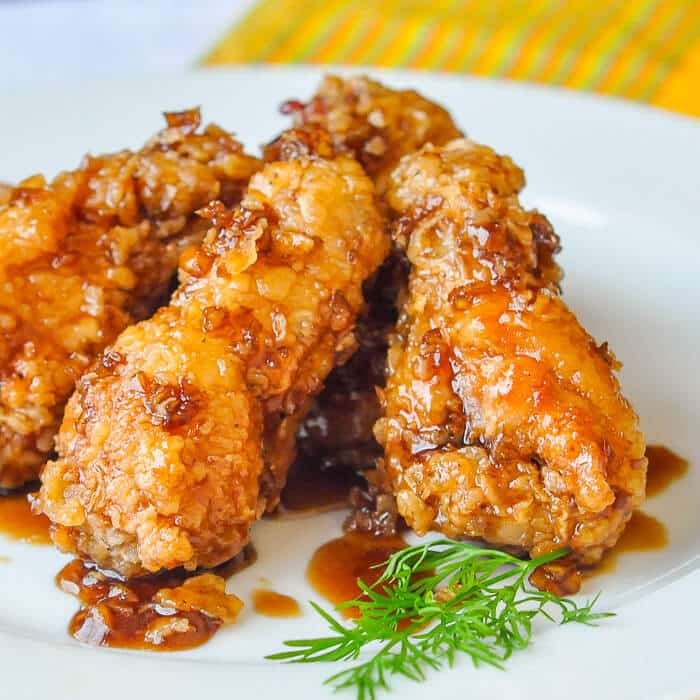
The are sure to be the hit of your next game day get together. They are undoubtedly one of the most popular of the many chicken wing recipes we've ever posted. Find them here.
Like this Double Crunch Honey Garlic Chicken recipe?
You'll find hundreds of other delicious recipe ideas like this in our Chicken Recipes Gallery and even more great ideas in ourQuick & Easy Dinners Category. Just click on the photos there to get to the recipes.
It's easy to keep up with the latest home style cooking & baking ideas from Rock Recipes. Be sure to follow Rock Recipes Facebook Page and follow us on Instagram.
Plus you'll see daily recipe suggestions from decadent desserts to quick delicious weekday meals too.

Newsletter
You can also sign up for our FREE newsletter to know immediately when we add new recipes. You'll also get weekly suggestions for great family friendly meals and desserts too!

Rock Recipes a participant in the Amazon Services LLC Associates Program, an affiliate advertising program designed to provide a means for us to earn fees by linking to Amazon.com and affiliated sites. Our product recommendations are almost exclusively for those we currently use or have used in the past.

Double Crunch Honey Garlic Chicken Breasts
Double Crunch Honey Garlic Chicken Breasts - with over 2 Million views, this super crunchy double dipped chicken breast recipe with an easy honey garlic sauce is our most popular recipe ever.
Ingredients
- 4 large boneless skinless chicken breasts
- 2 cups flour
- 4 teaspoon salt
- 4 teaspoon black pepper
- 3 tablespoon ground ginger
- 1 tablespoon freshly ground nutmeg
- 2 teaspoon ground thyme
- 2 teaspoon ground sage
- 1 teaspoon cayenne pepper
- 2 tablespoon paprika
- 4 eggs
- 8 tablespoon water
- 2 tablespoon olive oil
- 3-4 cloves minced garlic
- 1 cup honey
- ¼ cup soy sauce, low sodium soy sauce is best
- 1 teaspoon ground black pepper
- canola oil for frying
Instructions
- Place the chicken breasts between 2 sheets of plastic wrap and using a meat mallet, pound the meat to an even ½ inch thickness. Alternatively, you can slice the breasts by placing them flat on a cutting board and using a very sharp knife to slice them into halves horizontally.
- Sift together the flour, salt, black pepper, ground ginger, nutmeg, thyme, sage paprika and cayenne pepper. NOTE: This flour and spice dredge mix is sufficient for two batches of this chicken recipe so divide the batch and store ½ in a Ziploc bag in the freezer. I always like to make enough for next time...and there's always a next time with this recipe.
- Make an egg wash by whisking together the eggs and water.
- Season the chicken breasts with salt and pepper, then dip the meat in the flour and spice mixture. Dip the breast into the eggwash and then a final time into the flour and spice mix, pressing the mix into the meat to get good contact.
Cooking the chicken
- Heat a skillet on the stove with about a half inch of canola oil covering the bottom. You will want to carefully regulate the temperature here so that the chicken does not brown too quickly. The thinness of the breast meat practically guarantees that it will be fully cooked by the time the outside is browned. I find just below medium heat works well. I use a burner setting of about 4 ½ out of 10 on the dial and fry them gently for about 4 or 5 minutes per side until golden brown and crispy.
- Drain on a wire rack for a couple of minutes before dipping the cooked breasts into the Honey Garlic Sauce. Serve with noodles or rice.
- To make the Honey Garlic Sauce:
- In a medium saucepan add the 2 tablespoon olive oil and minced garlic. Cook over medium heat to soften the garlic but do not let it brown.
- Add the honey, soy sauce and black pepper.
- Simmer together for 5-10 minutes, remove from heat and allow to cool for a few minutes. Watch this carefully as it simmers because it can foam up over the pot very easily.
TO MAKE THE OVEN BAKED VERSION
- Follow the recipe exactly as for the fried version but while you are preparing the chicken, heat a baking sheet in a 425F degree oven. Preheating the pan does 2 things; it prevents the chicken from sticking to the pan and it ensures that the heat from the oven starts going directly into the crust on the chicken to make sure it becomes crispy.
- Dip all your chicken pieces and coat as instructed. As you finish individual pieces, lay them out on a lightly floured cutting board while you finish getting them all ready.
- When the pieces are all ready, take the hot pan from the oven and lightly oil the bottom of the baking pan with canola oil or other vegetable oil. Use only enough to coat the bottom of the pan.
- Working as quickly as possible, transfer the chicken pieces to the oiled pan. Do not crowd the pieces together. They should NOT touch each other or they will steam and not get crispy. Leave at least an inch of space between all pieces.
Cooking the chicken
- Lightly spray the tops of the chicken pieces with vegetable oil. I recommend that you have a spray bottle filled with canola oil to use in any oven fried recipe for chicken, including this one. A simple pump bottle will do. Spraying the tops helps them start to get crispy in the hot oven too.
- Maintain the heat at 425 degrees F and place baking sheet in the oven. I use the second lowest rack in my oven.
- Bake for 15 minutes without opening the door! Take the pan out of the oven and flip all of the chicken pieces over.
- Return to the oven for another 10-15 minutes until the chicken pieces brown nicely and become crispy. Again don't open the door, maintaining a hot oven is important for this method.
- Dip the baked pieces in the sauce as usual and serve immediately.
Notes
For a gluten free option, try substituting rice flour for the white flour.
The nutritional information provided is automatically calculated by third party software and is meant as a guideline only. Exact accuracy is not guaranteed. For recipes where all ingredients may not be used entirely, such as those with coatings on meats, or with sauces or dressings for example, calorie & nutritional values per serving will likely be somewhat lower than indicated.
Recommended Products
Rock Recipes a participant in the Amazon Services LLC Associates Program, an affiliate advertising program designed to provide a means for us to earn fees by linking to Amazon.com and affiliated sites. Our product recommendations are almost exclusively for those we currently use or have used in the past.
Nutrition Information
Yield
4Serving Size
gAmount Per Serving Calories 551Saturated Fat 3gCholesterol 236mgSodium 3338mgCarbohydrates 77gFiber 2gSugar 70gProtein 32g
The nutritional information provided is automatically calculated by third party software and is meant as a guideline only. Exact accuracy is not guaranteed. For recipes where all ingredients may not be used entirely, such as those with coatings on meats, or with sauces or dressings for example, calorie & nutritional values per serving will likely be somewhat lower than indicated.
Would you like to save this recipe?
Send this recipe to my email.


Made this last night - was incredible!!!!!!! The ginger and thyme in the spice mix really stood out and gave it a really delicious flavor. My boyfriend said to put a pin on this recipe and make it over and over again! I noticed that people have commented on it not getting good and crispy - I poured a decent amount of canola oil into the pan before frying, and let it heat up for a good 5 minutes so that some of it evaporated and was very hot. Only cooked each side for 4 minutes and it was very crispy and perfect. Dipping it into the soy glaze just took it over the edge! Served it with brown rice and steamed brocolli, and poured the sauce over it all! Incredible! Thank you!
Just made this tonight!
Some comments... I agree that the recipe had way too much flour and egg mixture left over... I would recommend halving both of them unless you want to save the mixture for another time.
I cooked the chicken in a deep fryer at 350 degrees for about 6-7 minutes. Make sure the chicken inside is completely done! Next time I'm going to flatten it into 1/4 of an inch because I think it would work better. I also halved each chicken breast so the pieces were smaller.
I tasted the chicken before I dipped it in the sauce and I found the spices to be a bit overpowering. Next time I will definitely decrease the ginger because that was the most prominent taste.
However, the sauce was DELICIOUS! It also helped subdue the spice taste, so the end result was very tasty. My dad, who doesn't care for honey, even said I should make the recipe again sometime.
If anyone has tried baking this chicken instead of frying it, let me know how it turned out!
This looks absolutely delicious! I'm going to have to try this soon. Like tomorrow. Maybe for lunch if I can't wait for dinner.
I'm allergic to eggs but this looks sooo good! Any suggestions on what might work in place of the egg? Thanks!
I like to pat the chicken dry, dip in flour, then soy milk, then the batter.
Barry, Barry.....I have not felt this level of hunger in a LOOONG time ;)....I have taken the recipe and will adapt it slightly to suit our tastes but on the whole doesn't need much messing with...It is perfection! Would it be OK to use this on another food blog once it has been made and tried and photographed...linking back to this post and giving you all the credit? Or would you prefer that you get an email asking for permission when it is time to do the blog post? Thanks so much for sharing all your gorgeous recipes. Love them all xx
If you are using the recipe directly then I prefer you just link back to the site. If you adapt you own version, than a link to the original would be appreciated.
"Visitants"? Is that like aliens?
I am making this tomorrow it sounds so easy and delicious!
I just made this today and it was wonderful. I didn't think it would come out so good. If you haven't made it yet, I suggest you give it a try.
This was delicious! The only thing I did differently was to use 1/2 flour and 1/2 cornstarch then after you are done with coating with the flour/cornstarch/spice mix, let them set for a good 45 minutes until the coating gets gooey, then fry. The using cornstarch and letting them set makes them crispier. The sauce was to die for!! Thanks for the great recipe!
I too used half corn starch... Mine were very crunchy and perfect... maybe a little less ginger it was UP FRONT 😉
Honey garlic sauce mmmmmmmmmmmmmmmmmmmmm
This looks really good! How many servings does this recipe make?
WOW I just made this and it came out so good!!! thanks for sharing!
Made this with boneless pork chops, and it was excellent
I followed the cornstarch advice above. Excellent! We reduced the ginger and nutmeg to about 1/3 what was called for. We added twice as much soy sauce to the garlic/honey sauce. It was just too strong on honey flavor. Served with whole wheat pasta and steamed broccoli. Best crunchy fried chicken ever!!
This recipe is wonderful. My family can't get enough!!!
Made this tonight baking instead if frying and wow it was great just the right amount of heat as in spices it was awesome we will definitely try the chicken wings!!!
Made this for dinner last night. As far as the crispiness of the chicken, it turned out perfect. I cooked it in my electric skillet for 4-5 minutes on each side. Although, I feel like the recipe calls for way too much ginger. I would for sure cut that in half. As far as the honey, it was a tad overpowering as well. I will definitely make the chicken again, but with different spices.