
Homemade Philly Cheesesteak with recipe for the best rolls.
Homemade Philly Cheesesteak. A near perfect version of this famous sandwich that you can make at home, on the closest thing to an authentic cheesesteak roll I've ever tried.
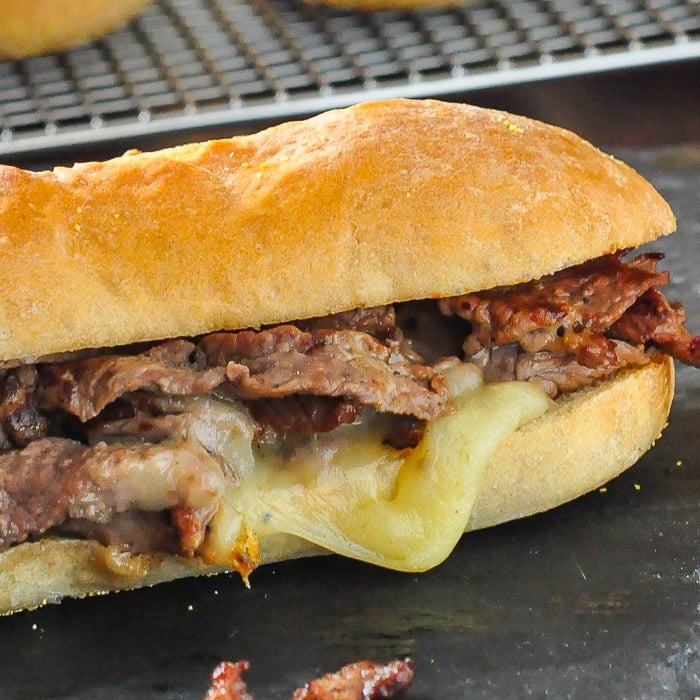
Everything you ever read about Philly cheesesteak sandwiches says that the only real cheesesteaks are to be found in Philadelphia itself. I'm not going to argue with that because I've only ever eaten one Philly cheesesteak in Philadelphia on my only visit to the city.
It was at Campo's Deli on Market Street and it was definitely the best I've had anywhere.
The simple preparation of the beef that fills the steaks is almost universally the same. The rolls for Philly cheesesteaks almost always come from Amoroso's Bakery.
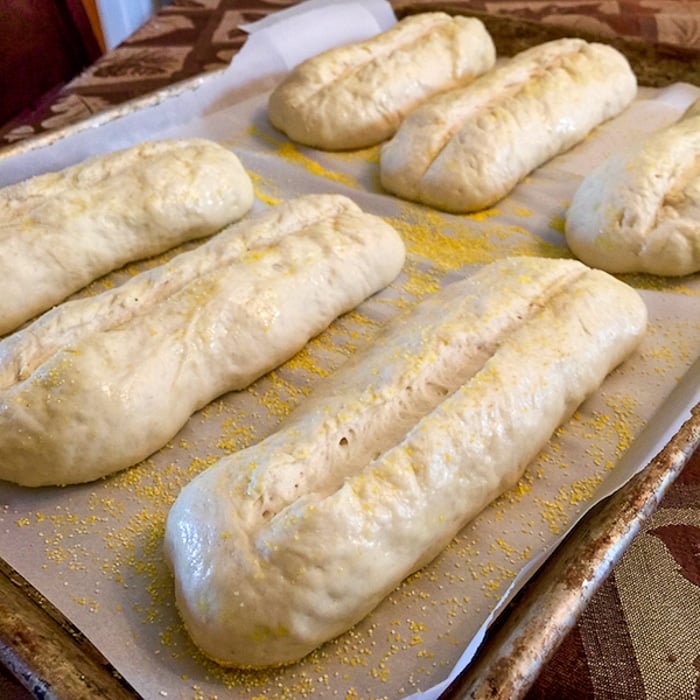
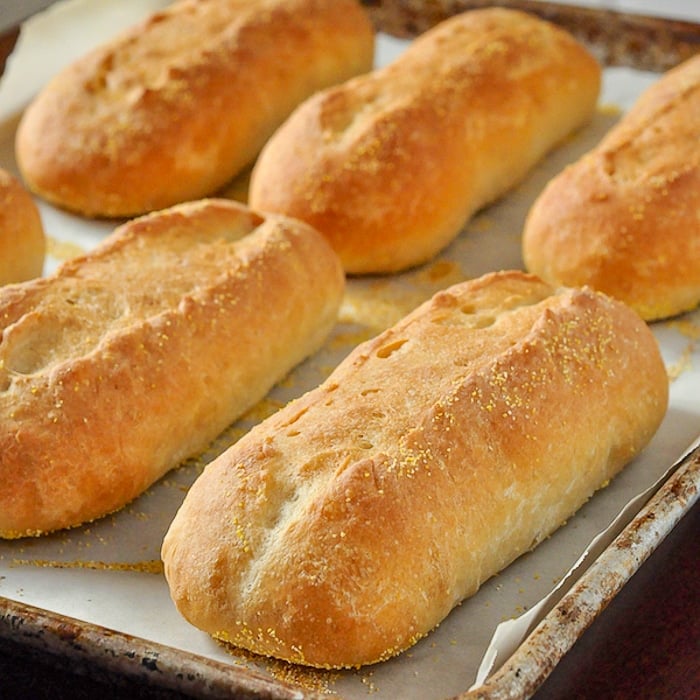
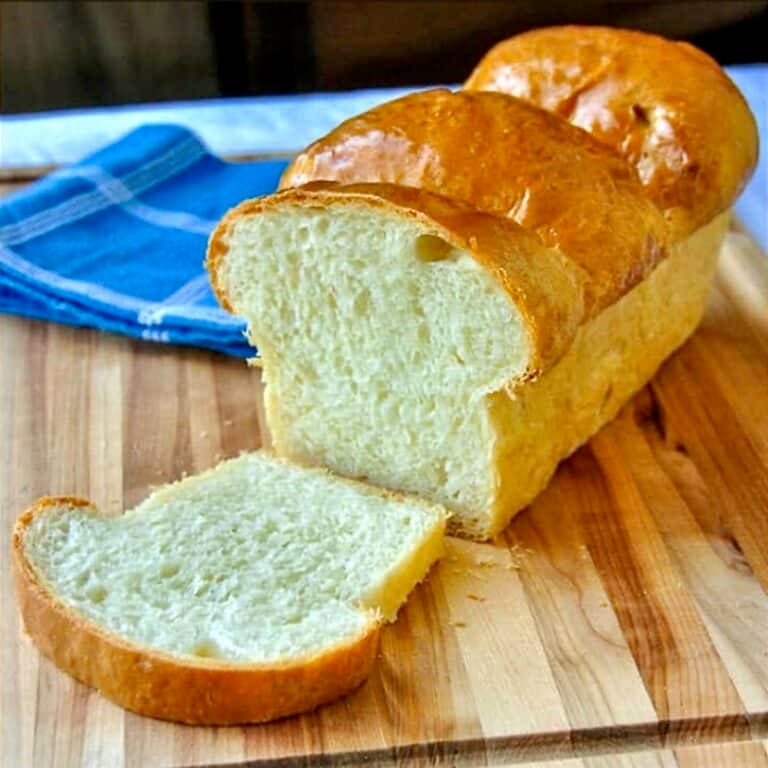
For me, the rolls are what make the sandwiches in Philadelphia great. They are simply perfect for the job at hand - lightly crispy outside with a soft, airy, slightly chewy inside.
They are sturdy enough to hold up to the robust filling, while being light enough that you don't feel like you've eaten a pound of bread.
I think they are the ideal carrier for practically any sub sandwich. I also had the thought that they'd be perfect for a big sloppy burger too. I'll be featuring this roll recipe as burger buns soon as well.
Tips for Homemade Philly Cheesesteak rolls
A few points about this dough before you attempt to make it:
- Be careful not to add a lot of flour in the kneading process. You still want this to be a little bit of a sticky dough right through to the end stages. This ensures that the final inside texture of the roll is soft, with the gluten well developed, and not a denser texture with tight bubbles.
- Knead the dough by hand for 5 minutes, even after it comes out of the stand mixer, remembering to use as little flour as possible. Use the heel of your hand to stretch the dough across the kneading surface in a sort of smearing action.
- Then fold the dough back over itself, turn it around and do the same again. Keep repeating this action for at least five minutes to develop good gluten in the dough.
- Never add the olive oil with the rest of the ingredients; this will inhibit production of gluten and form a less elastic dough. Add the oil only after the gluten strands have already begun to form within the dough. (Refer to recipe.)
For the filling in this sandwich, I like to use a hot, lightly oiled sauté pan that has a fitted cover (or at least a cover form another pot that will fit it). The lid comes in handy for melting the cheese quickly before transferring the meat and gooey cheese onto the roll.
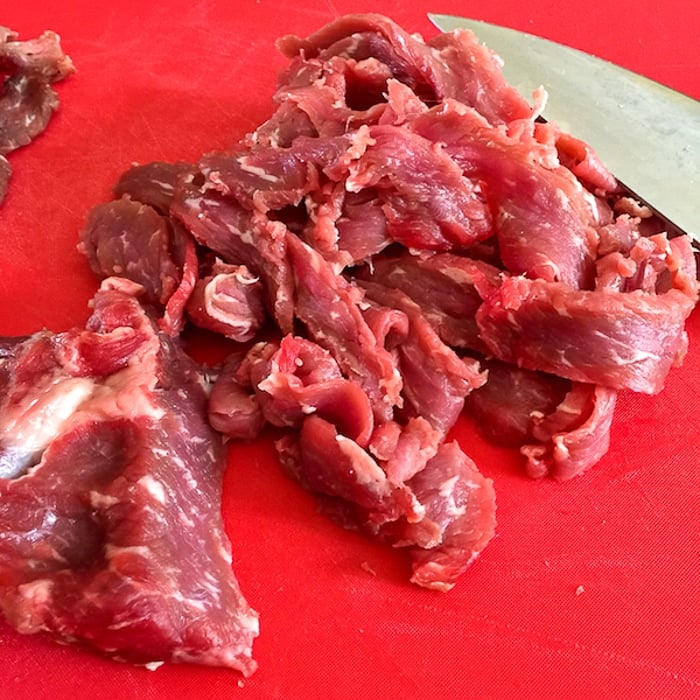
The Beef in a Homemade Philly Cheesesteak.
The beef used in Philadelphia is commonly very thinly sliced rib eye. I've also used thinly sliced striploin as seen in the photo. The key is to get it as thin as you can cut it so that it quicks quickly in only a minute or two.
Some home recipes I've seen use cheaper cuts like sirloin or outside round. I'd say if that's what you have, then try it. Thin slicing and quick cooking are more important than the cut of beef.
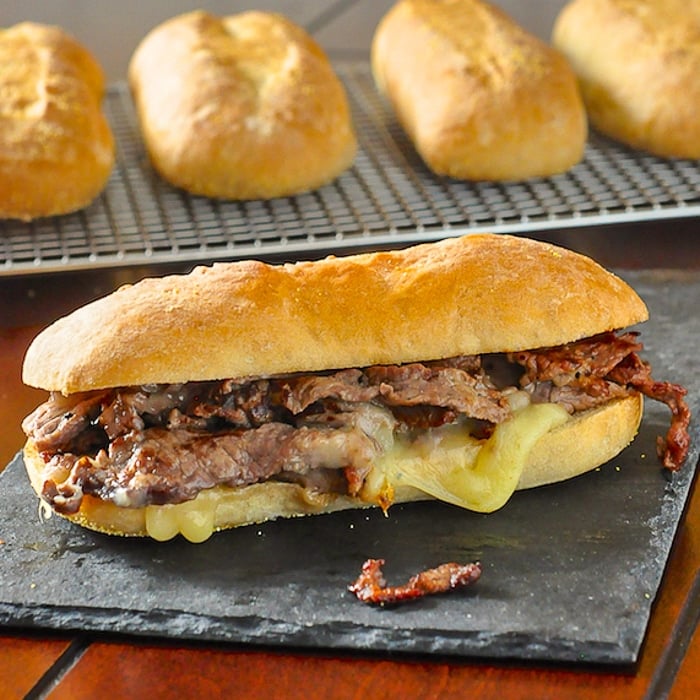
Caramelized onions and mushrooms or sautéed peppers often make their way onto a Philly Cheesesteak; feel free to add them if you like.
American Cheese and even Cheese Whiz are preferred by many, but provolone is also traditional and it's the easy melting cheese that I've always preferred on my homemade philly cheesesteak.
If you like this recipe you may also want to try our popular Philly Cheesesteak Pizza.
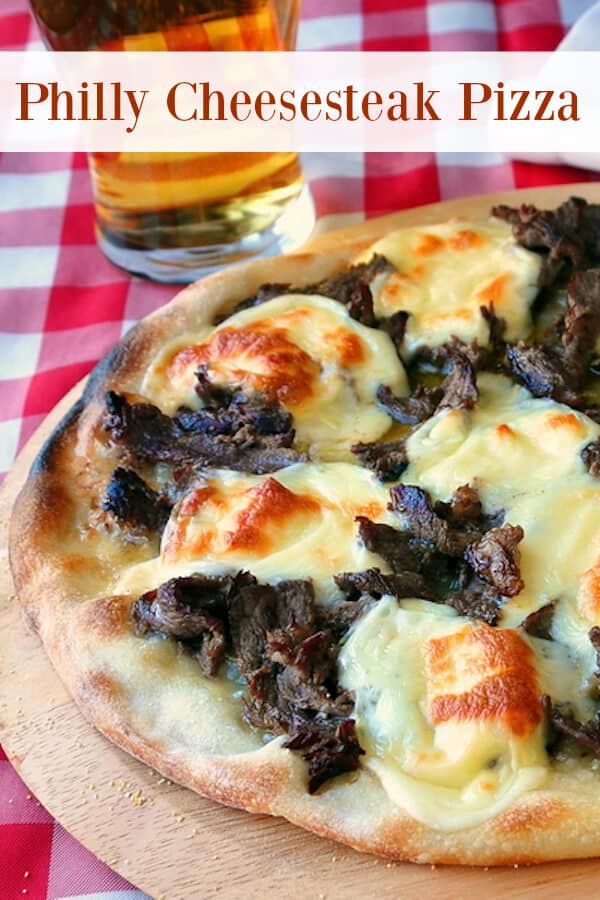
Like this homemade Philly Cheesesteak recipe?
Find even more great recipes in our Sandwiches & Burgers section.
It's easy to keep up with the latest home style cooking & baking ideas from Rock Recipes. Be sure to follow Rock Recipes Facebook Page and follow us on Instagram.
Plus you'll see daily recipe suggestions from decadent desserts to quick delicious weekday meals too.
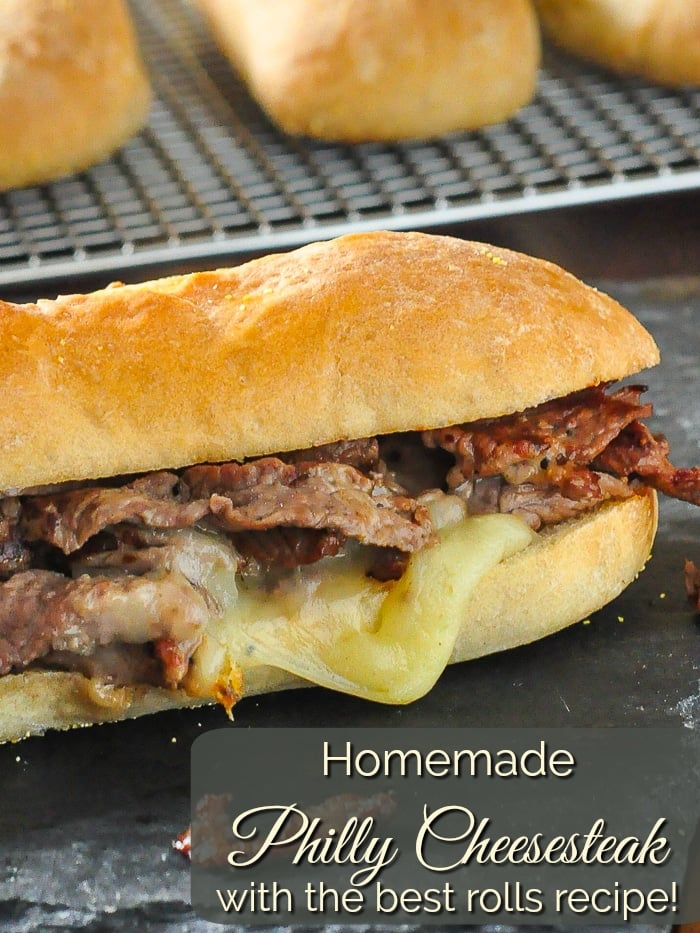
You can also sign up for our FREE newsletter to know immediately when we add new recipes. You'll also get weekly suggestions for great family friendly meals and desserts too!

Rock Recipes a participant in the Amazon Services LLC Associates Program, an affiliate advertising program designed to provide a means for us to earn fees by linking to Amazon.com and affiliated sites. Our product recommendations are almost exclusively for those we currently use or have used in the past.
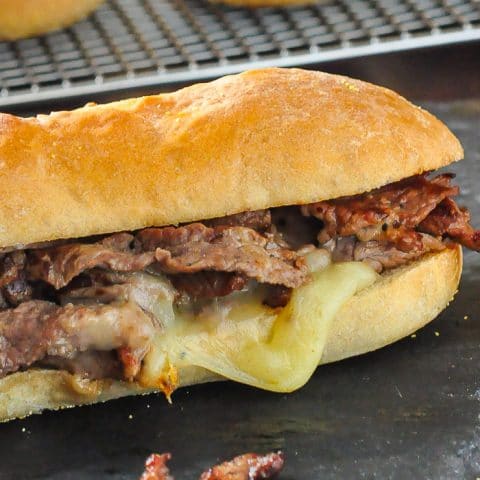
Homemade Philly Cheesesteak with recipe for the best rolls.
Homemade Philly Cheesesteak, a near perfect version of this famous sandwich that you can make at home, on the closest thing to an authentic cheesesteak roll I've ever tried.
Ingredients
For the rolls
- 1 envelope active dry yeast, 7-8 grams or about 2 tsp, not instant yeast
- 4 teaspoon sugar
- 3 cups all purpose flour + a little more for kneading
- 1 ½ teaspoon salt
- 1 ⅓ cups water, lukewarm
- 2 tablespoon olive oil, plus a little more to brush on the rolls
For the cheesesteak sandwich filling
- 2 lbs rib eye beef, or striploin, thinly sliced
- salt and pepper to season
- a little canola oil
- sliced provolone cheese
- A little Worcestershire sauce (optional)
Instructions
To prepare the rolls
- In a small bowl or measuring cup, dissolve 1 teaspoon sugar in ⅓ cup of the lukewarm water
- Sprinkle the yeast over the water and let stand for 10-15 minutes until the yeast activates and becomes foamy.
- Meanwhile combine the flour, 3 teaspoon sugar and salt in the bowl of a stand mixer with the dough hook attached.
- Add the proofed yeast and the remaining 1 cup lukewarm water.
- Mix on low speed until the dough has been kneaded for at least 5 minutes before adding the olive oil and letting it work its way into the dough.
- Turn the dough out onto a very lightly floured bread board or counter top.
- Knead the dough by hand for at least 5 minutes after it comes out of the stand mixer, remembering to use as little flour as possible.
- Use the heel of your hand to stretch the dough across the kneading surface in a sort of smearing action, then fold the dough back over itself, turn it around a half turn and and do the same again. Keep repeating this action for at least five to 10 minutes to develop good gluten in the dough. The dough should appear relatively smooth but still a little sticky to the touch.
- Lightly oil a large bowl with olive oil, place the dough inside, cover it with plastic wrap and let it sit in a warm place for at least an hour until the dough doubles in size.
Forming the rolls
- Again on a lightly floured surface, knead the dough back into a ball and cut into 6 equal pieces.
- Form the dough pieces into about 5 inch lengths and place them a couple of inches apart on a parchment paper lined cookie sheet. You can dust the parchment with yellow cornmeal if you like but it shouldn't stick to the parchment paper in any case.
- Very lightly brush the formed rolls with olive oil. Dust the tops with a little cornmeal too if you like.
- Drape the cookie sheet loosely with plastic wrap and let the rolls rise in a warm place for at least another hour until they at least double in size. You con't want to rush the dough rising at this stage or else your rolls will be too dense.
- Preheat the oven to 425 degrees F. The oven MUST be fully preheated. Place a small tray of boiling water in the back corner of the oven. I use an aluminum pie plate. This causes humidity inside the oven, which helps the bread fully rise before forming a crust.
- Using a very sharp knife or razor blade, quickly but gently cut a ¼ inch deep slit down the centre line of the rolls before immediately popping the tray into the hot oven.
- Bake for 10 minutes before reducing the heat to 400 degrees F and baking for an additional 20-25 minutes until the rolls are an even golden brown. They should sound hollow then tapped with your finger.
- Let them cool on a wire rack before serving as fresh as possible with the cooked steak and cheese inside.
To prepare the steak and cheese (I like to prepare them 2 at a time)
- Slice the beef as thinly as possible and cut the thin slices into strips. Toss the strips with salt and pepper to season.
- Heat a large sauté pan to very hot (a nonstick pan works well) and add just a little canola oil to the pan.
- Throw half of the beef strips into the hot pan and quickly stir fry, just until the meat loses its red colour. In the final 20 seconds or so you can throw in a few splashes of Worcestershire sauce to add additional seasoning to the meat (optional).
- In the pan, divide the beef into 2 portions and arrange it quickly into the approximate size and shape of your rolls. Place the cheese quickly on top of the two meat portions and add the lid of the sauté pan for about 15-20 seconds to melt the cheese.
- Using a large metal spatula, transfer the meat and melting cheese portions onto a split sub roll. Top with caramelized onions, mushrooms pr peppers if you like. Serve immediately.
Notes
- Be careful not to add a lot of flour in the kneading process. You still want this to be a little bit of a sticky dough right through to the end stages. This ensures that the final inside texture of the roll is soft with the gluten well developed and not a denser texture with tight bubbles.
- Knead the dough by hand for 5 minutes, even after it comes out of the stand mixer, remembering to use as little flour as possible. Use the heel of your hand to stretch the dough across the kneading surface in a sort of smearing action, then fold the dough back over itself, turn it around and do the same again. Keep repeating this action for at least five minutes to develop good gluten in the dough.
- Never add the olive oil with the rest of the ingredients; this will inhibit production of gluten and form a less elastic dough. Add the oil only after the gluten strands have already begun to form within the dough. (Refer to recipe.)
Recommended Products
Rock Recipes a participant in the Amazon Services LLC Associates Program, an affiliate advertising program designed to provide a means for us to earn fees by linking to Amazon.com and affiliated sites. Our product recommendations are almost exclusively for those we currently use or have used in the past.
Nutrition Information
Yield
6Serving Size
1Amount Per Serving Calories 832Total Fat 44gSaturated Fat 17gTrans Fat 0gUnsaturated Fat 25gCholesterol 145mgSodium 834mgCarbohydrates 54gFiber 2gSugar 3gProtein 54g
The nutritional information provided is automatically calculated by third party software and is meant as a guideline only. Exact accuracy is not guaranteed. For recipes where all ingredients may not be used entirely, such as those with coatings on meats, or with sauces or dressings for example, calorie & nutritional values per serving will likely be somewhat lower than indicated.
Would you like to save this recipe?
Send this recipe to my email.

I have been meaning to try making a philly cheesesteak for some time now, but I think this has convinced me. This looks so good!
I am going to make these today. i'll have to practice the rolls to make them as pretty as yours. Thanks for sharing.
Wishes for tasty dishes,
Linda
The roll flavor is spot on. The best I have tasted in a while. I have made the rolls twice and both time failure. I have to figure out what I am doing wrong. I am getting flat rolls which spread out and do not rise, they end up about an inch high. Not sure if I did not work the dough enough for gluten or if I needed to add more flour. The dough was very sticky. I will not give up until I get it right in the end. Thanks for sharing this great recipe.
Bread making does require some flexibility in the recipe and a bit of practice too. Sounds like you needed just a little more flour.
Try using bread dough, not all purpose flour. Make sure the water is the right temperature or you will kill the yeast.
Is your water too hot. Too hot of water and you kill the yeast. Bread will still be ok but doesn't rise. I use a thermometer for my water. No more than 110 degrees.
The roll recipe is way off, with the measurements listed above the dough would be at 85% hydration which is basically a thick batter, add in the 2 Tbsp of olive oil and you have a sticky mess which will never become a roll. 60 to 65 % hydration is about right for a soft roll so you will need to add another cup of flour or reduce the water to 1 cup to have any chance of making a roll with this recipe.
I suspect the author knows how to make bread by feel and when he says cups he uses heaping cups and just adjusts on the fly.
Using 4 level cups of flour leaving the rest of the recipe intact results in a very nice roll. Better yet use 500g flour and 315g water for much better accuracy. I don't understand why any baking recipes use imperial measurements.
I made these rolls yesterday and they turned out great. My husband loved them. We both grew up in Philadelphia but live in upstate Pa now and we really miss good bread. These were very close to the texture of Amoroso rolls. Nice and crisp on the outside and soft inside with a nice chew and they held together with my sausage and pepper sandwiches. Thank you for the recipe, I'll be making these again for sure.
We're from Philly too.. the sausage and peppers reminded me of what I miss.. also we did pepper, egg and provolone. Must get baking!
Could you use the bread as hotdog buns? Lobster rolls buns? I will try them this week! Thank you Barry!
Don't see why not.
I just tried this recipe and failed pretty miserably. The dough did not ball up in the mixer at all, it was just a very sticky mess. The recipe hinted it should be a "little sticky" but it was so loose the dough would just not form or stretch. I'm going to try again adding a little bit of flour in the mixer until the dough starts clearing the bowl. For those that have had success, please let me know how much extra flour you've had to add - or any other tips/changes. From the results I had, I feel like it's going to need at least half a cup more - which seems excessive.
1/2 cup is not excessive at all. In bread making, the feel of the dough is most important, in my experience. I certainly would never stop adding flour if I felt the dough was too sticky. Measuring cups of flour for baking bread can be quite inaccurate too depending on humidity, compactness etc. I often wish we weighed our flour in North America like they do in Europe and other parts of the world. So much more precise. Go for the feel of a good dough rather than sticking to exact measurements.
Have you measured your flour in the European way? I agree it is more precise. If you have in gra.s, that could be helpful. US needs to bake properly. 😉
I'm usually pretty good at reading recipes but don't understand the yeast statement. You wrote "1 envelope active dry yeast 7-8 or about 2 tsp, not instant yeast". What does the"7-8" reference?
Grams. The new recipe format software had a bit of a glitch there. Fixed now.
Excellent flavor and great instructions. However, I’d increase the flour by half a cup; I’ve made these three times and have had to add at least that much each time.
To clairify for first timers, you’ll know flour amount is right when the dough briefly clings to your finger and releases when poked and pulled away. It shouldn’t stick to your finger.
Could you put the total prep time at the top of your recipes? Like, the actual total prep time? I started this and the rest of my meal thinking I had 55 minutes, but as I went on I found out it was actually 2 hours more than that and my whole meal was screwed. I guess it's my fault for not reading the whole recipe before starting it, but why isn't the total time at the top accurate? Isn't that the point of "total cook time"? To know at a glance how long it will take?
Yes, reading recipes entirely before attempting is essential. In our new recipe software, though, there is a new field for inputting resting time, or rising time, etc. I plan on using that in the future and wil manually update others as time allows.
Why 4 teaspoons of sugar?
I see the reason for the 1 teaspoon to
Help the yeast activity but I do not see
the purpose for the other three teaspoons
Of sugar. I do not want an sweet hogie roll
I want just a regular hogie roll , one without
So much sugar. Please let me know by e-mailing
me
if 3 teaspoons is a lot to you just cut it back. I like to give the yeast a big boost.
I have attempted this recipe twice. Once with AP flour, and once with bread flour. Both were failures.
First attempt I followed the recipe to a T. The bread was burnt. Very dark, thick, hard crust. Insides slightly dense, but done.
Second attempt, checked after 10 minutes of turning temp down, crust hard and golden brown... looked good. Insides not done.
I feel like the temp is way off.
Anyone have any suggestions?
Use aluminum pans even disposable cookie sheets to prevent burning. Some darker pans carry heat far too quickly. Your oven may be running hot too. Try cutting the temp by 25 degrees.
How many ounces is each of your dough balls to form the 6 inch
6 should do it.
I collect and use recipes. I never post comments. I seldom read comments. That said, this is the best recipe site I've visited and it changes everything I first said. My husband is from NJ. I am from AL. We have lived in a tiny Italian village for three years. Now, I don't just collect interesting recipes, I collect staple recipes, as well. Italian food is wonderful we get fresh, ripe fruits and veggies most Americans would kill for, true. Yankees eat funny. 🙂 In order to keep mine happy and healthy, I have to be sure he has native foods. Bread in Italy is not anything either of us enjoys. I love baking bread, so we're good there. Last night, though, I thought I would make a special treat and come up with something approximating a philly cheese steak. Screeching halt. My husband, using the exact words on this page, described the imperative roll. This morning, the search started, and ended, with this site. Even my mouth is drooling, though nothing on this page is deep fried or contains any cornmeal. I showed it to my husband and he looks like Christmas is coming. I've already printed out a dozen recipes. The instructions are clear and perfectly described. The videos look like they were made by a true, expert cook. No pretensions. The comments look like they were made by neighbors chatting in the kitchen and when needed, they get answers!. THANK YOU! (Anyone need a good cracklin' bread recipe? Nah, me neither.:
Thanks for the kind words. Welcome!
Why is it so difficult to print this recipe? I had to cut and paste into a document, because there is no apparent way to print less than everything on this web page. I don't like to waste paper.
The print button worked fine for me.
I actually made them. I followed the recipe to the "T". They are crispy on the outside, soft on the inside. We sampled a whole one by itself. My husband has requested that I make them again and use for french dip sandwiches.
Thanks for sharing