
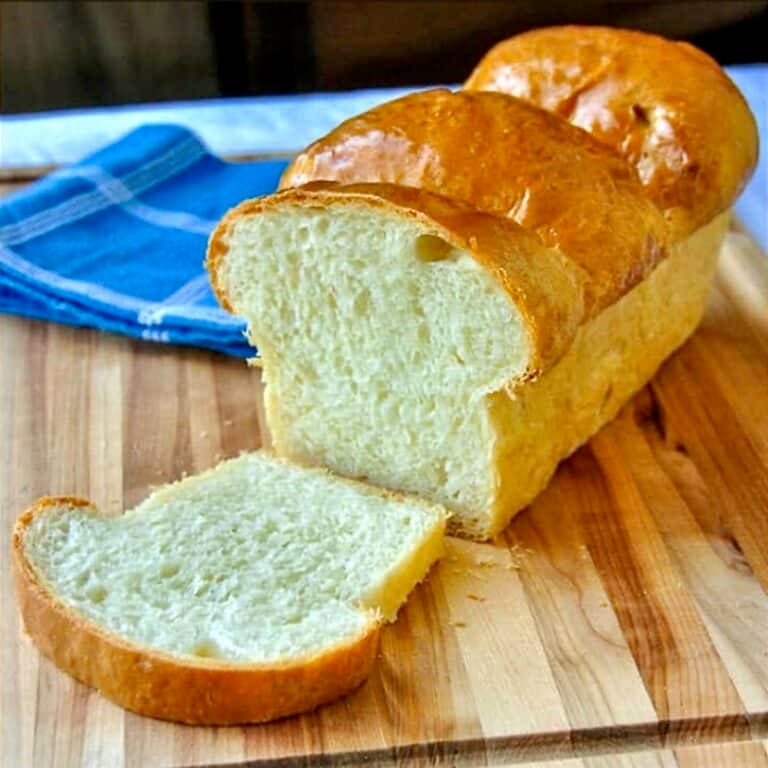
How to Make No Knead Bread
Would you like to save this recipe?
Send this recipe to my email.
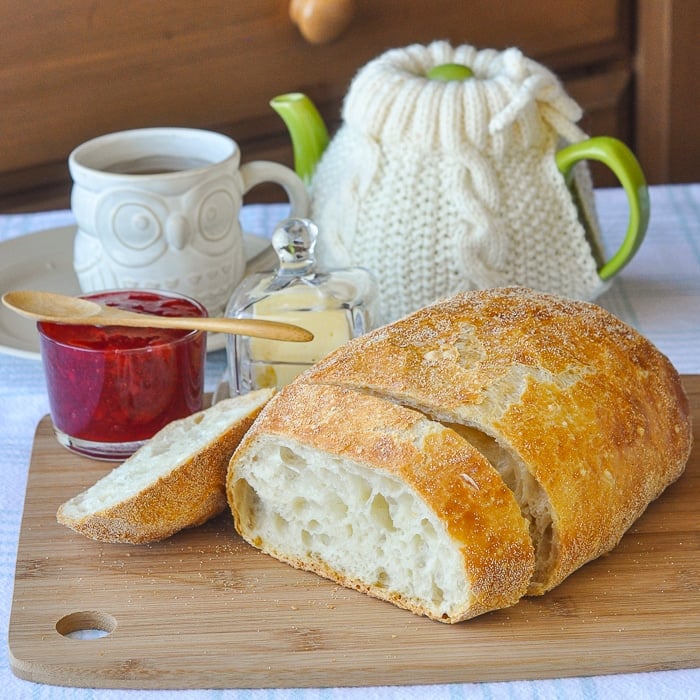
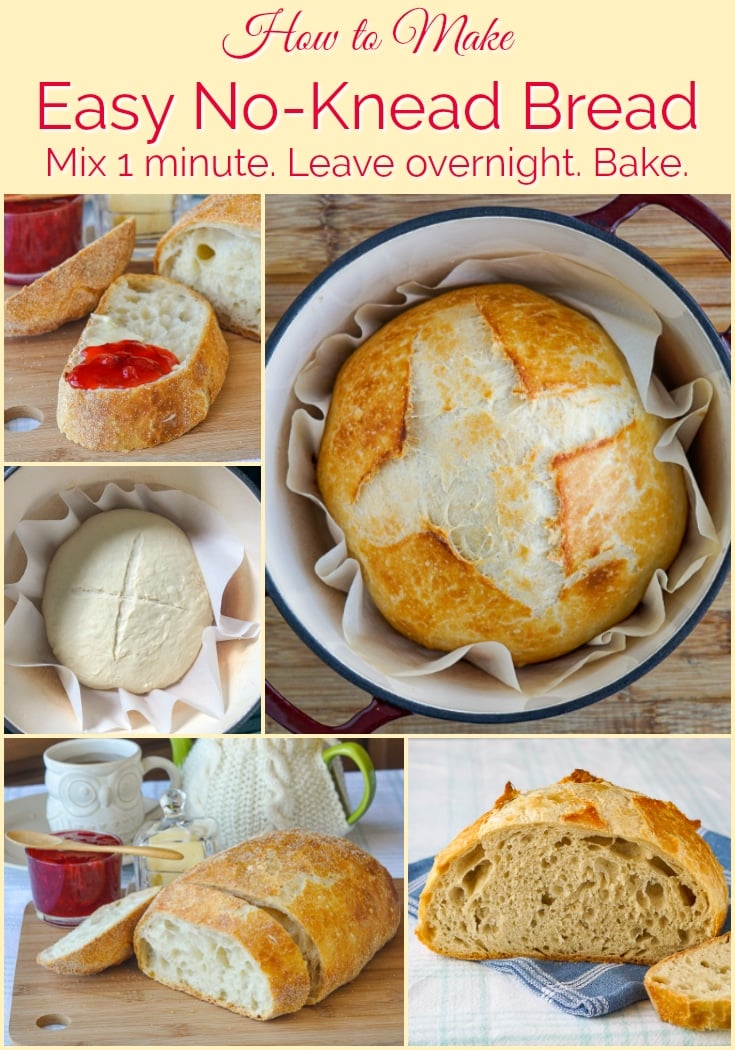
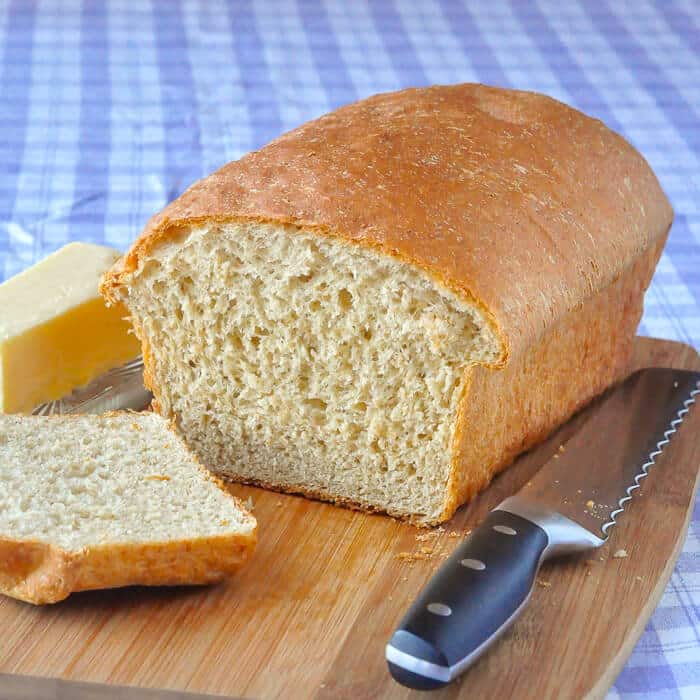
How to Make No Knead Bread. No baking skills required! Time, a bowl and a dutch oven are all that's needed. Mix it in one minute. Leave it overnight. Bake it. Super easy!
Home baked bread is making a big resurgence. Many people are discovering for the first time the sense of satisfaction from baking a perfect loaf.
There is nothing quite like the smell of home baked bread fresh from the oven. I call it the smell of home, because, for me, it is not only a beautiful scent, but a memory.
As in many Newfoundland families, growing up in the 70's and into the 80's, home baked bread was a mainstay of daily life. Practically every Mom, Nan and Auntie I knew back then were excellent bread bakers.
An early baker.
I learned early how to make homemade bread, starting even before my teens. I always loved baking bread and often made 8 or more loaves at once. We were a family of eight after all.
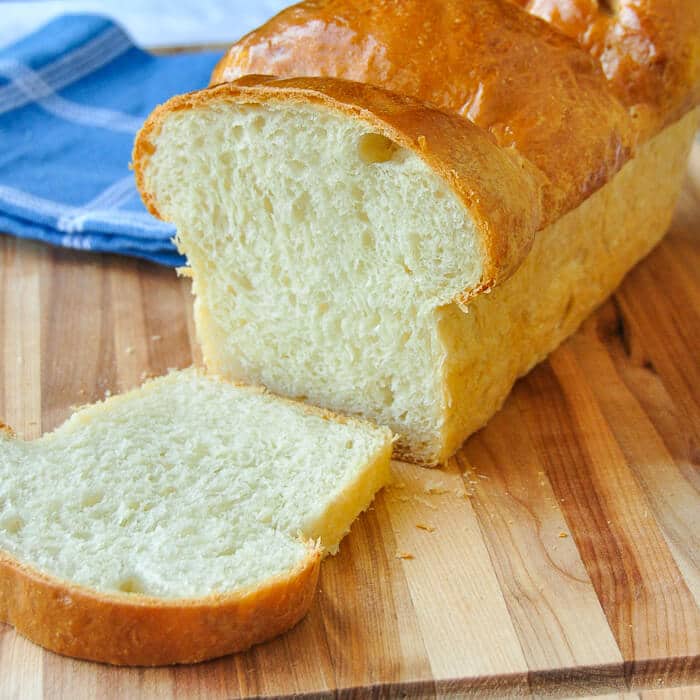
The same recipe I used way back then, has since come to be an incredibly popular one here on Rock Recipes since I first posted it over 12 years ago. Find our Best Homemade White Bread recipe here.
Making No Knead Bread fits easily into almost any schedule.
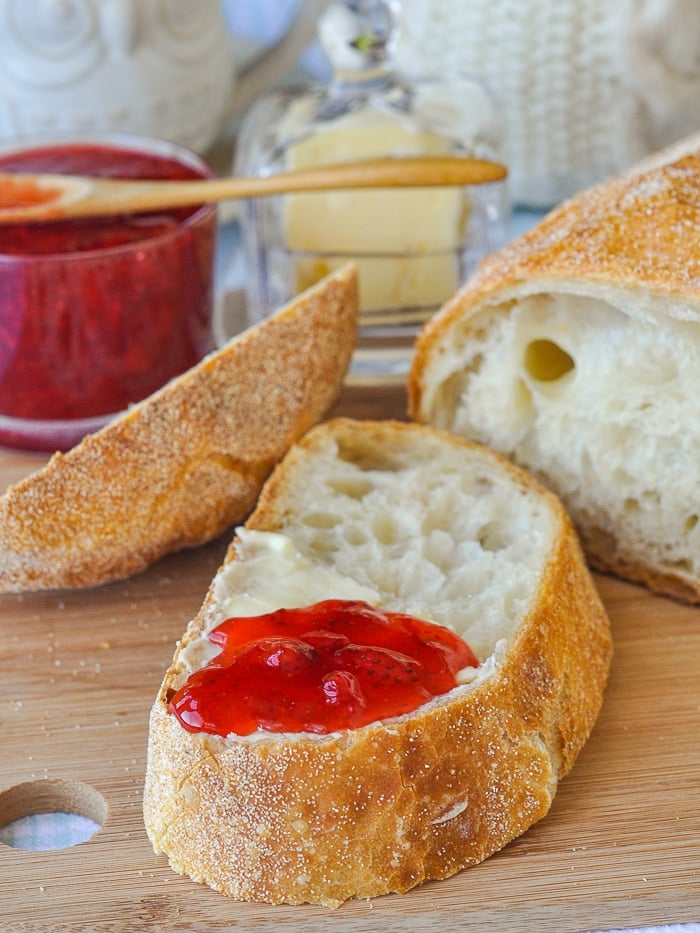
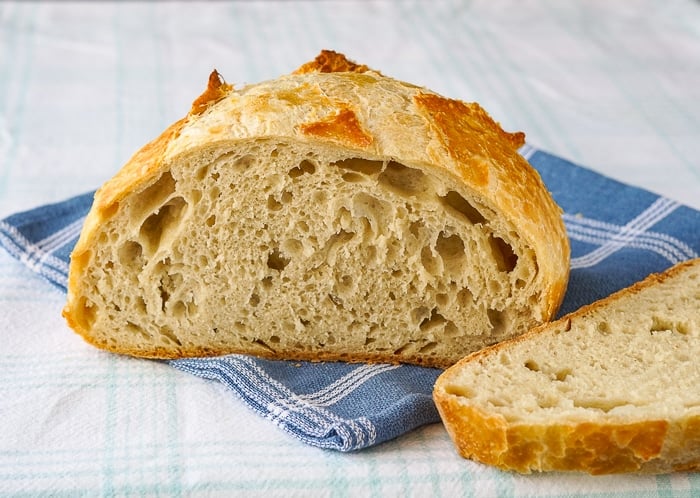
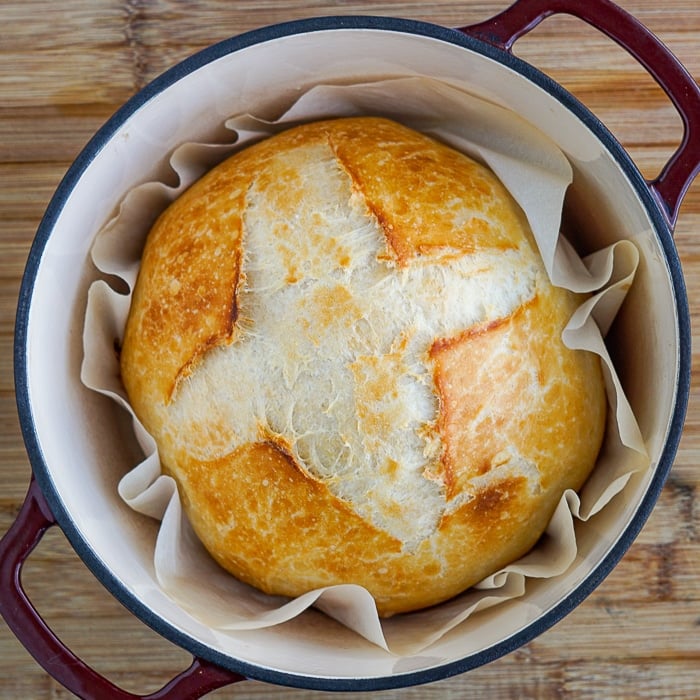
With changing times and busy schedules, in recent years I have also been making this No Knead Bread version. It is a delicious, crusty loaf with a good open crumb and it could not be easier to make.
It is as easy as mixing flour, water, yeast and salt for 1 minute to form a loose dough, then leave it covered overnight. The next day, form it into a loaf and bake it in a preheated dutch oven for about 45 minutes total and voila! Fresh bread!

There's even a 4 hour rising, quicker version when you need it, just by varying the amount of yeast. (More in the recipe below about that.)
What makes this bread particularly delicious, is the slow rising time. The loaf uses only ¼ of a teaspoon of yeast!
Most professional bakers, and especially sour dough bread bakers, know that a long rising (fermentation) time yields a more flavourful bread.

A little yeast can do a lot.
In any bread recipe, the amount of yeast is not as critical as some think. Time is far more important.
A single grain of yeast can multiple enough in time to raise a whole batch of bread. That's why this recipe works so well.
You are actually slowing down the rising process on purpose. That gives the time for gluten to naturally form and for the dough to develop great flavour.

This recipe is the best way to make homemade bread with the absolute minimum of effort. And very good bread at that.
Yes you can make this with whole wheat flour or with a mix of white and whole wheat flours to suit your taste. I like to use half of each type for a great textured loaf.
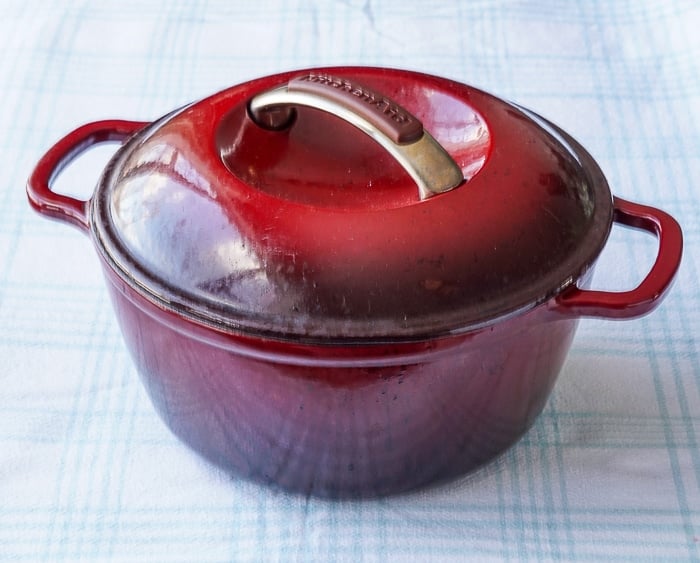
A word about the covered dutch oven or covered casserole.
The size of the dutch oven I use for a singe loaf is 3 ½ quarts/litres and measures 8 inches across the top diameter.
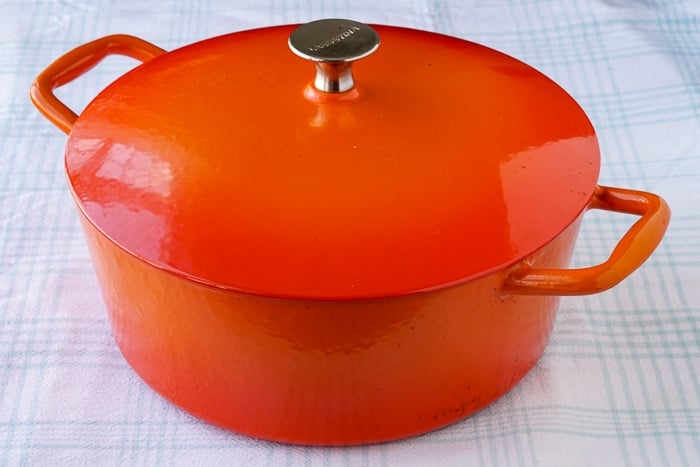
I also have a 7 quart/litre orange dutch oven which measures about 11 inches across. That is what I use to make double sized loaves when doubling the recipe.
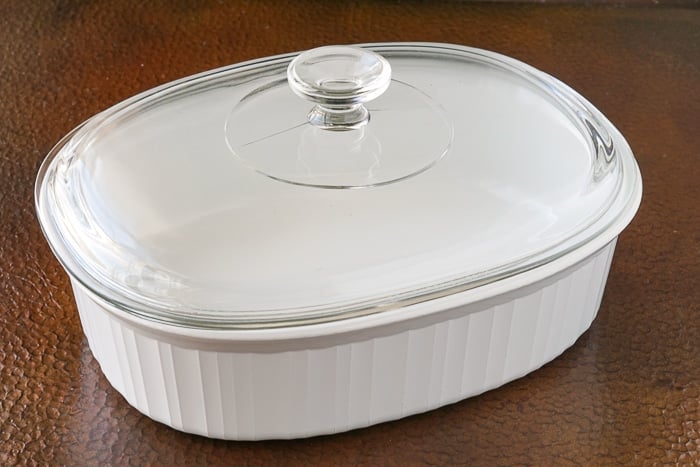
Any oven-safe covered casserole is also good to use. I have made a single loaf of this bread in a white Corelle covered casserole as well. Just make sure your covered dish is rated for up to 450 degrees but you can get away with using 425 as well.
When using a casserole, form the dough into a log shape, a little shorter than the length of the covered dish.
Step by step photos for making No Knead Bread.
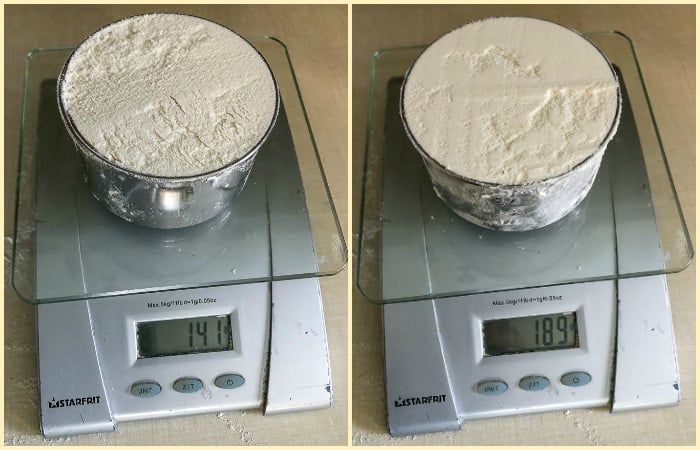
Measuring flour correctly.
It is easy to over measure flour for any recipe by as much as 30% or more as you can see in the photo below. Both are one cup of flour but one weighs much more. Read more on how to avoid this common baking pitfall in our post on How to Measure Flour Correctly.
For more tried and true recipes, check out this collection of our 25 Most Popular Recipes since Rock Recipes began back in 2007.

Like these No Knead Bread recipe?
For traditional and Newfoundland inspired recipes, check out in our Newfoundland section and even more great dishes in our Fish & Seafood Category
It's easy to keep up with the latest home style cooking & baking ideas from Rock Recipes. Be sure to follow Rock Recipes Facebook Page and follow us on Instagram.
Plus you'll see daily recipe suggestions from decadent desserts to quick delicious weekday meals too.
Get our Newsletter.
You can also sign up for our FREE newsletter to know immediately when we add new recipes. You'll also get weekly suggestions for great family friendly meals and desserts too!

Rock Recipes a participant in the Amazon Services LLC Associates Program, an affiliate advertising program designed to provide a means for us to earn fees by linking to Amazon.com and affiliated sites. Our product recommendations are almost exclusively for those we currently use or have used in the past.

How to Make No Knead Bread
How to Make No Knead Bread. No baking skills required! Time, a bowl and a dutch oven are all that's needed. Mix it in one minute. Leave it overnight. Bake it. Super easy!
Ingredients
- 3 ½ cups all-purpose flour or bread flour
- 1 ½ teaspoons salt
- ¼ teaspoon of instant yeast (the kind you just add to flour, not the kind that needs to be proofed in warm water first)
- 1 ½ cups water at room temperature or a little cooler. It should not be warm.
Metric measurements
- 490 grams plain flour or bread flour
- 1 ½ teaspoon salt
- ¼ teaspoon yeast
- 360 ml water
Instructions
Getting started
- In a large bowl, mix together the flour, salt and yeast.
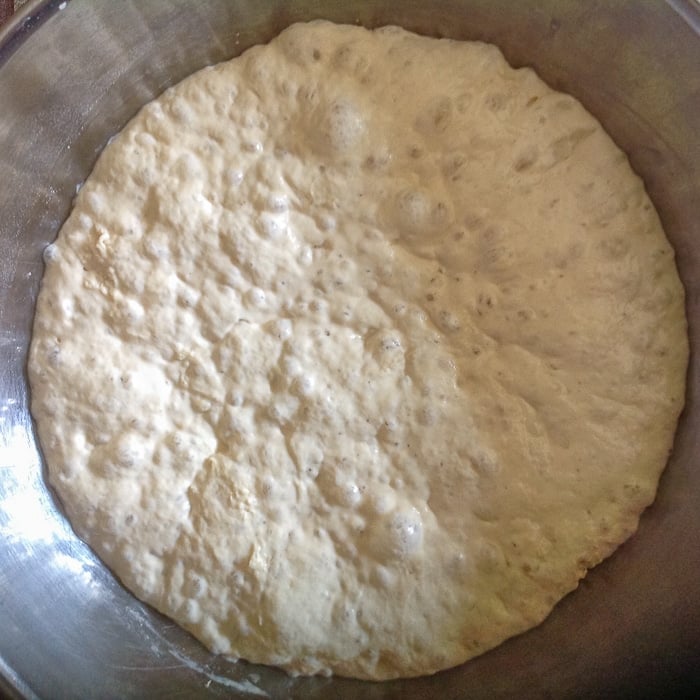
- Add the water and stir with a wooden spoon until everything combines together into a soft dough. It really does take less than a minute.
- Cover the bowl with plastic wrap and leave overnight. I have left it rising for 12- 15 hours many times. The time here is quite forgiving. Somewhere in that time window or even an hour or so before is fine.
Preheat the pot
- When ready to bake your bread, put a cast iron or enamelled cast iron dutch oven (including the lid) in the oven at 450 degrees F, for at least a half hour. The size of the dutch oven I use for a singe loaf is 3 ½ quarts/litres and measures 8 inches across the top diameter. I also have a 7 quart/litre orange dutch oven which measures about 11 inches across. That one is what I use to make double sized loaves when doubling the recipe.
- Any oven-safe covered casserole is also good to use. I have made a single loaf of this bread in a white Corelle covered casserole as well. Just make sure your covered dish is rated for up to 450 degrees but you can get away with using 425 as well. When using a casserole, form the dough into a log shape, a little shorter than the length of the covered dish.
Forming the dough
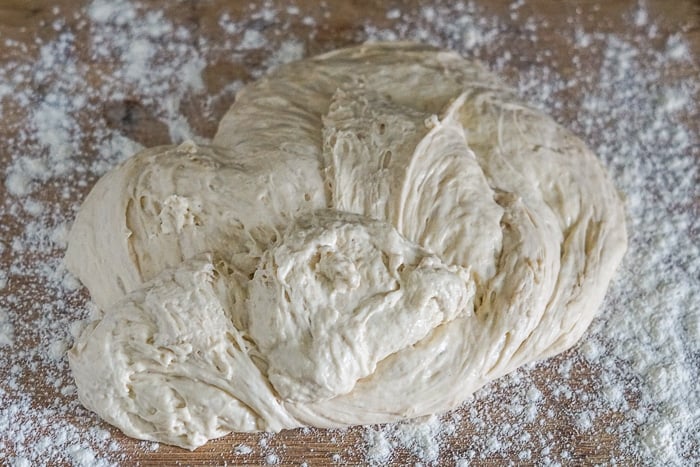
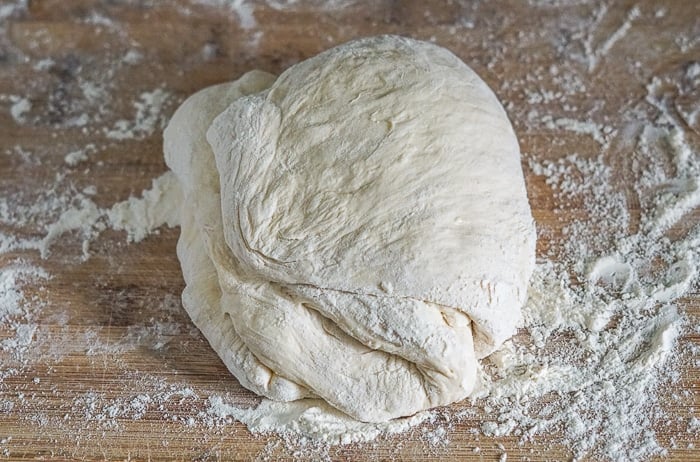
- To form the dough into a ball, turn it out onto a well floured surface. The dough will be VERY sticky at this stage, so don't be afraid of using lots of flour on the board. Flouring your hands often also helps.
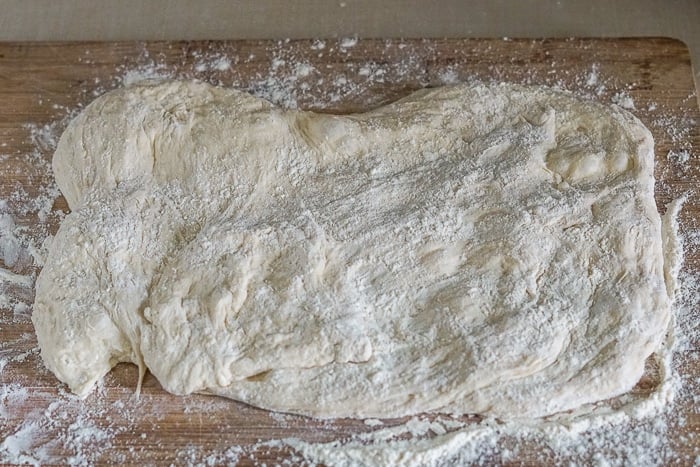
- Sprinkle flour over the surface of the dough. Enough so that you can pat the dough without your hands sticking.
- Pat the dough flat into what ever shape it goes. The shape is not important.
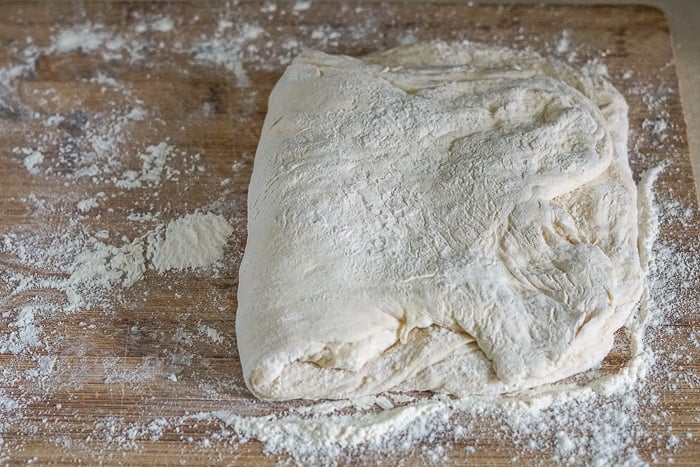
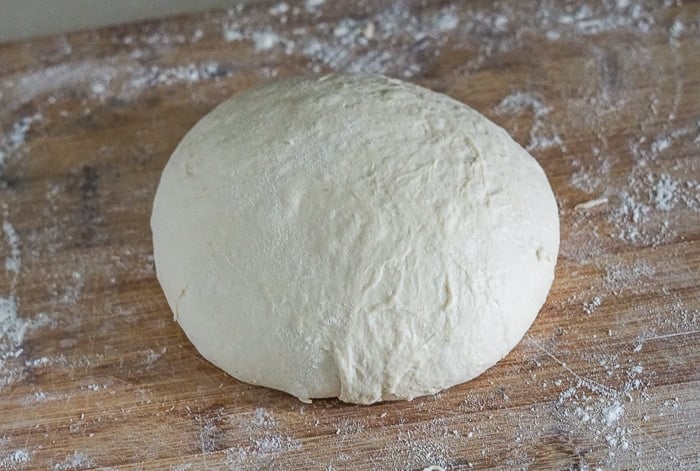
- Begin folding the dough over on itself until a rough ball forms.
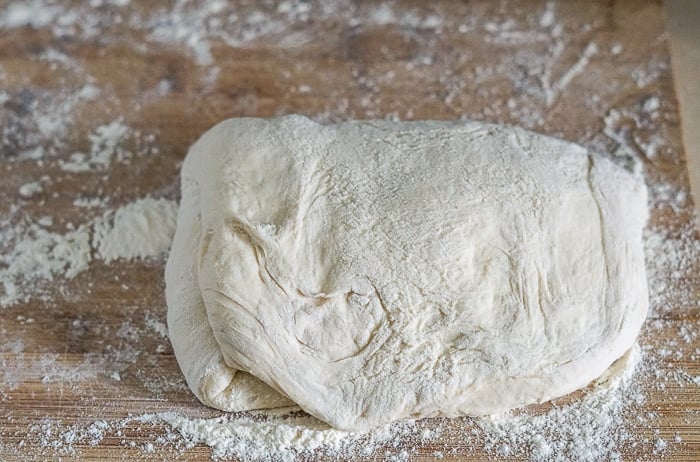
- Using well floured hands, begin tucking the loose ends under the dough to form a smooth ball. Don't worry too much about this. Your loaf may look a bit more rustic but it will still be fine.
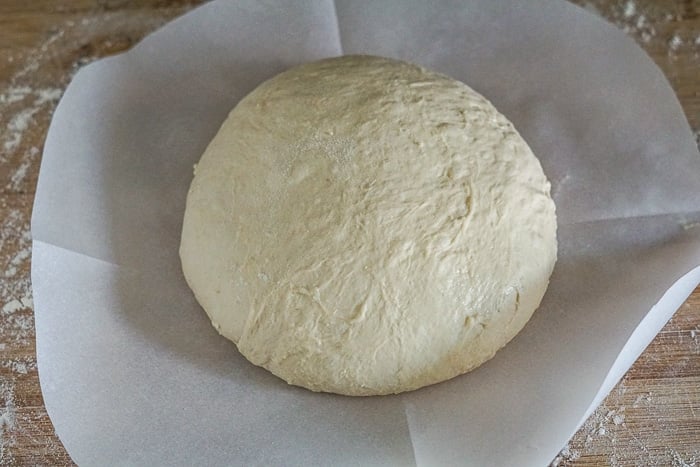
- Cut a circle of parchment paper about twice the size of the diameter of the dough ball and place the dough ball on it.
- Lightly dust the top of the ball with flour and cover with a clean tea towel or napkin for 15- 20 minutes. This allows the dough to relax and get more elastic when baking, resulting in a higher loaf.
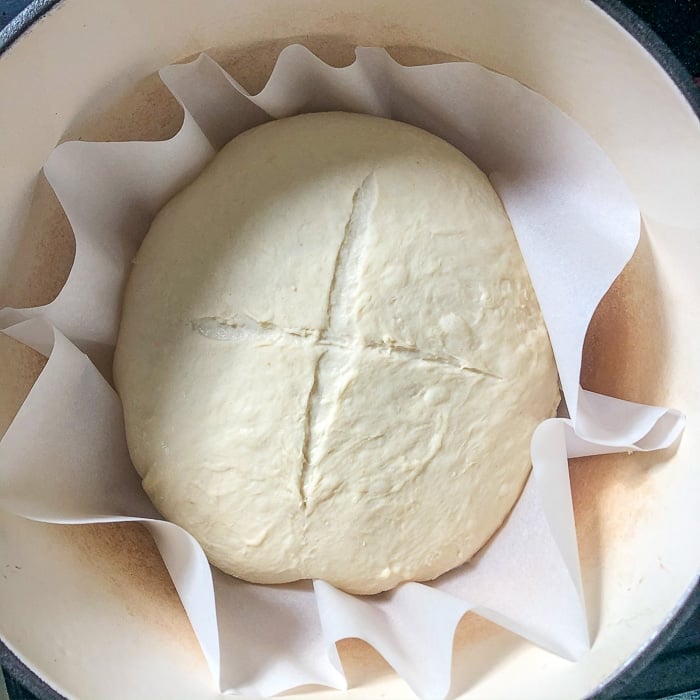
- After the resting time, you can score a cross in the top of the loaf using a razor blade or very sharp paring knife. A new clean box cutter is also good for scoring dough. You don't want to cut deeply at all. A quarter inch deep cut is fine.
Baking the bread
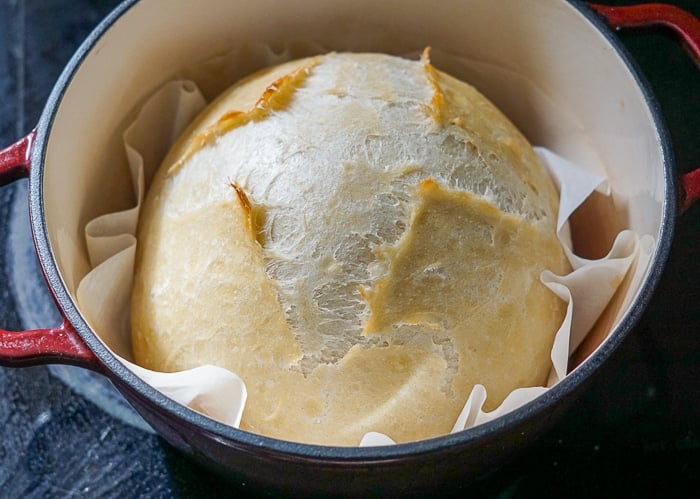
- Lift the dough ball using the parchment paper and drop it directly into the hot dutch oven. An optional step at this point (but one I always do) is to spritz plain water all over the top of the dough before putting on the lid. I do about a dozen pumps from my kitchen water spritzer. The purpose is to provide steam and prevent the top crust from forming too fast, therefore getting better "oven Spring" or lift when baking, for the highest loaf.
- Put the dutch oven back in the oven for ½ an hour with the lid on. Then remove the lid and bake for an additional 15 -25 minutes depending on how dark you want to take the top crust.
- Cool the fully baked loaf on a wire rack for at least 45 minutes before cutting. Cutting prematurely, releases the steam from inside the loaf, leaving it drier and not so long lasting.
- I do freeze these loaves often. When I defrost a loaf, I put it back in a preheated 350 degree F oven, directly on the oven rack for 7-10 minutes. This refreshed the crust quite nicely.
Notes
- There is a quicker version of this recipe which only takes 4 hours rising time. Simply increase the yeast from ¼ teaspoon to 1 tsp.
- When making a whole wheat version of this bread, I use half white flour and half whole wheat. It makes a great textured loaf.
- This dough is also absolutely fantastic for homemade pizza. One of the best I've ever tried anywhere.
Nutrition Information
Yield
12Serving Size
1Amount Per Serving Calories 133Total Fat 0gSaturated Fat 0gTrans Fat 0gUnsaturated Fat 0gCholesterol 0mgSodium 265mgCarbohydrates 28gFiber 1gSugar 0gProtein 4g
The nutritional information provided is automatically calculated by third party software and is meant as a guideline only. Exact accuracy is not guaranteed. For recipes where all ingredients may not be used entirely, such as those with coatings on meats, or with sauces or dressings for example, calorie & nutritional values per serving will likely be somewhat lower than indicated.


We've enjoyed many of your recipes with great success, including one I'm doing right now, crispy baked wedge fries. One thing caught my eye on this no knead bread post and it's the knitted tea cozy in the picture. Does whoever knitted it for you have a pattern I could link to? purchase?
I am making this today--stuck at home in the age of Covid 19, is leading to a lot of cooking around here!
Wonder if you have ever heard of Salt Rising Bread, an American pioneer bread that has a very distinctive taste and texture?
i enjoy your website and recipes very much!
Are you using kosher or table salt in this recipe?
I have made a similar recipe several times. The Danish Wire Whisk isn’t right at home here, obviously. This approach to at hone bread is liberating
That is supposed to be: is right at home!
I’m making this today, but the dough don’t seem to be as soft as it looks on your web site. I couldn’t mis it with just the wooden spoon. I used all ingredients as instructed
Again, another excellent recipe from Rock Recipes! I followed the Instructions exactly. I altered the ingredients. Instead of all white flour, I used 1/2 c. dark rye flour, 1 c. whole wheat flour and 2 c unbleached flour. To compensate for the heavier flours I used a heaping tsp of instant yeast. It worked well.
This is a keeper for me!
@Jeff Pike, I do the same for a somewhat healthier version.
The recipe as listed is for a single loaf? If I want to use a 7 at Dutch oven do I double the ingredients?
Have been making this exact recipe for some time with rave reviews!
This is the recipe I use for all of our bread. Most days I add multigrain cereal ( about 45 to 50 grams) as part of the flour when weighing it. This bread is delicious and so easy.
Barry, would this bread bake on a pizza stone with equal results?
If you are letting rise for up to 12 hours, do you put in refrigerator overnight?
@Sandra, I’m wondering the same.
I leave it in my coolest room, especially in summer. Summer temps will likely speed up the process.
With the 4 hr rise quick bread, is it in the fridge for 4 hrs or can i leave it on my counter for 4 hrs? Thank you Barry.
A cooler room is best.
I have a covered clay loaf pan that I use for this bread. I soak the lid in water before using. The clay pan cannot go into a hot oven, so I start the covered loaf in a cold oven, bake for 40 minutes at 425 degrees, remove the cover to bake another 20 minutes. Different cooking method but still makes the same delicious bread. Always a winning recipe.