
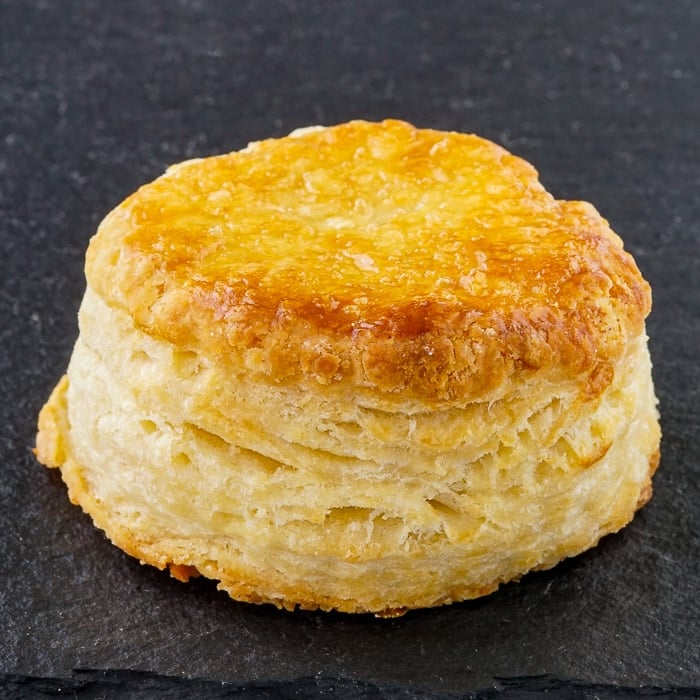
Freezer Biscuits. Straight from freezer to oven!
Would you like to save this recipe?
Send this recipe to my email.
Freezer Biscuits. Perfectly flaky, buttery biscuits from previously formed and frozen dough. You'll want to make extra biscuits every time now, to freeze some for later.
Originally published March 2020.
I'm often known to say, "Why cook twice when you can cook once?" The same definitely goes for baking, as this recipe perfectly demonstrates.
Everyone's pushed for time these days, so using time effectively when preparing meals or baking is going to be a major benefit to anyone. It just makes good sense.
That happens all the time at our house. Things like our budget friendly Drumstick Stew or one of Spouses favourite soups will always be made in big batches to freeze some for other meals.
In the case of soups in particular, we have single serving sized plastic containers that can go from freezer to microwave for a quick lunch anytime.
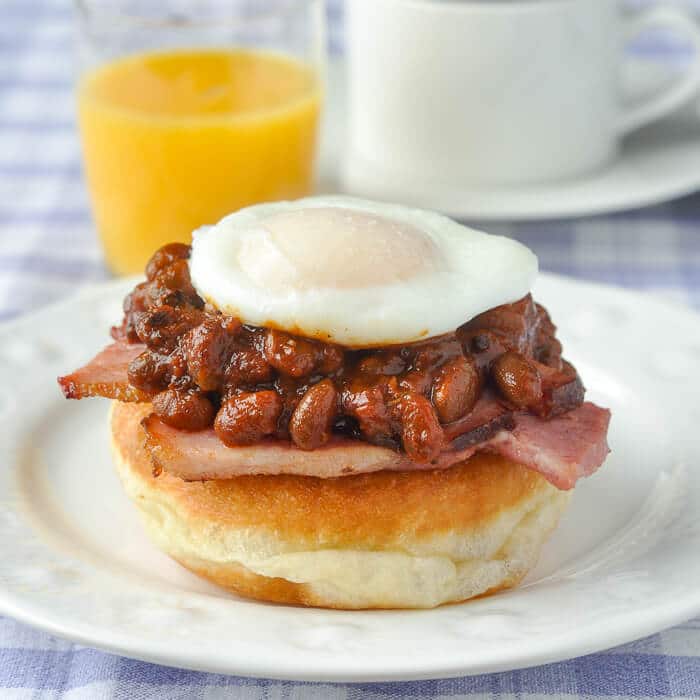
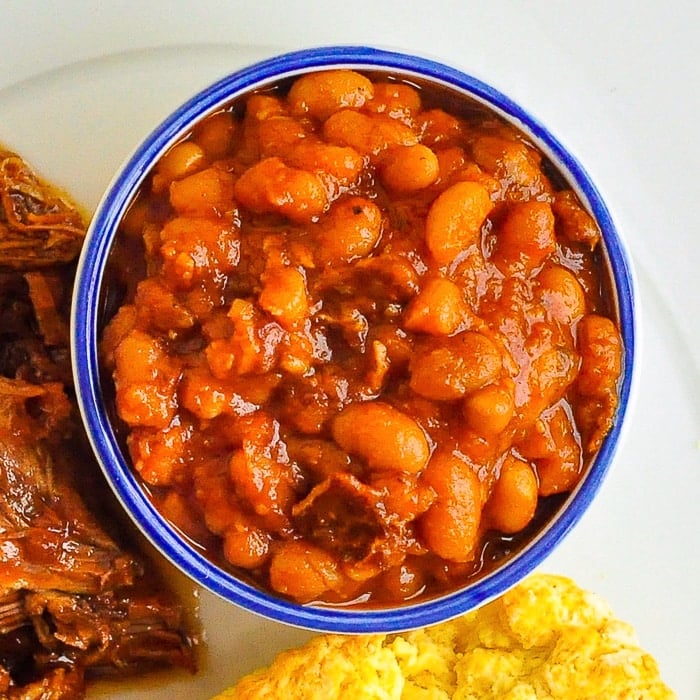
Similarly, Spaghetti Sauce or a delicious comfort food Chili is also stored this way, as always are our favourite baked beans. Those beans then very often show up at our weekend brunches, served with eggs and toutons!
Always be looking for time savers.
Baked goods are not an exception either, I often freeze logs of cookie dough to thaw and bake later. Bake off type cookies like our Pistachio White Chocolate Cranberry Cookies is a good example but we do good old Chocolate Chip Cookies too.
The point here is to make the most of your cooking or baking time while you can. That was very much on my mind this past weekend, when once again I was making biscuits for Saturday brunch.
As I was cutting them out with my biscuit cutter, it occurred to me to try freezing them immediately and then baking them the next day. So, I took a half dozen of the cut out biscuits and froze them until the next morning.
Freezer Biscuits. Getting experimental
My idea was to experiment and see if it was necessary to thaw them before baking and how well then, they would bake. Would they rise? Would they be as flaky as normal?
Wouldn't it be great to have biscuits on hand to serve with that frozen soup or stew already in the freezer? That would be perfect!
The next morning , as soon as I got up, I took the biscuits out of the freezer. Then, I quickly gave them a little egg wash on top to make them brown nicely and popped them into a COLD oven!
My theory, or more correctly, my hope, was that the slow heating of the oven while getting up to temperature would thaw the biscuits. Hopefully they would thaw enough so that they would rise properly once the oven temperature of 400 degrees was reached.

The result!
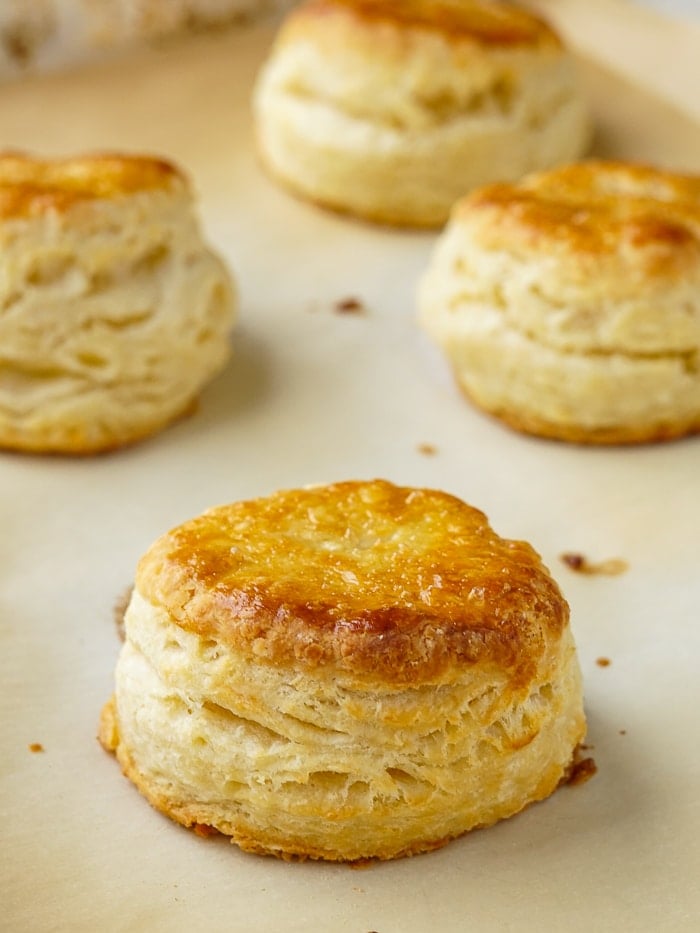
In short it worked perfectly! The previously unbaked and frozen biscuits were indistinguishable from the excellent biscuits of the morning before.
This process will now become habit for me, I am certain. We do make a lot of biscuits for weekend brunches, so it is a no brainer to now freeze enough for next time.
Perhaps they won't even make it to the next weekend. A weekday brunch or even our family favourite "breakfast for dinner" might put them to use before then. I'm perfectly fine with that!
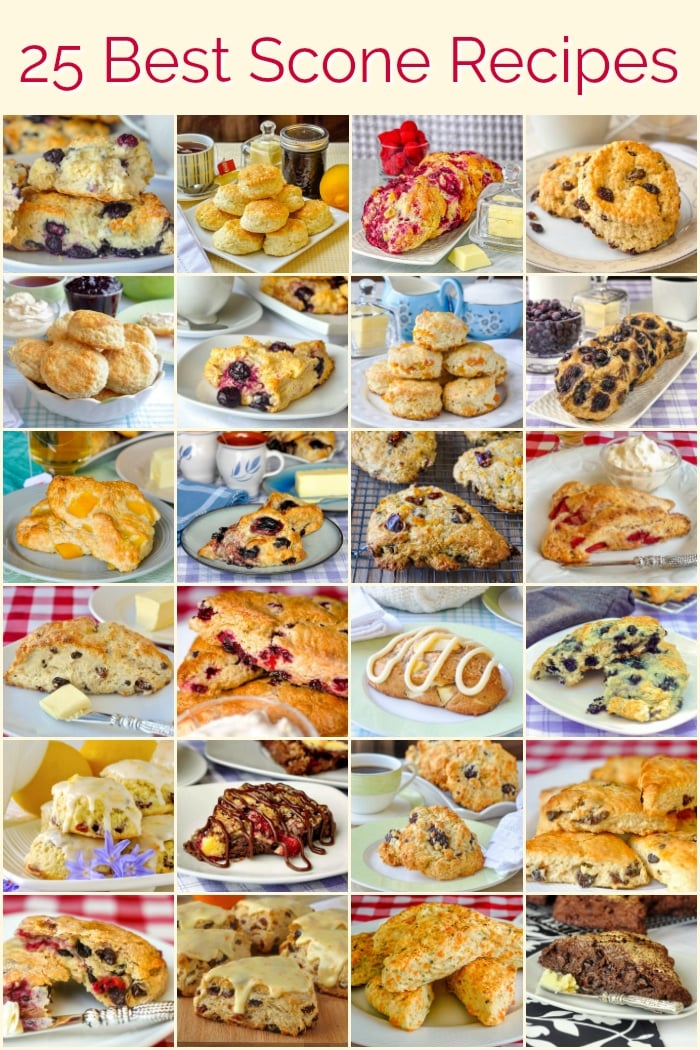
For even more delicious ideas for brunch, we have put them together into one amazing collection of our 25 Best Scone Recipes.
Like this Freezer Biscuits recipe?
You'll find dozens of other great recipes like this in our Breakfast & Brunch Category and even more ideas in our Muffins, Tea Buns & Scones Category.
It's easy to keep up with the latest home style cooking & baking ideas from Rock Recipes. Be sure to follow Rock Recipes Facebook Page and follow us on Instagram.
Plus you'll see daily recipe suggestions from decadent desserts to quick delicious weekday meals too.

You can also sign up for our FREE newsletter to know immediately when we add new recipes. You'll also get weekly suggestions for great family friendly meals and desserts too!

Rock Recipes a participant in the Amazon Services LLC Associates Program, an affiliate advertising program designed to provide a means for us to earn fees by linking to Amazon.com and affiliated sites. Our product recommendations are almost exclusively for those we currently use or have used in the past.
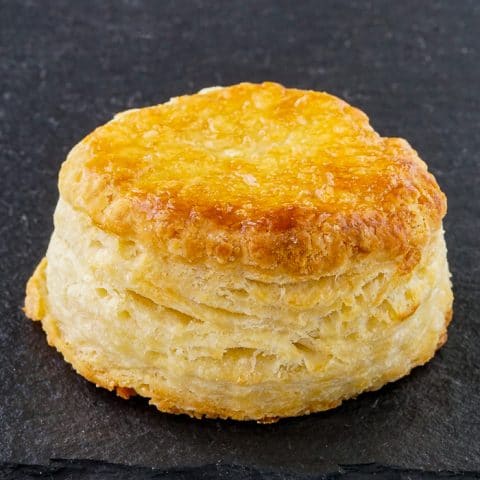
Freezer Biscuits. Straight from freezer to oven!
Freezer Biscuits. Perfectly flaky, buttery biscuits from previously formed and frozen dough. You'll want to make extra biscuits every time now, to freeze some for later.
Ingredients
- 2 ¼ cups all purpose flour
- 3 teaspoon baking powder
- ½ teaspoon salt
- ½ cup butter, cut into roughly about ¾ inch cubes
- 1 cup buttermilk or soured milk
- One egg
- 1 tablespoon water
- (If you don't have buttermilk simply add a tablespoon of lemon juice or white vinegar to plain milk)
Metric measurements
- 315 grams all purpose (plain) flour
- 3 teaspoon baking powder
- ½ teaspoon salt
- 115 grams butter, cut into roughly about ¾ inch cubes
- 240 ml buttermilk or soured milk
- 1 egg
- 1 tablespoon water
- (If you don't have buttermilk simply add a tablespoon of lemon juice or white vinegar to plain milk)
Instructions
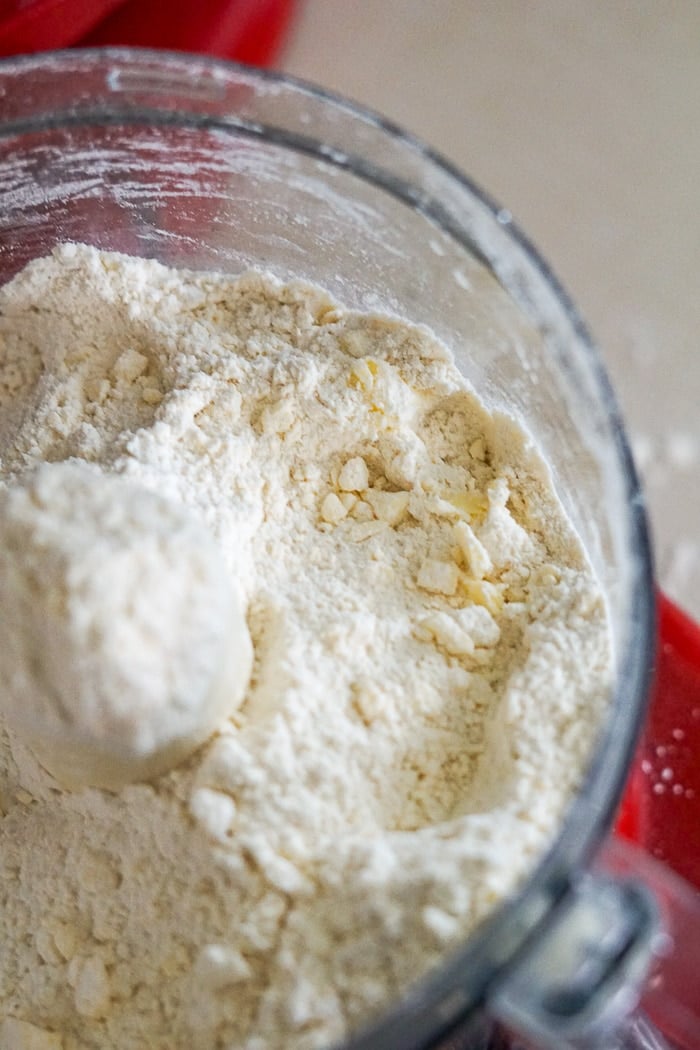
- In a food processor, blend together the flour, salt and baking powder.
- Pulse in the cold butter pieces. (or use a pastry cutter if you want)
- Do not over incorporate the butter into the flour. Similar to making a flaky pastry, small pieces of butter should be visible in the flour.
- Transfer this mixture from the food processor into a large mixing bowl and make a well in the center.
- Pour in the buttermilk.Working very quickly with a wooden spoon, fold the dry mixture through the buttermilk, only until the flour disappears, then stop immediately.
- Drop the sticky dough onto a well floured counter top or bread board.
- Sprinkle the top of the dough with additional flour as well as flouring your hands to handle the dough.
- I don’t even use a rolling pin for these biscuits, the dough is soft enough to pat it out gently with floured hands to a thickness of about 1 & ½ inches.
- Using a sharp 3 inch biscuit cutter cut the biscuits out and place them on a parchment paper lined baking sheet.
- Place the sheet of unbaked biscuits into the freezer for several hours or overnight to freeze them solid.
- When frozen, store in an airtight container in the freezer until needed.
To bake the biscuits
- Place as many biscuits as you would like on a parchment lined baking sheet.
- Whisk together the egg and water and brush on the tops of the biscuits. (This step is optional, it is just to help the tops get a deeper golden brown colour. You will also not need to use all of the egg wash, only enough to very lightly brush on the tops.)
- Place the baking sheet with the frozen biscuits in a cold oven, then turn to oven on 400 degrees F.
- Bake for 20-25 minutes until evenly golden brown. Let them cool down for 10 minutes or so. before serving.
Notes
- If baking the biscuits without freezing them, preheat oven to 375 degrees F.
- Bake in the preheated oven for about 20-25 minutes or until the tops of the biscuits are evenly golden brown.
Nutrition Information
Yield
18Serving Size
1Amount Per Serving Calories 112Total Fat 6gSaturated Fat 3gTrans Fat 0gUnsaturated Fat 2gCholesterol 24mgSodium 217mgCarbohydrates 13gFiber 0gSugar 1gProtein 2g
The nutritional information provided is automatically calculated by third party software and is meant as a guideline only. Exact accuracy is not guaranteed. For recipes where all ingredients may not be used entirely, such as those with coatings on meats, or with sauces or dressings for example, calorie & nutritional values per serving will likely be somewhat lower than indicated.


I hope one day you will invest your $12. in a Danish Wire Whisk for mixtures such as this. A delight to find a very useful, yet simple tool at this point in life. (See Lee Valley Tools).
My right hand gives me difficulty & this tool has overcome even very dense mixture problems.